In this article, we will go into the keeping of jumping spiders. All the important points are explained briefly and clearly and will help you to care for your jumping spider.
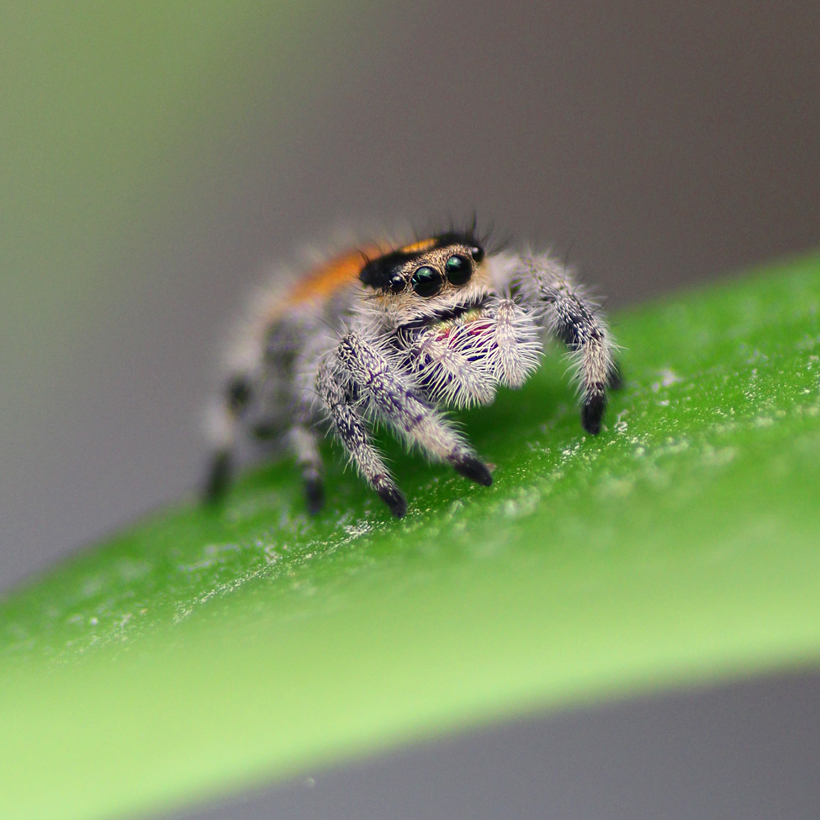
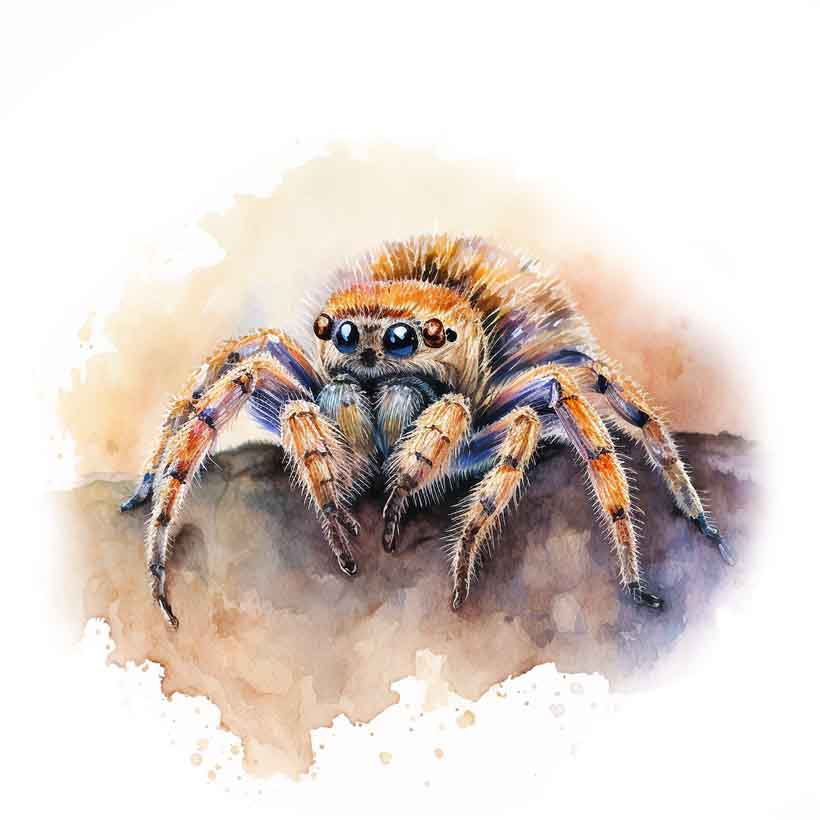
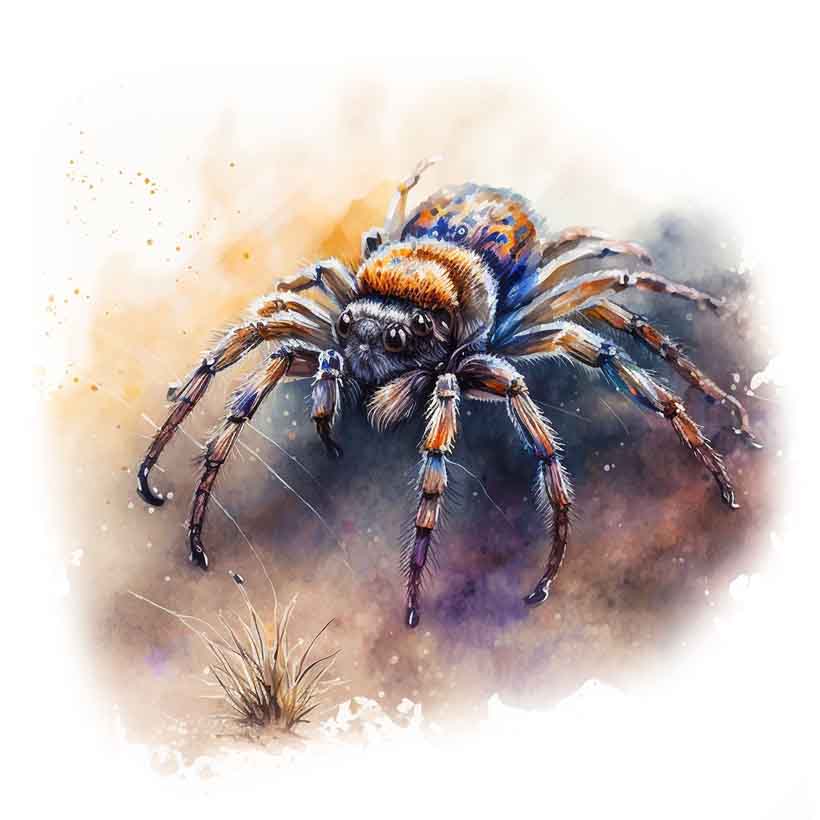
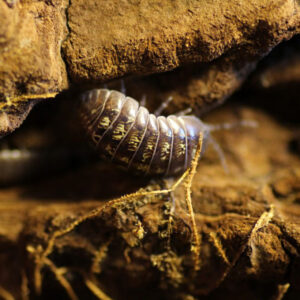
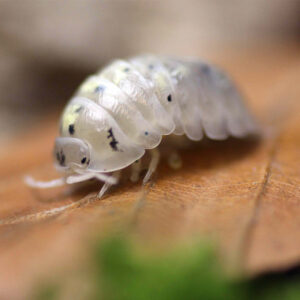
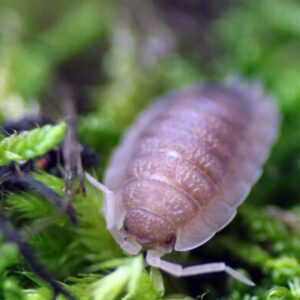
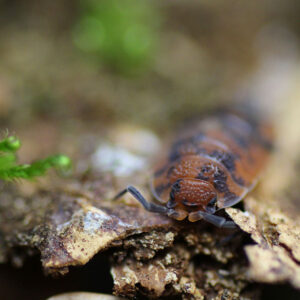
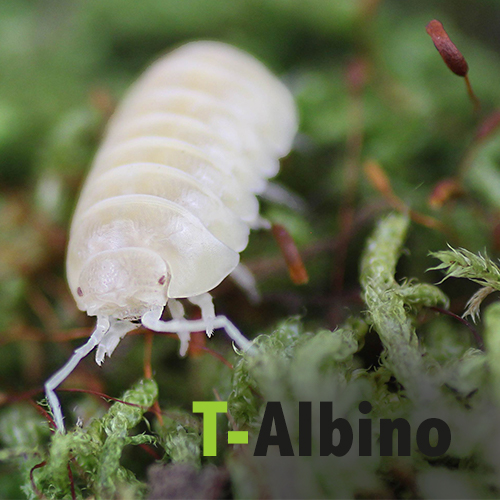
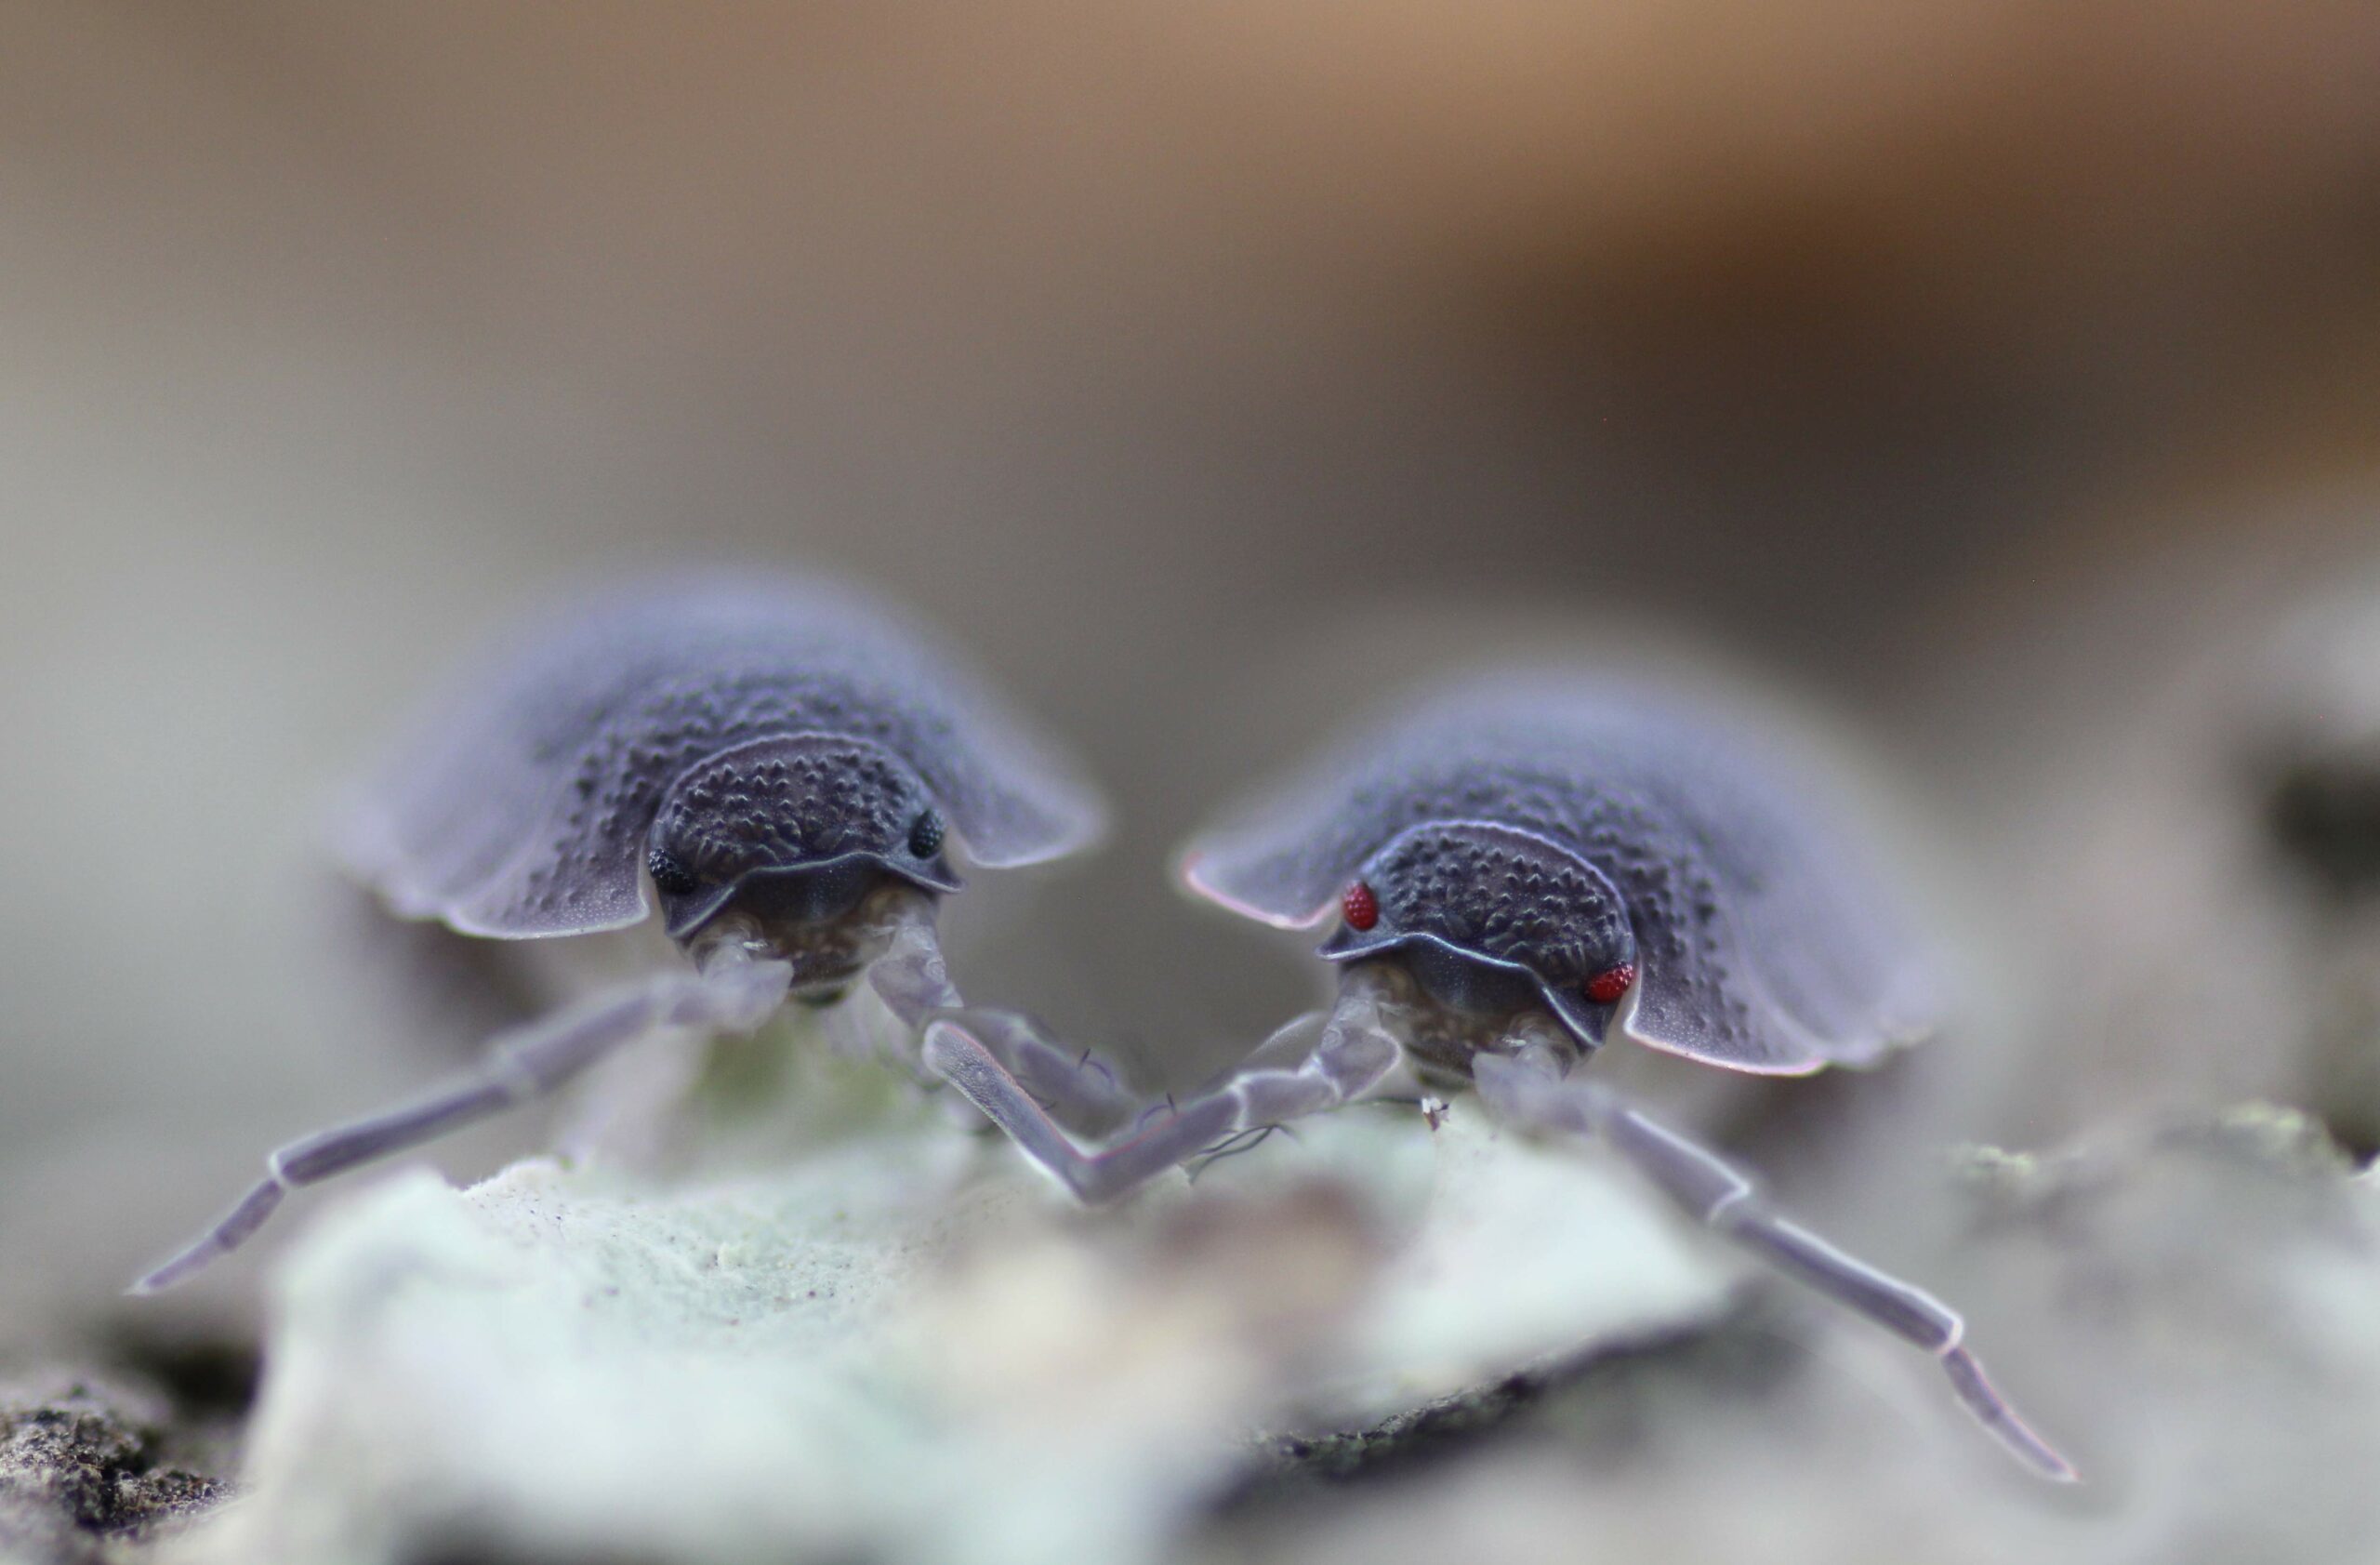
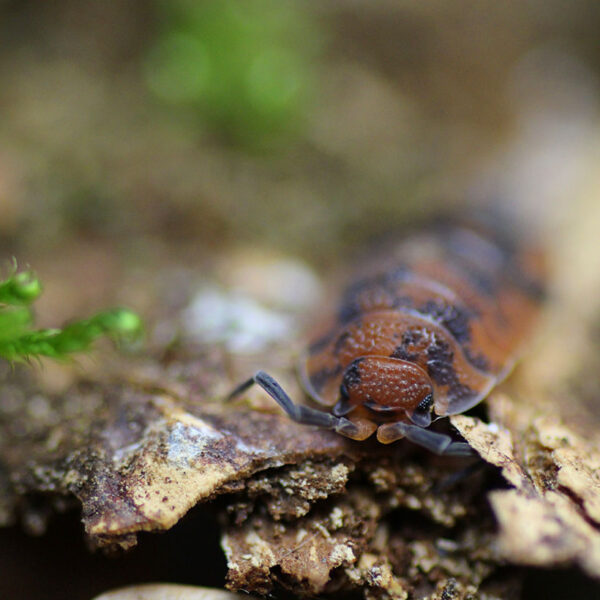
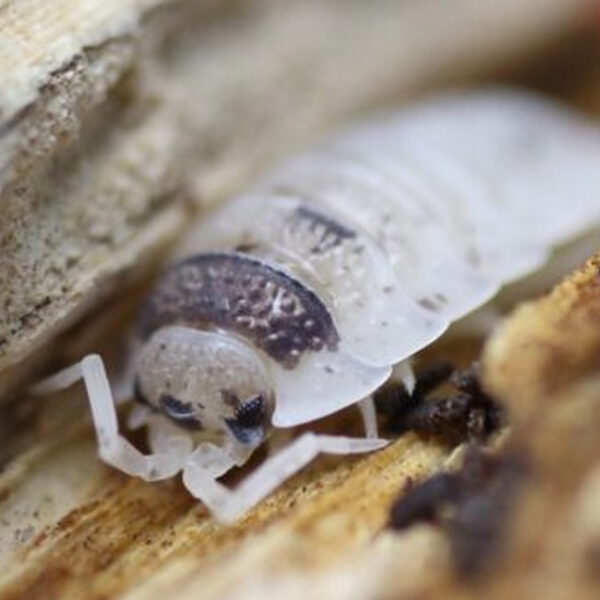
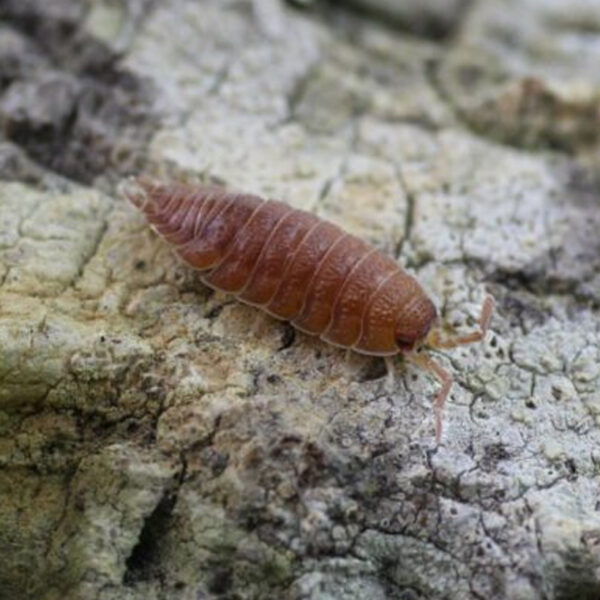
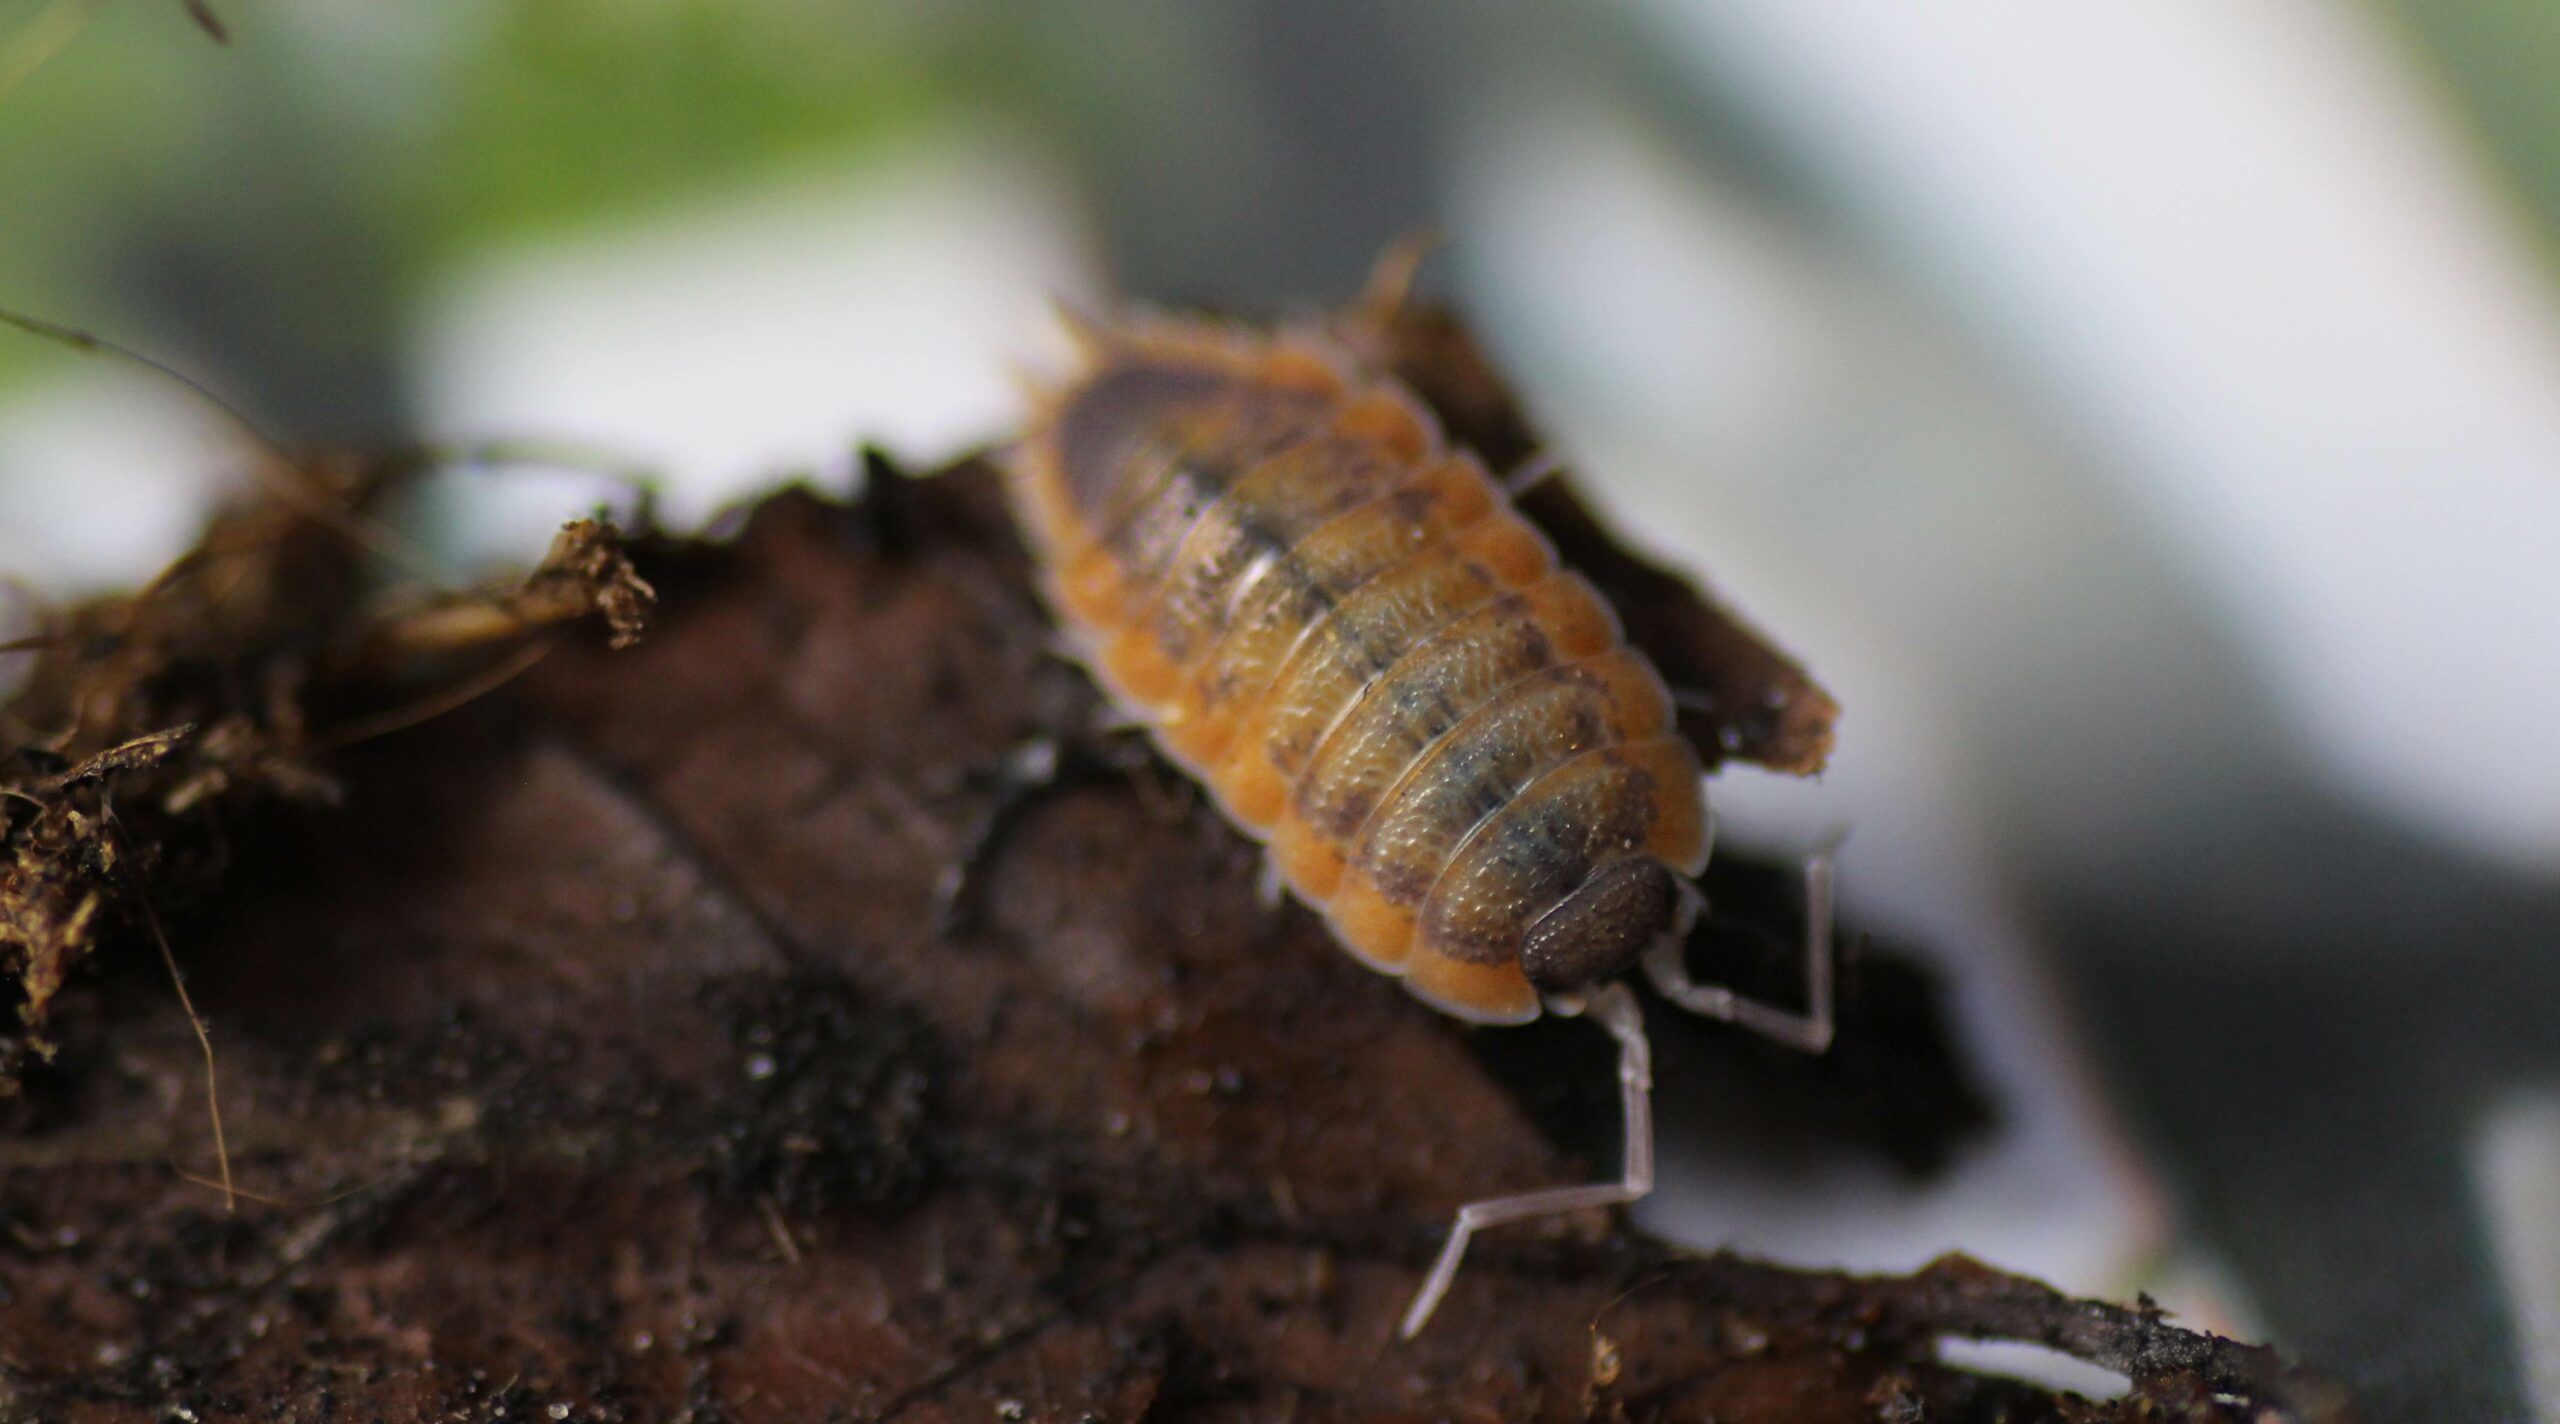
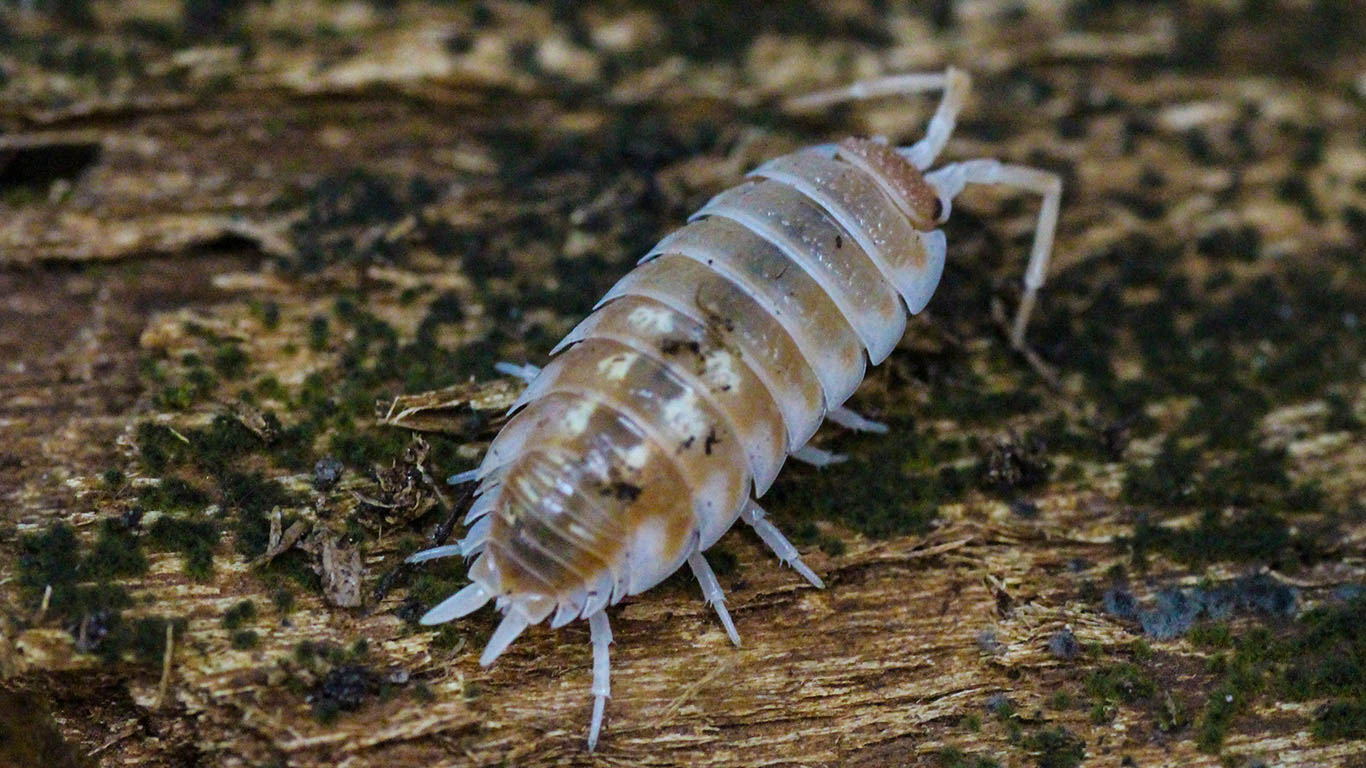
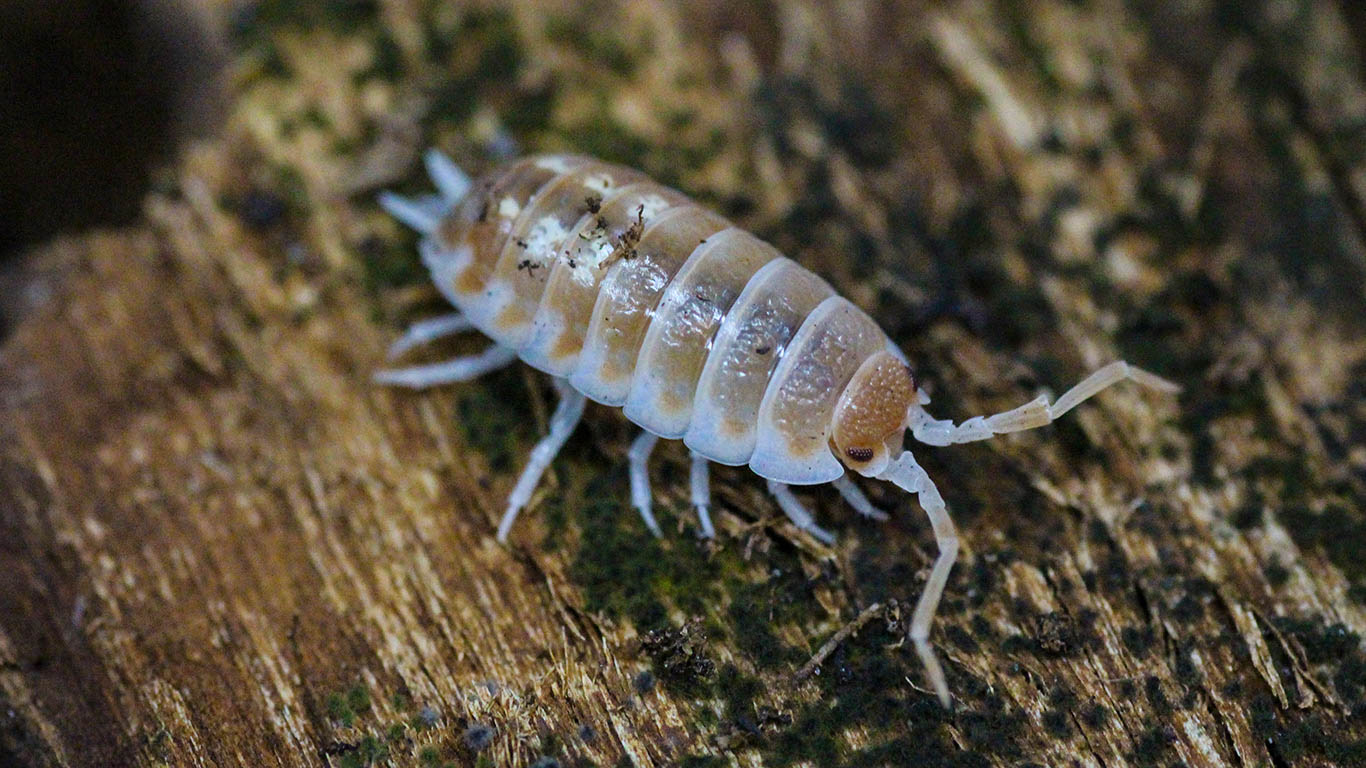
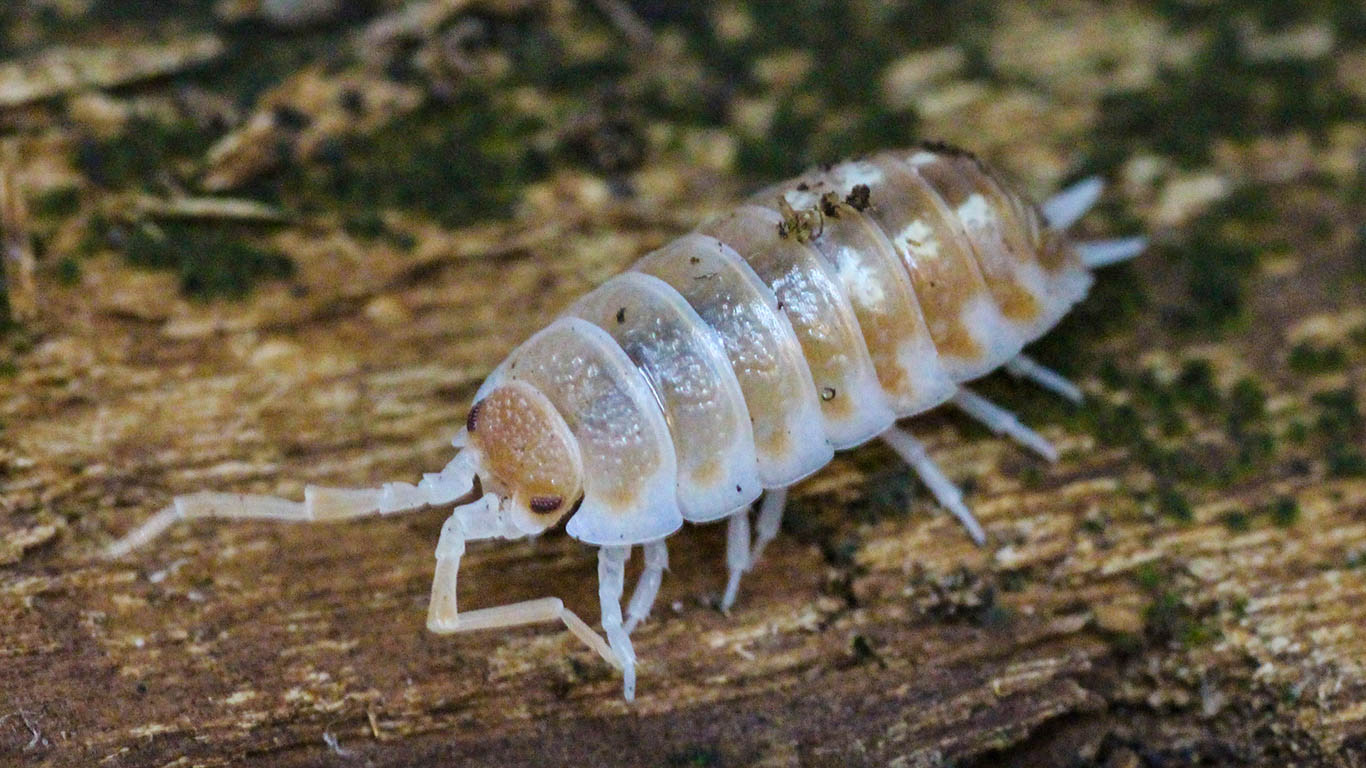
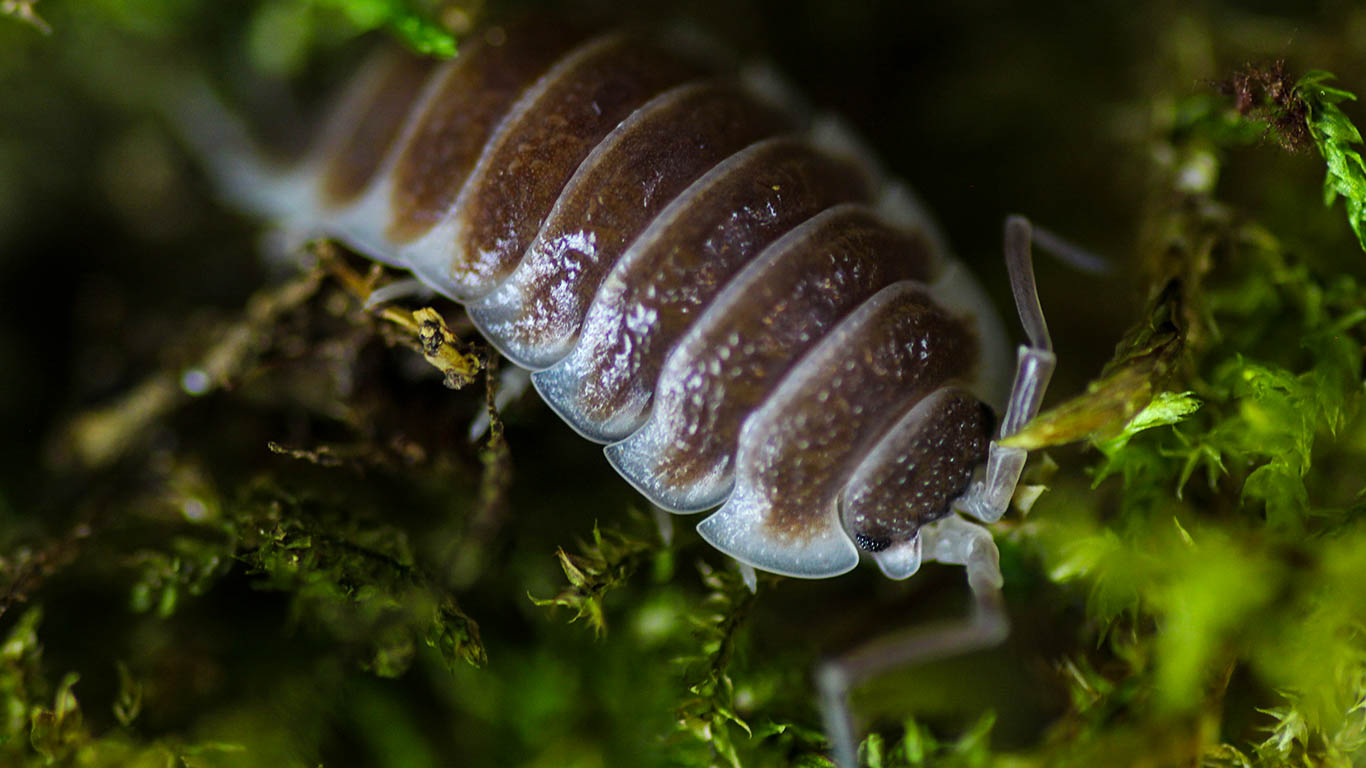
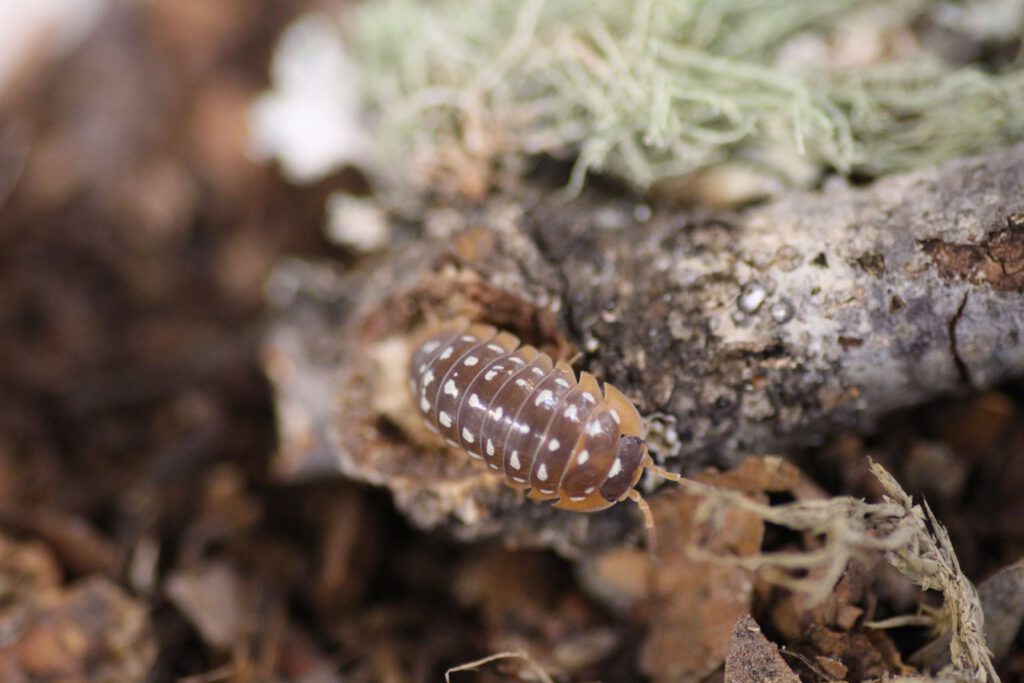
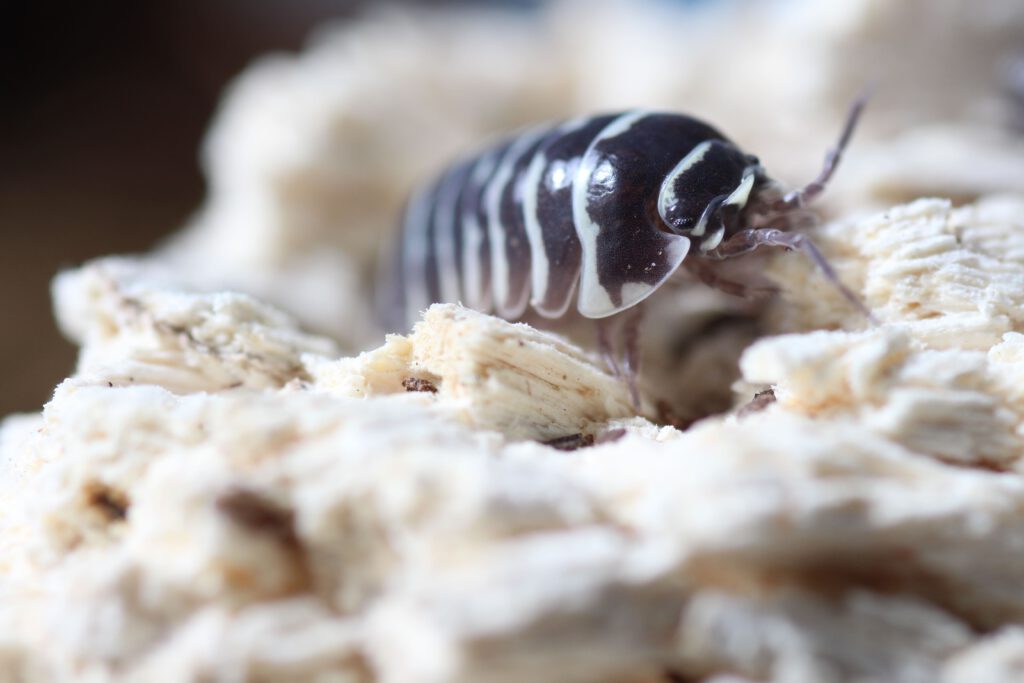
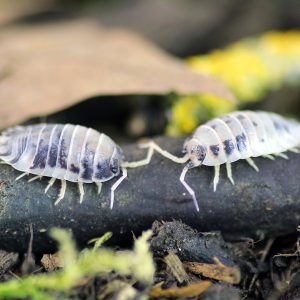
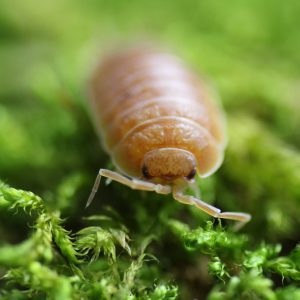
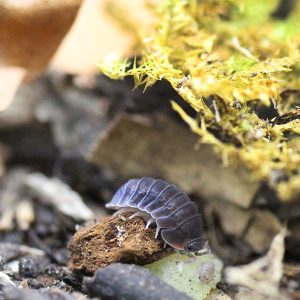
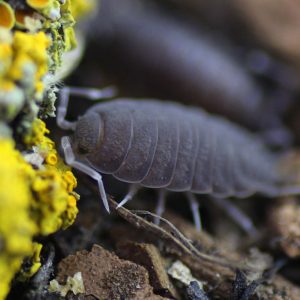
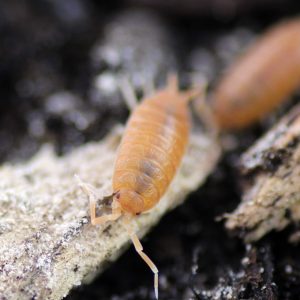
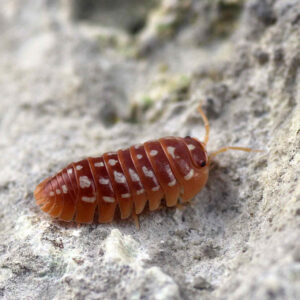
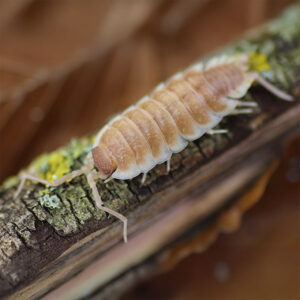
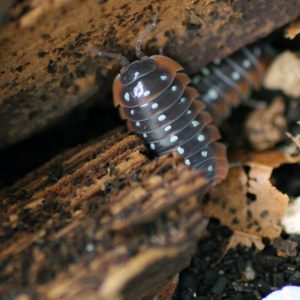
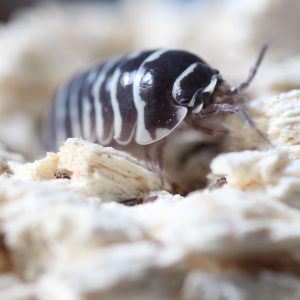
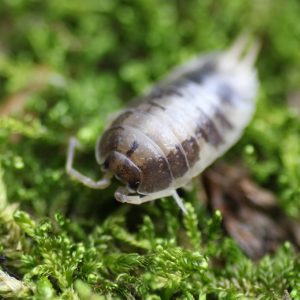
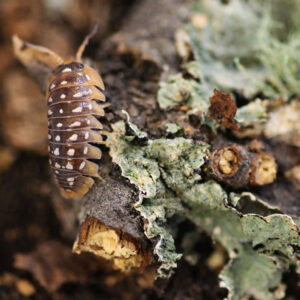
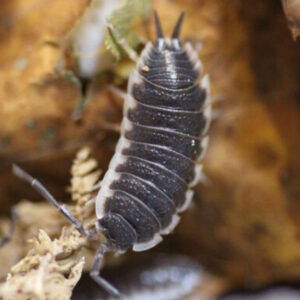
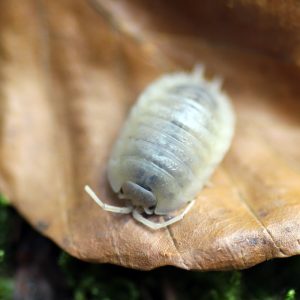
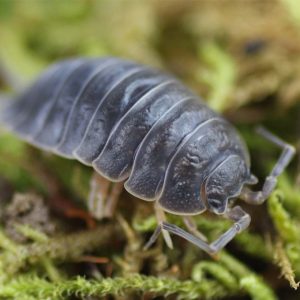
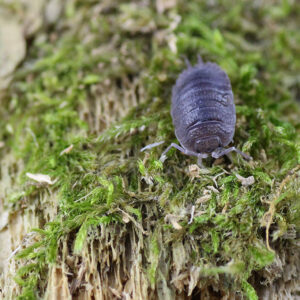
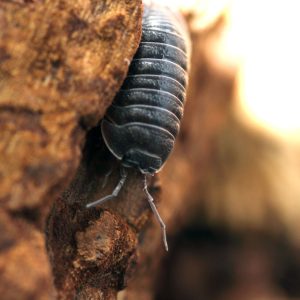
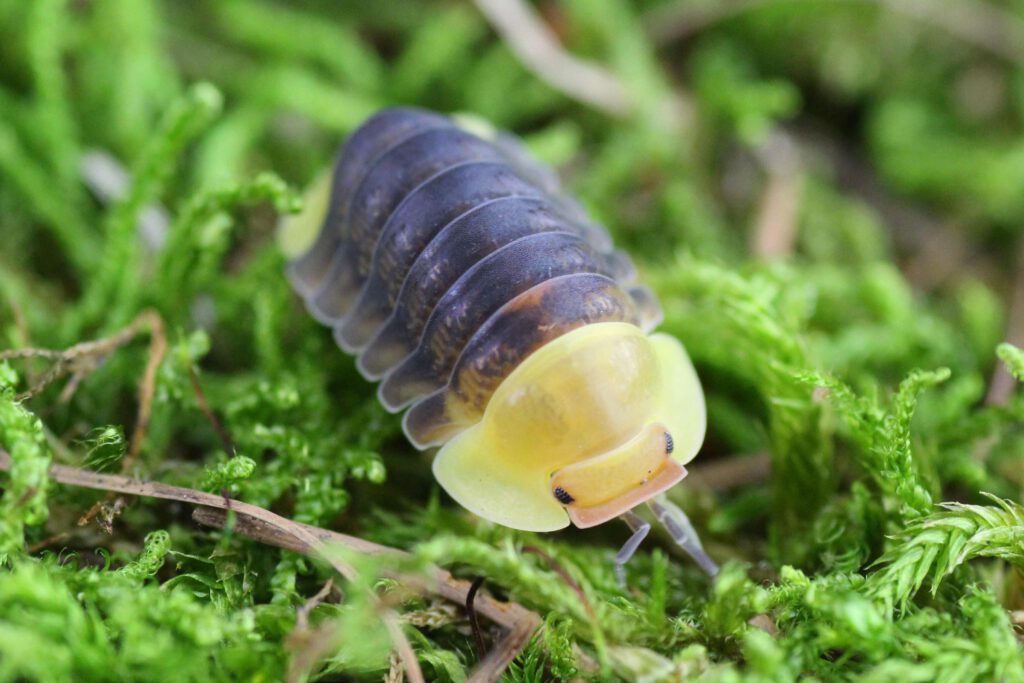
The most widespread species of jumping spider in the terrarium hobby is Phidippus regius. These can be found in the south-east of the USA, e.g. in Florida, but also on various Caribbean islands such as Cuba or the Bahamas. These regions are automatically associated with summer and warmth. This is exactly what you should bear in mind when it comes to keeping Phidippus regius correctly. In addition to their cute eyes, the 1.5-2 cm large Phidippus regius also impress with the various local forms that are represented in the hobby. Local forms are populations of Phidippus regius from different regions, which are often also differently colored. Phidippus regius “Everglades”, for example, are usually bright orange, whereas Phidippus regius “Bahamas” tend to be gray, white or dark brown.
But now to the correct husbandry:
Can I keep several jumping spiders in one terrarium?
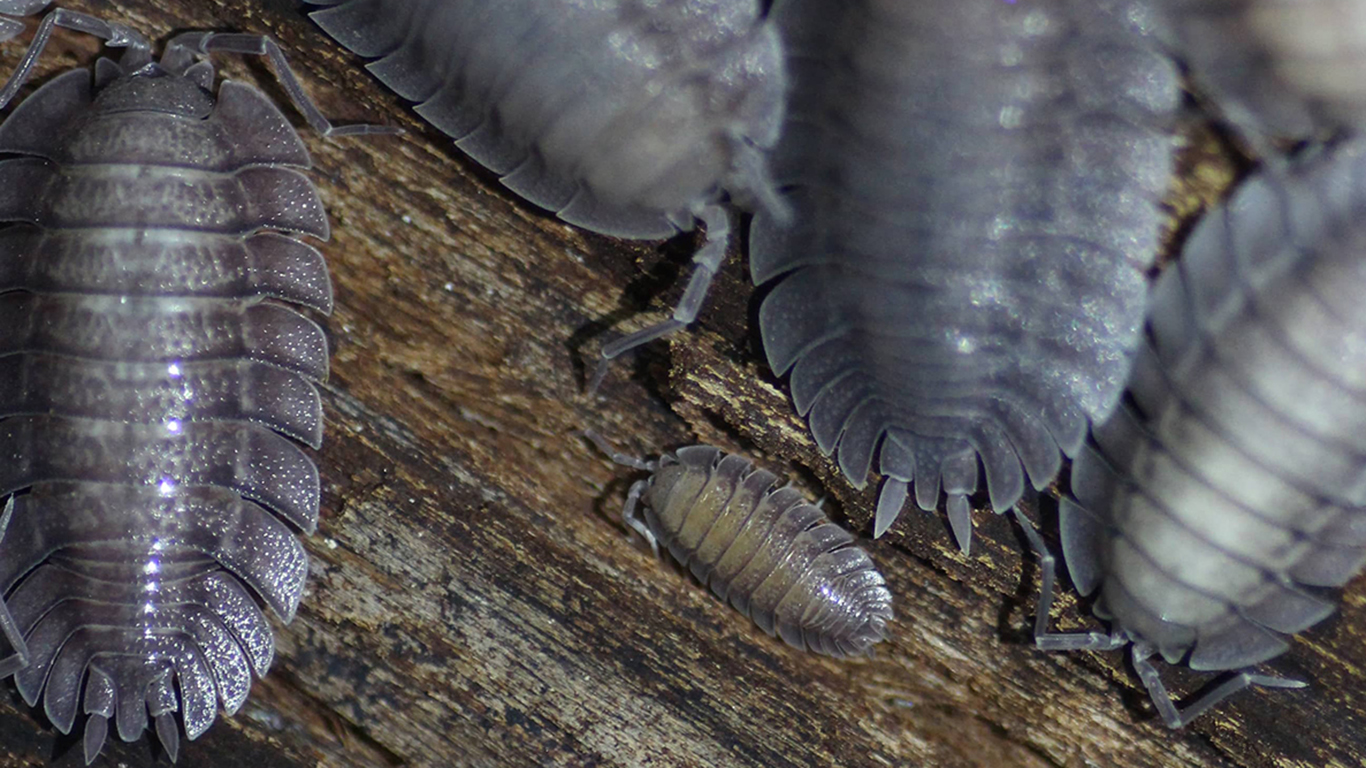
When keeping jumping spiders, it should be noted that Phidippus regius are not social spiders. They do not miss conspecifics, but perceive them as food. For this reason, they should be kept alone in the terrarium. So if you want to keep several jumping spiders, you will need a separate container for each animal.
What does the abbreviation FH mean?
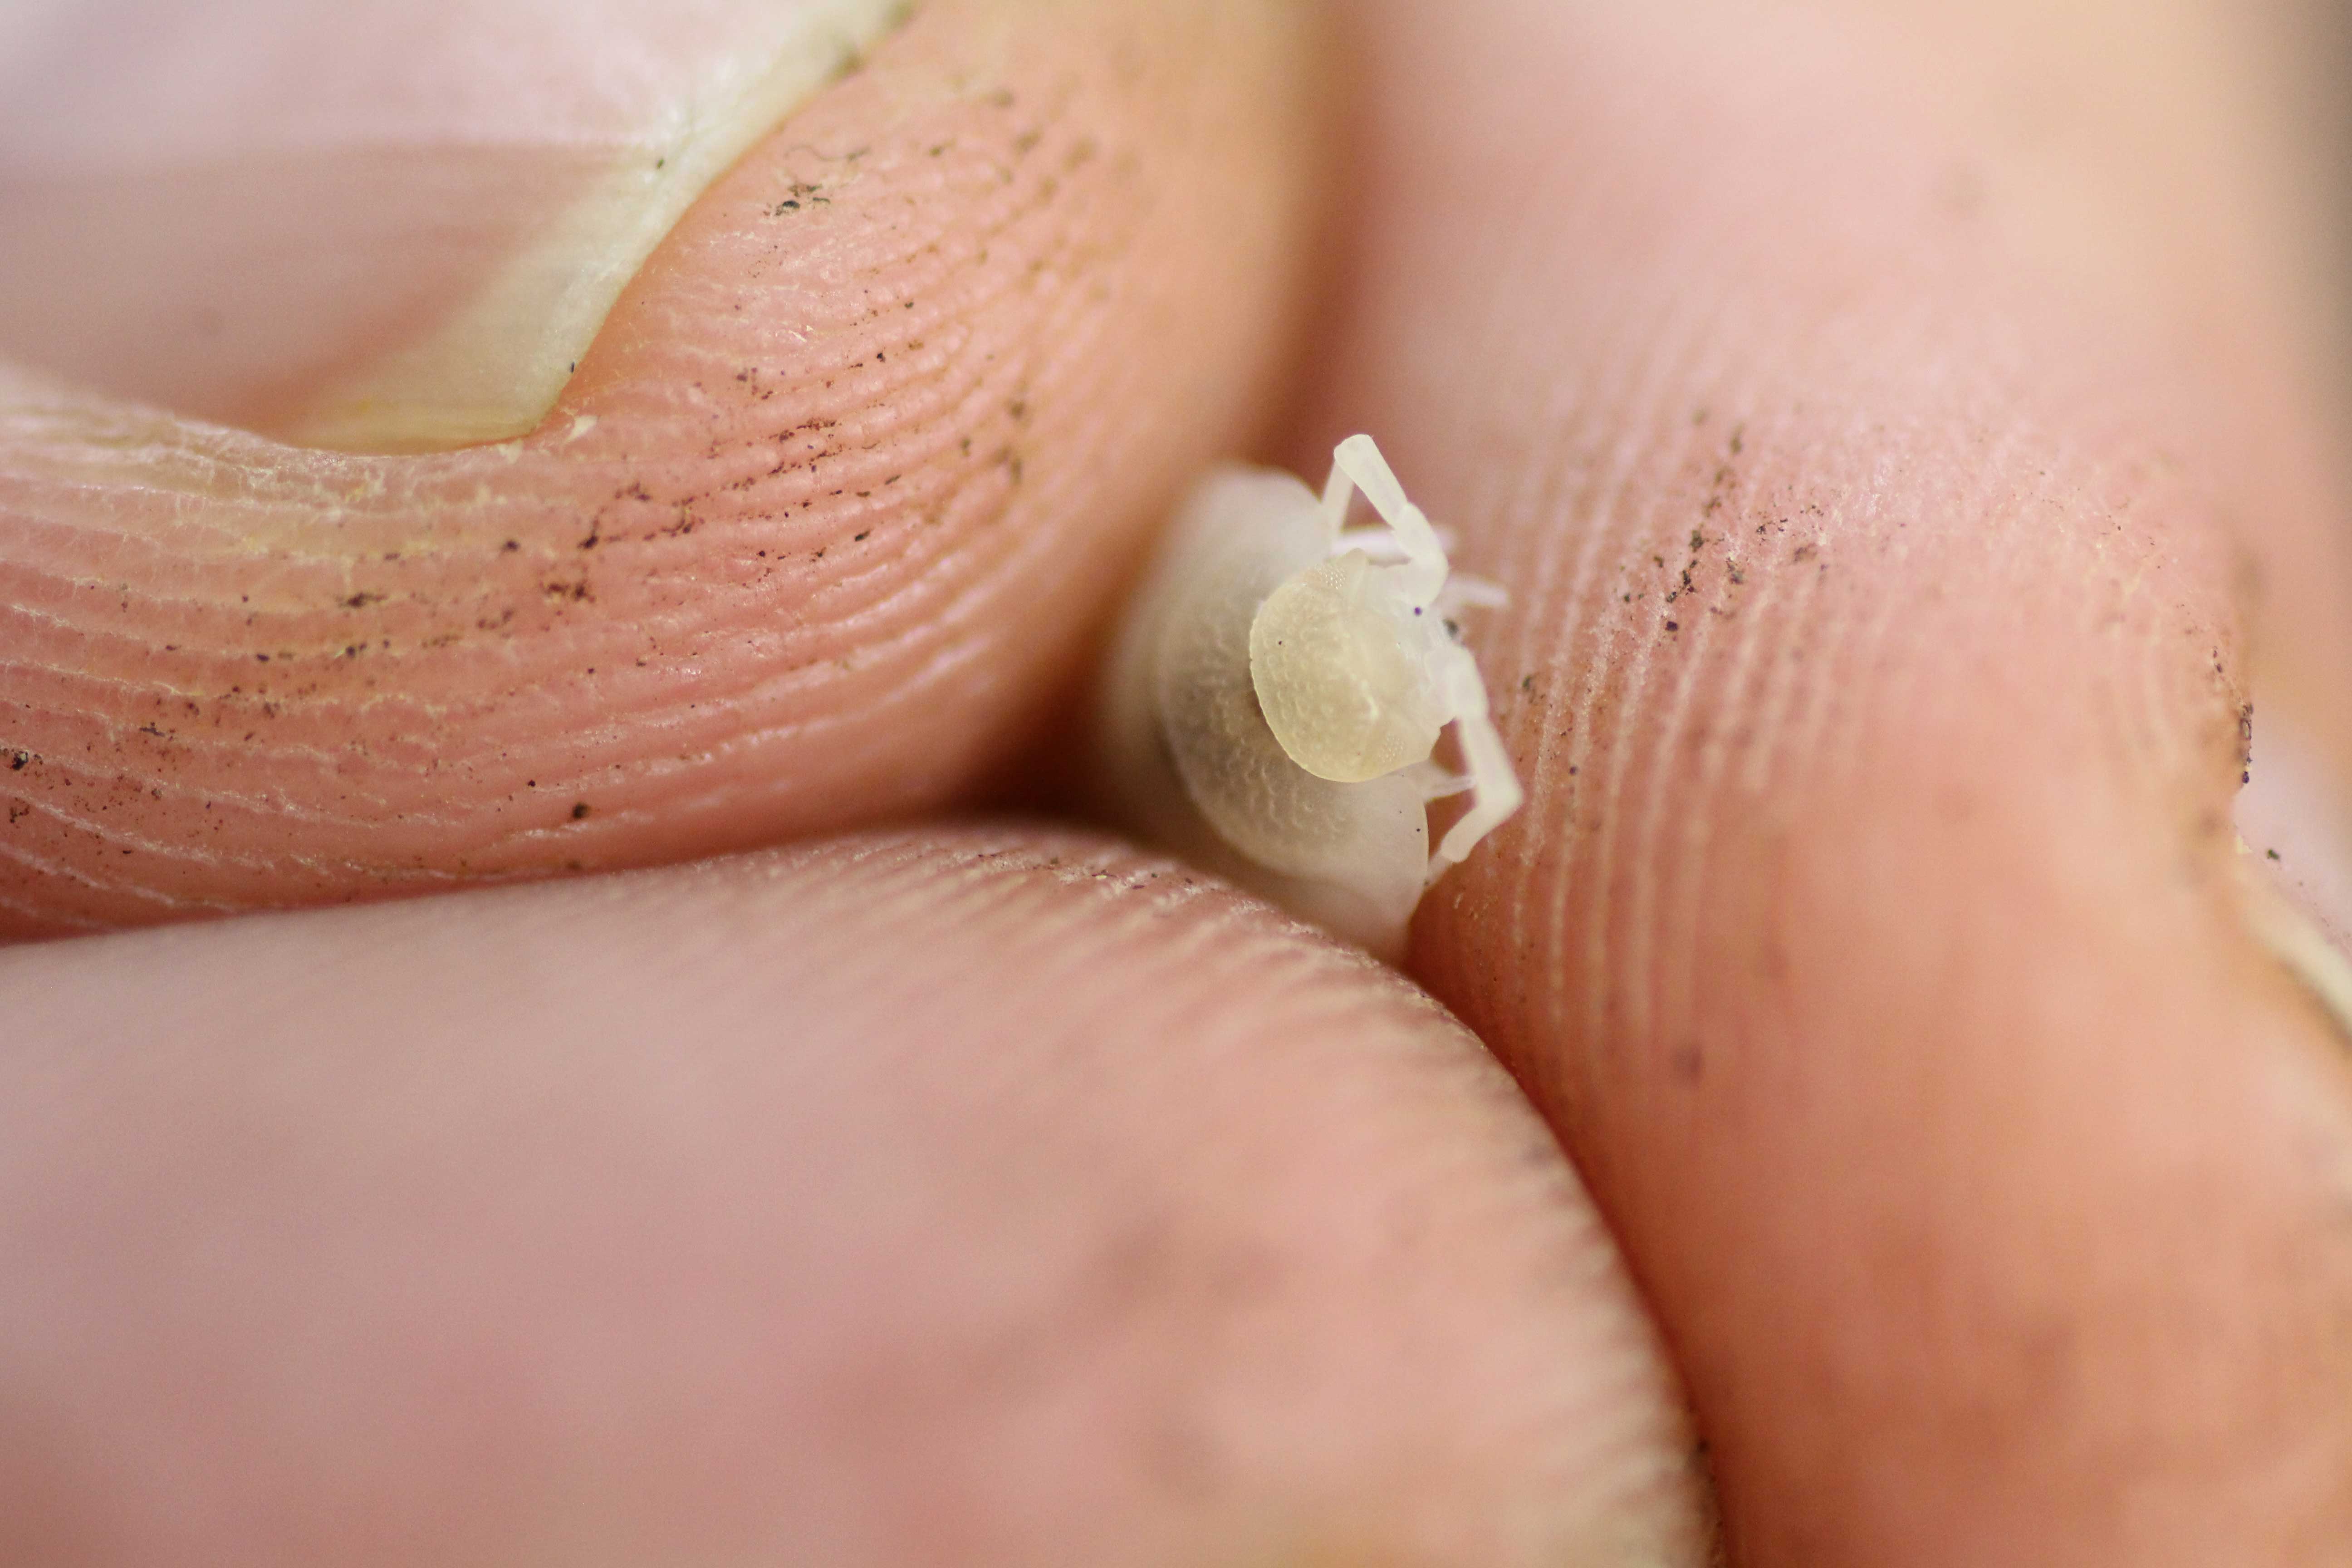
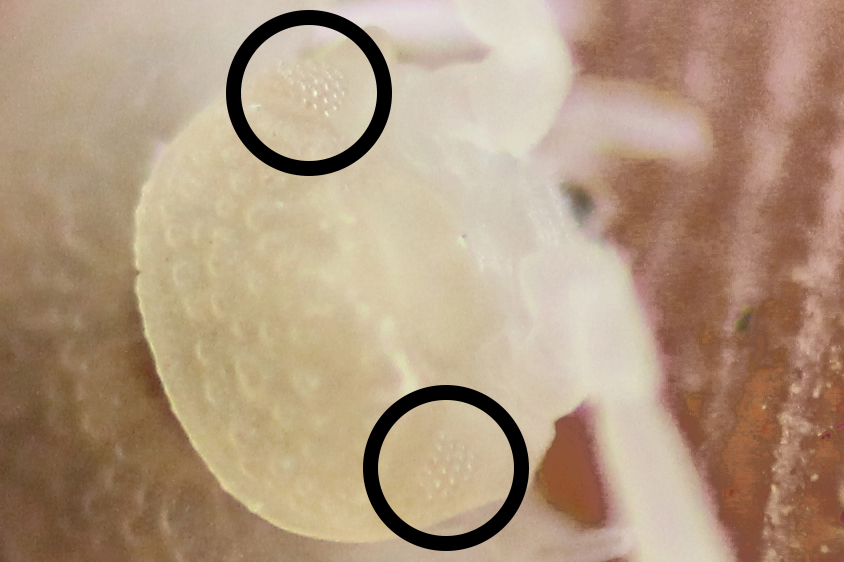
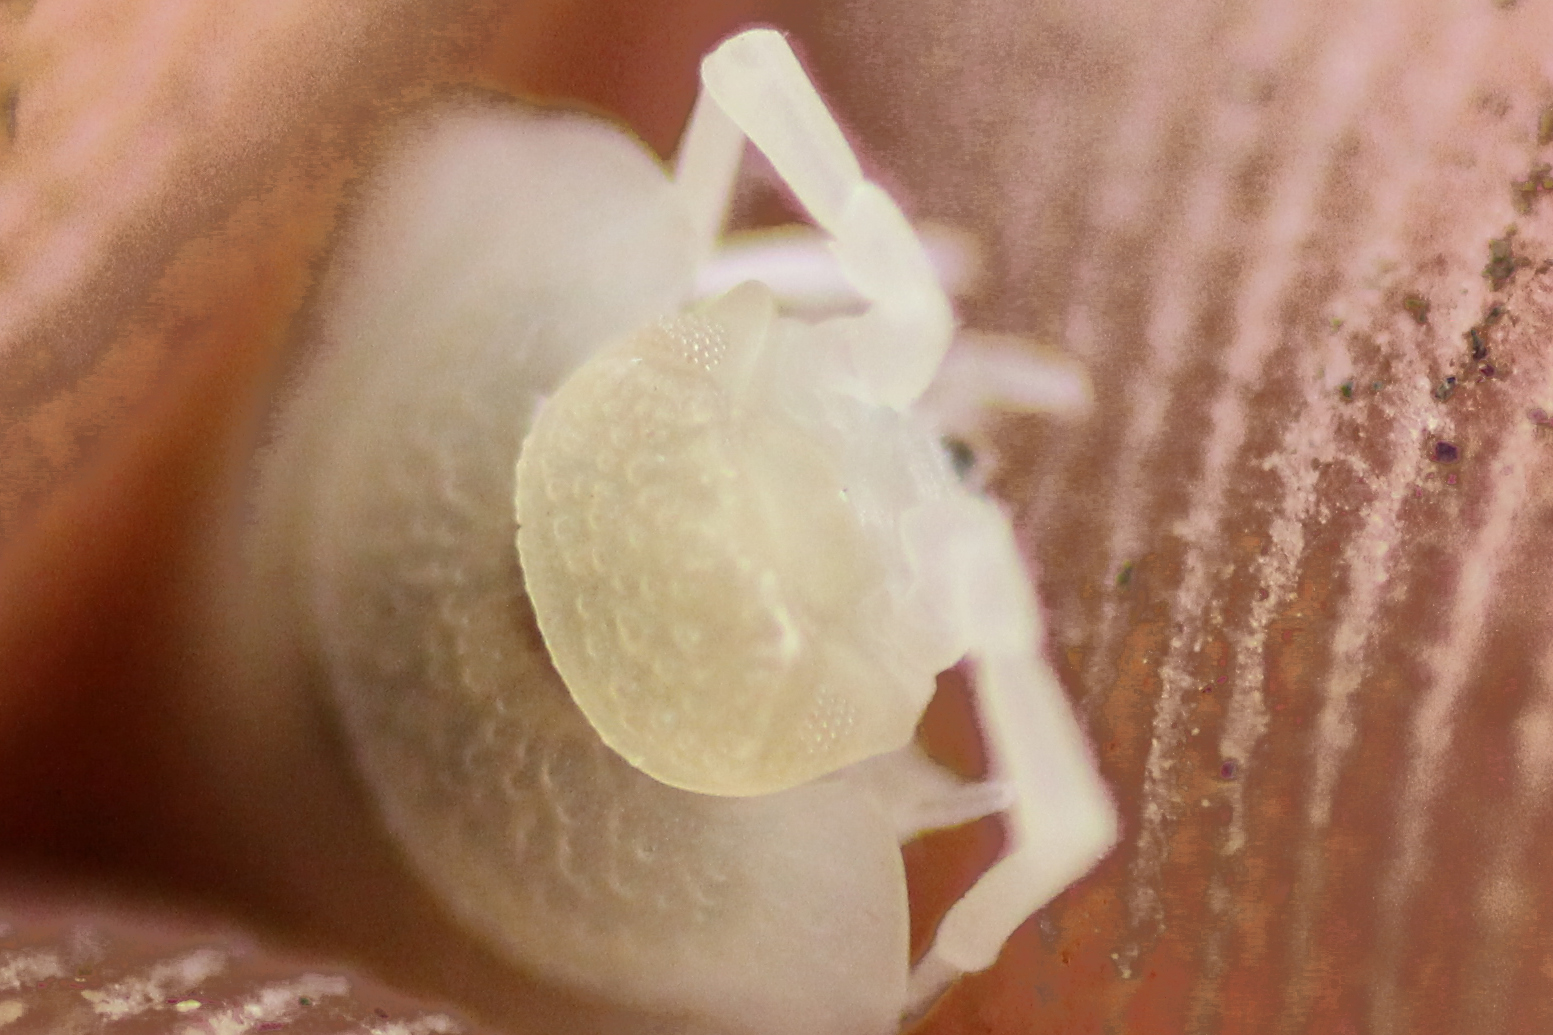
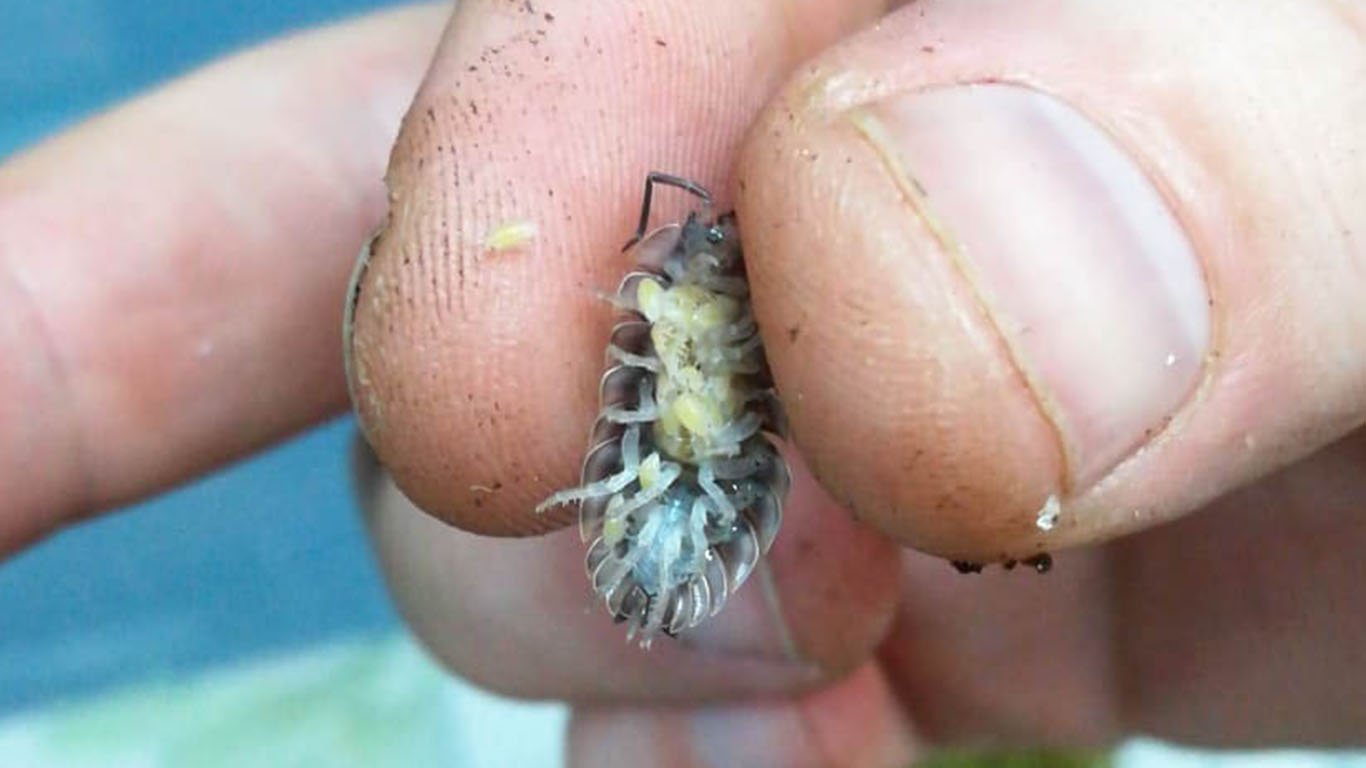
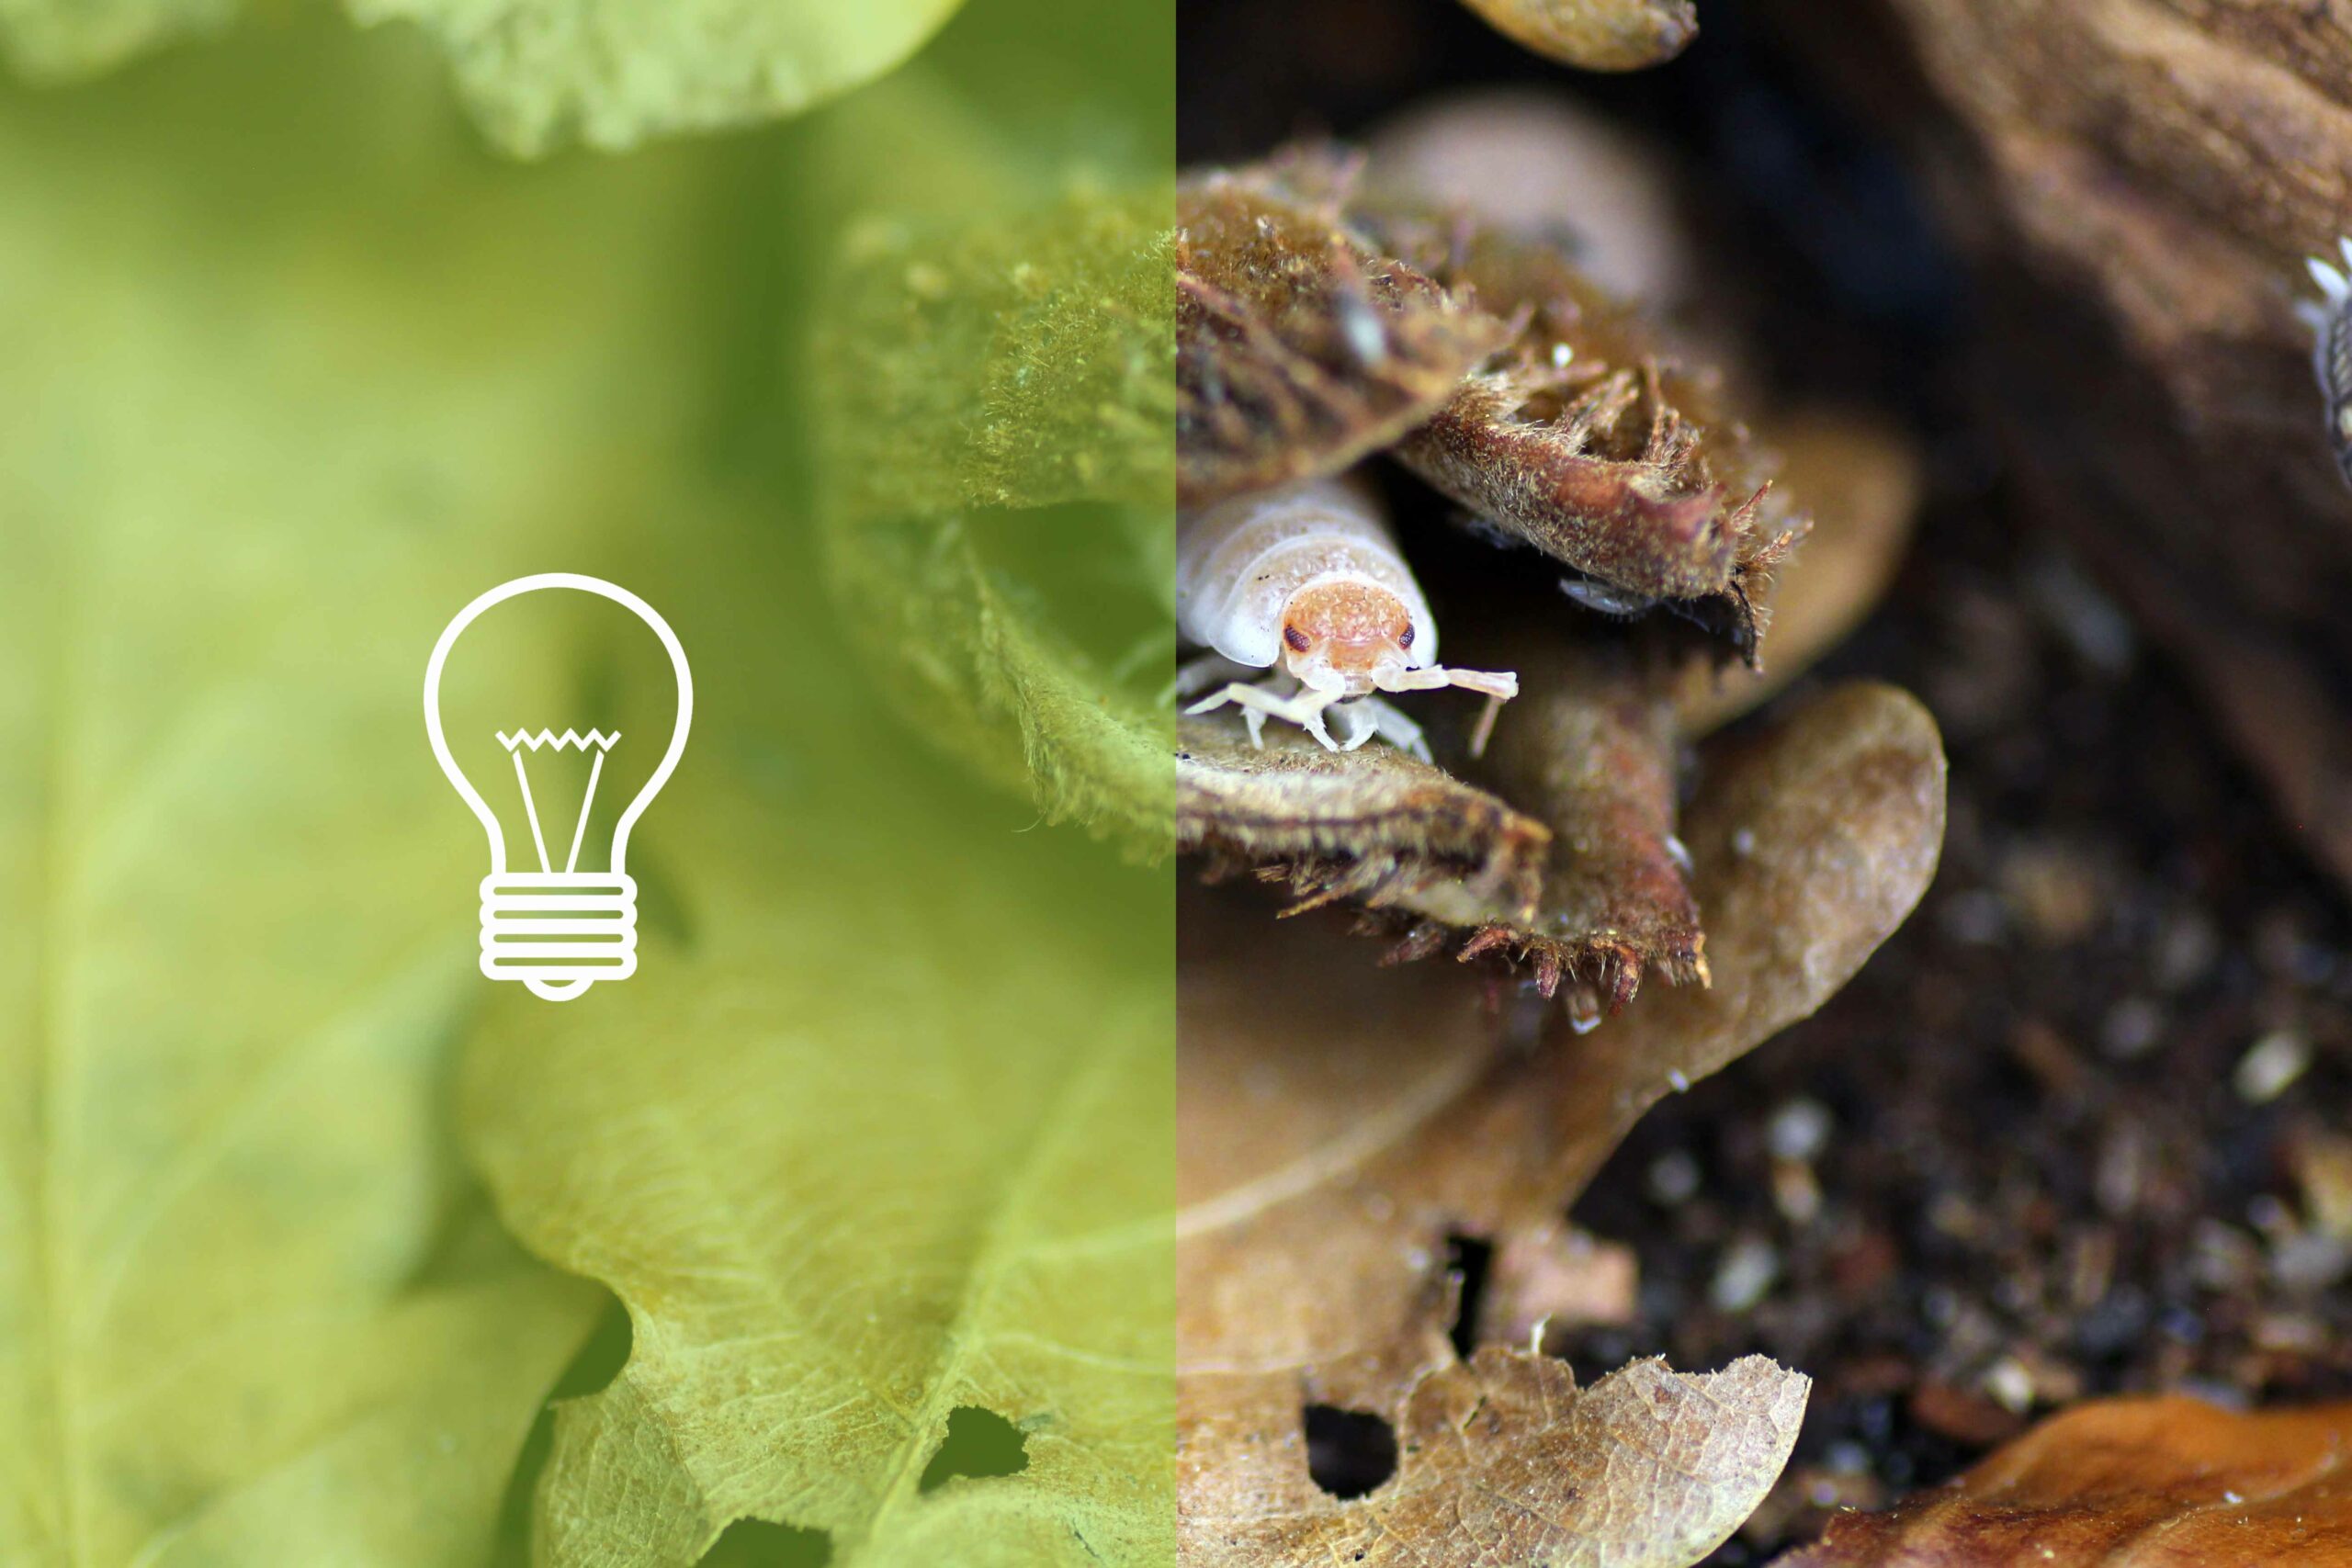
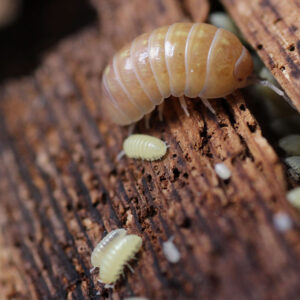
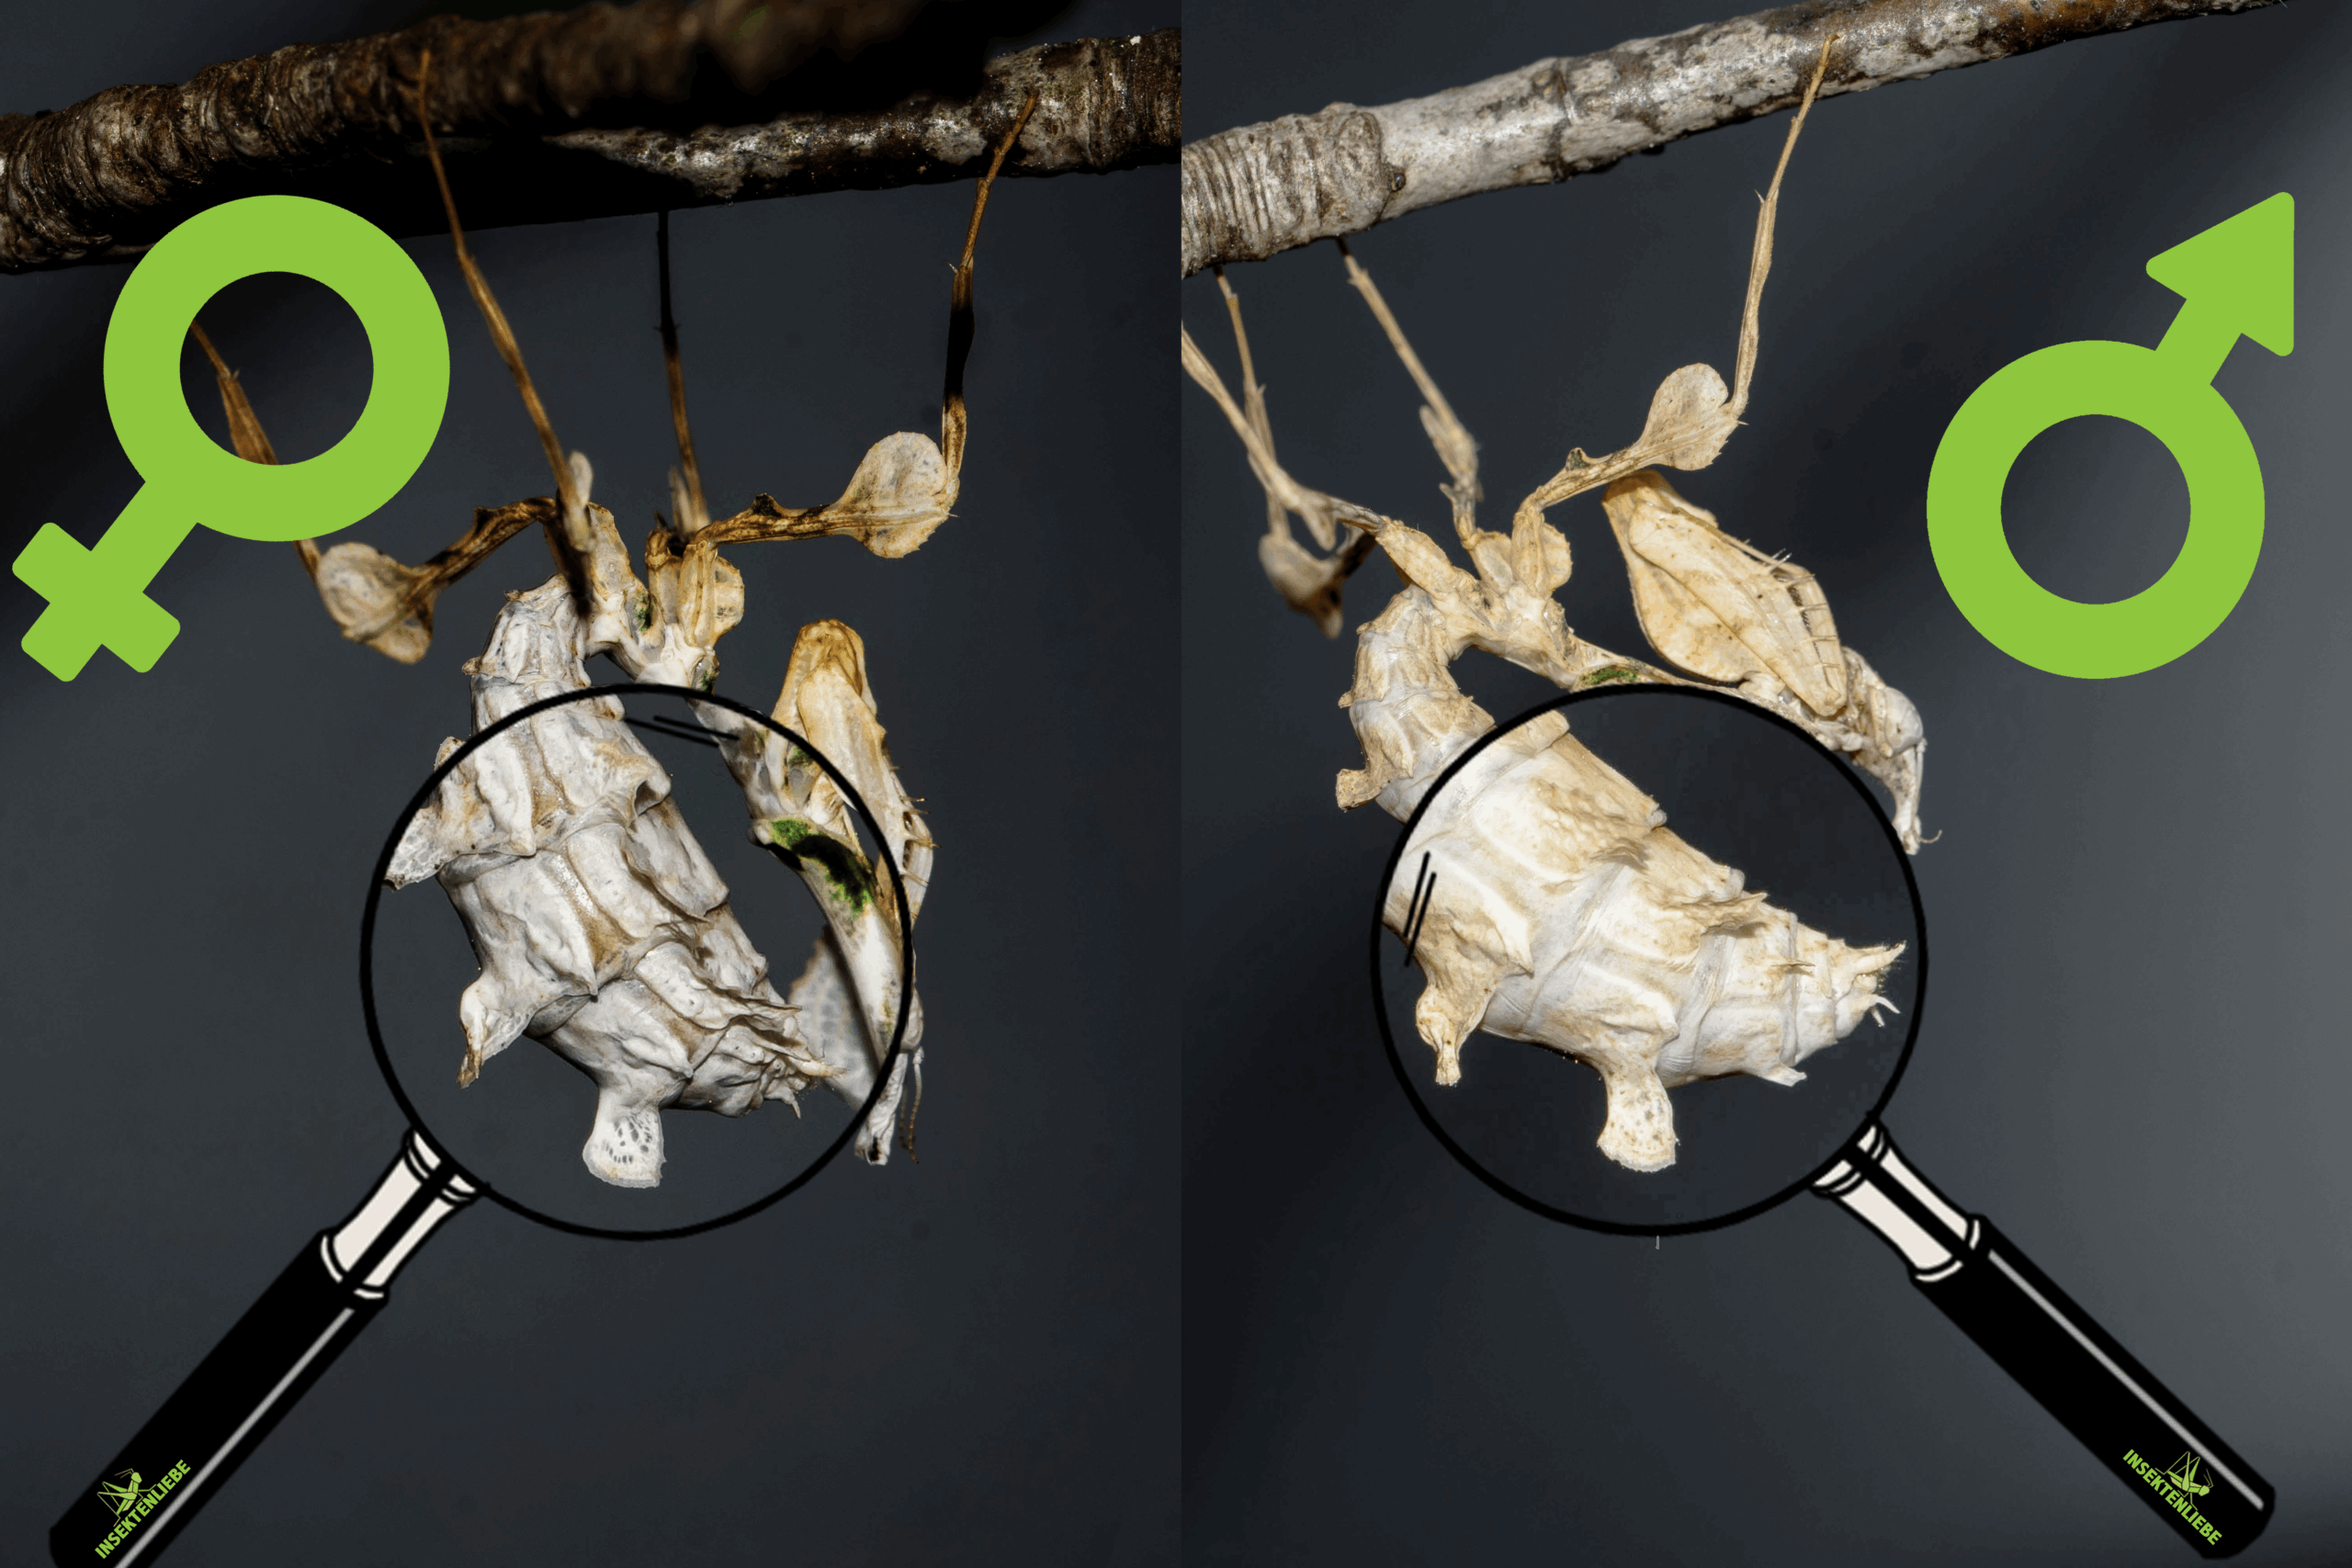
Jumping spiders go through different stages of development.
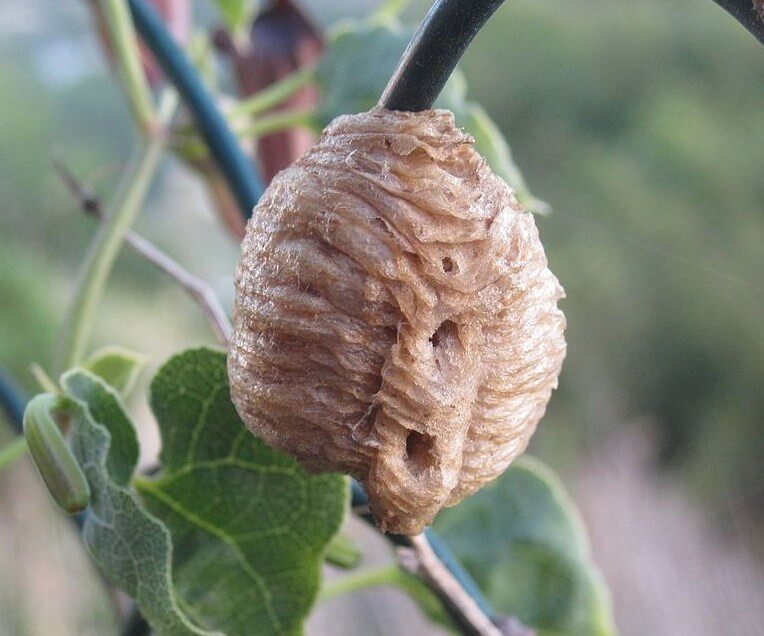
Starting with the egg, they go through various larval stages in the cocoon. The larvae can only feed to a limited extent, cannot yet produce spider silk and their motor skills are not yet fully developed. In the first phase after hatching from the egg, the small jumping spiders feed exclusively from a yolk sac located on the abdomen. The first feeding moult(FH1) is the first stage of the young spiders after the larval stages, in which the jumping spiders hunt independently and prey on food animals. After each subsequent moult, the number after the abbreviation FH increases by one.
Do I need lighting for keeping jumping spiders?
Jumping spiders are diurnal and hunt their prey on sight. For this reason, bright lighting in the terrarium is very important for keeping jumping spiders. Without sufficient light, the small spiders are more inactive or may not find their food. The lighting time should be around twelve hours a day. This can be automated using a timer. The temperature can drop to room temperature at night. When choosing lamps, you should make sure that you use daylight lamps.
Average temperature in the Bahamas:

Exo Terra Daylight Basking Spot Nano
Exo Terra Reptile Dome NANO
Exo Terra Daytime Heat Lamp
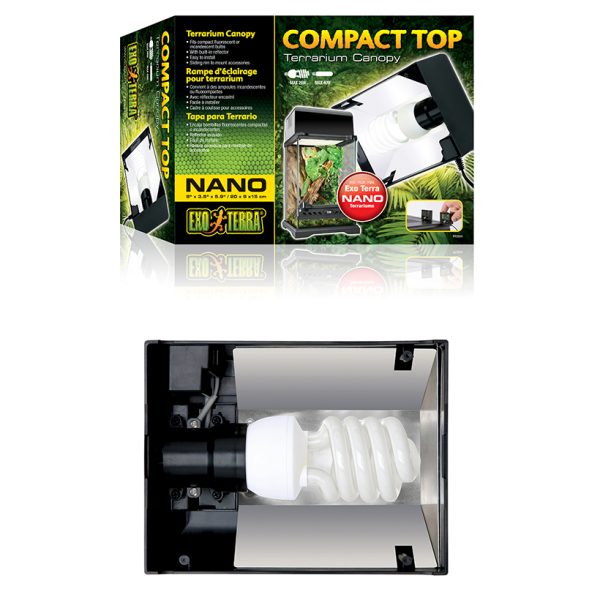
Exo Terra Compact Top Terrarium Lamp Cover
What do I have to consider with the temperature?
As already mentioned, Phidippus regius come from very warm regions of the world. For this reason, the temperature in the terrarium should be at least 26°C for the correct keeping of jumping spiders. Even 28-30°C is better. If the temperature is too low, the jumping spiders will only reach a very small size or will stop eating, for example. A heat lamp can help to achieve these temperatures. It is best to test the temperature in the terrarium with a thermometer before placing the animal in it. The upper part of the terrarium should reach a temperature of 28-30 °C. The lower part of the terrarium can be 1-2 °C lower. This creates different heat zones in the terrarium and the jumping spider can choose the optimum temperature for itself.
Which terrarium is suitable for keeping jumping spiders?
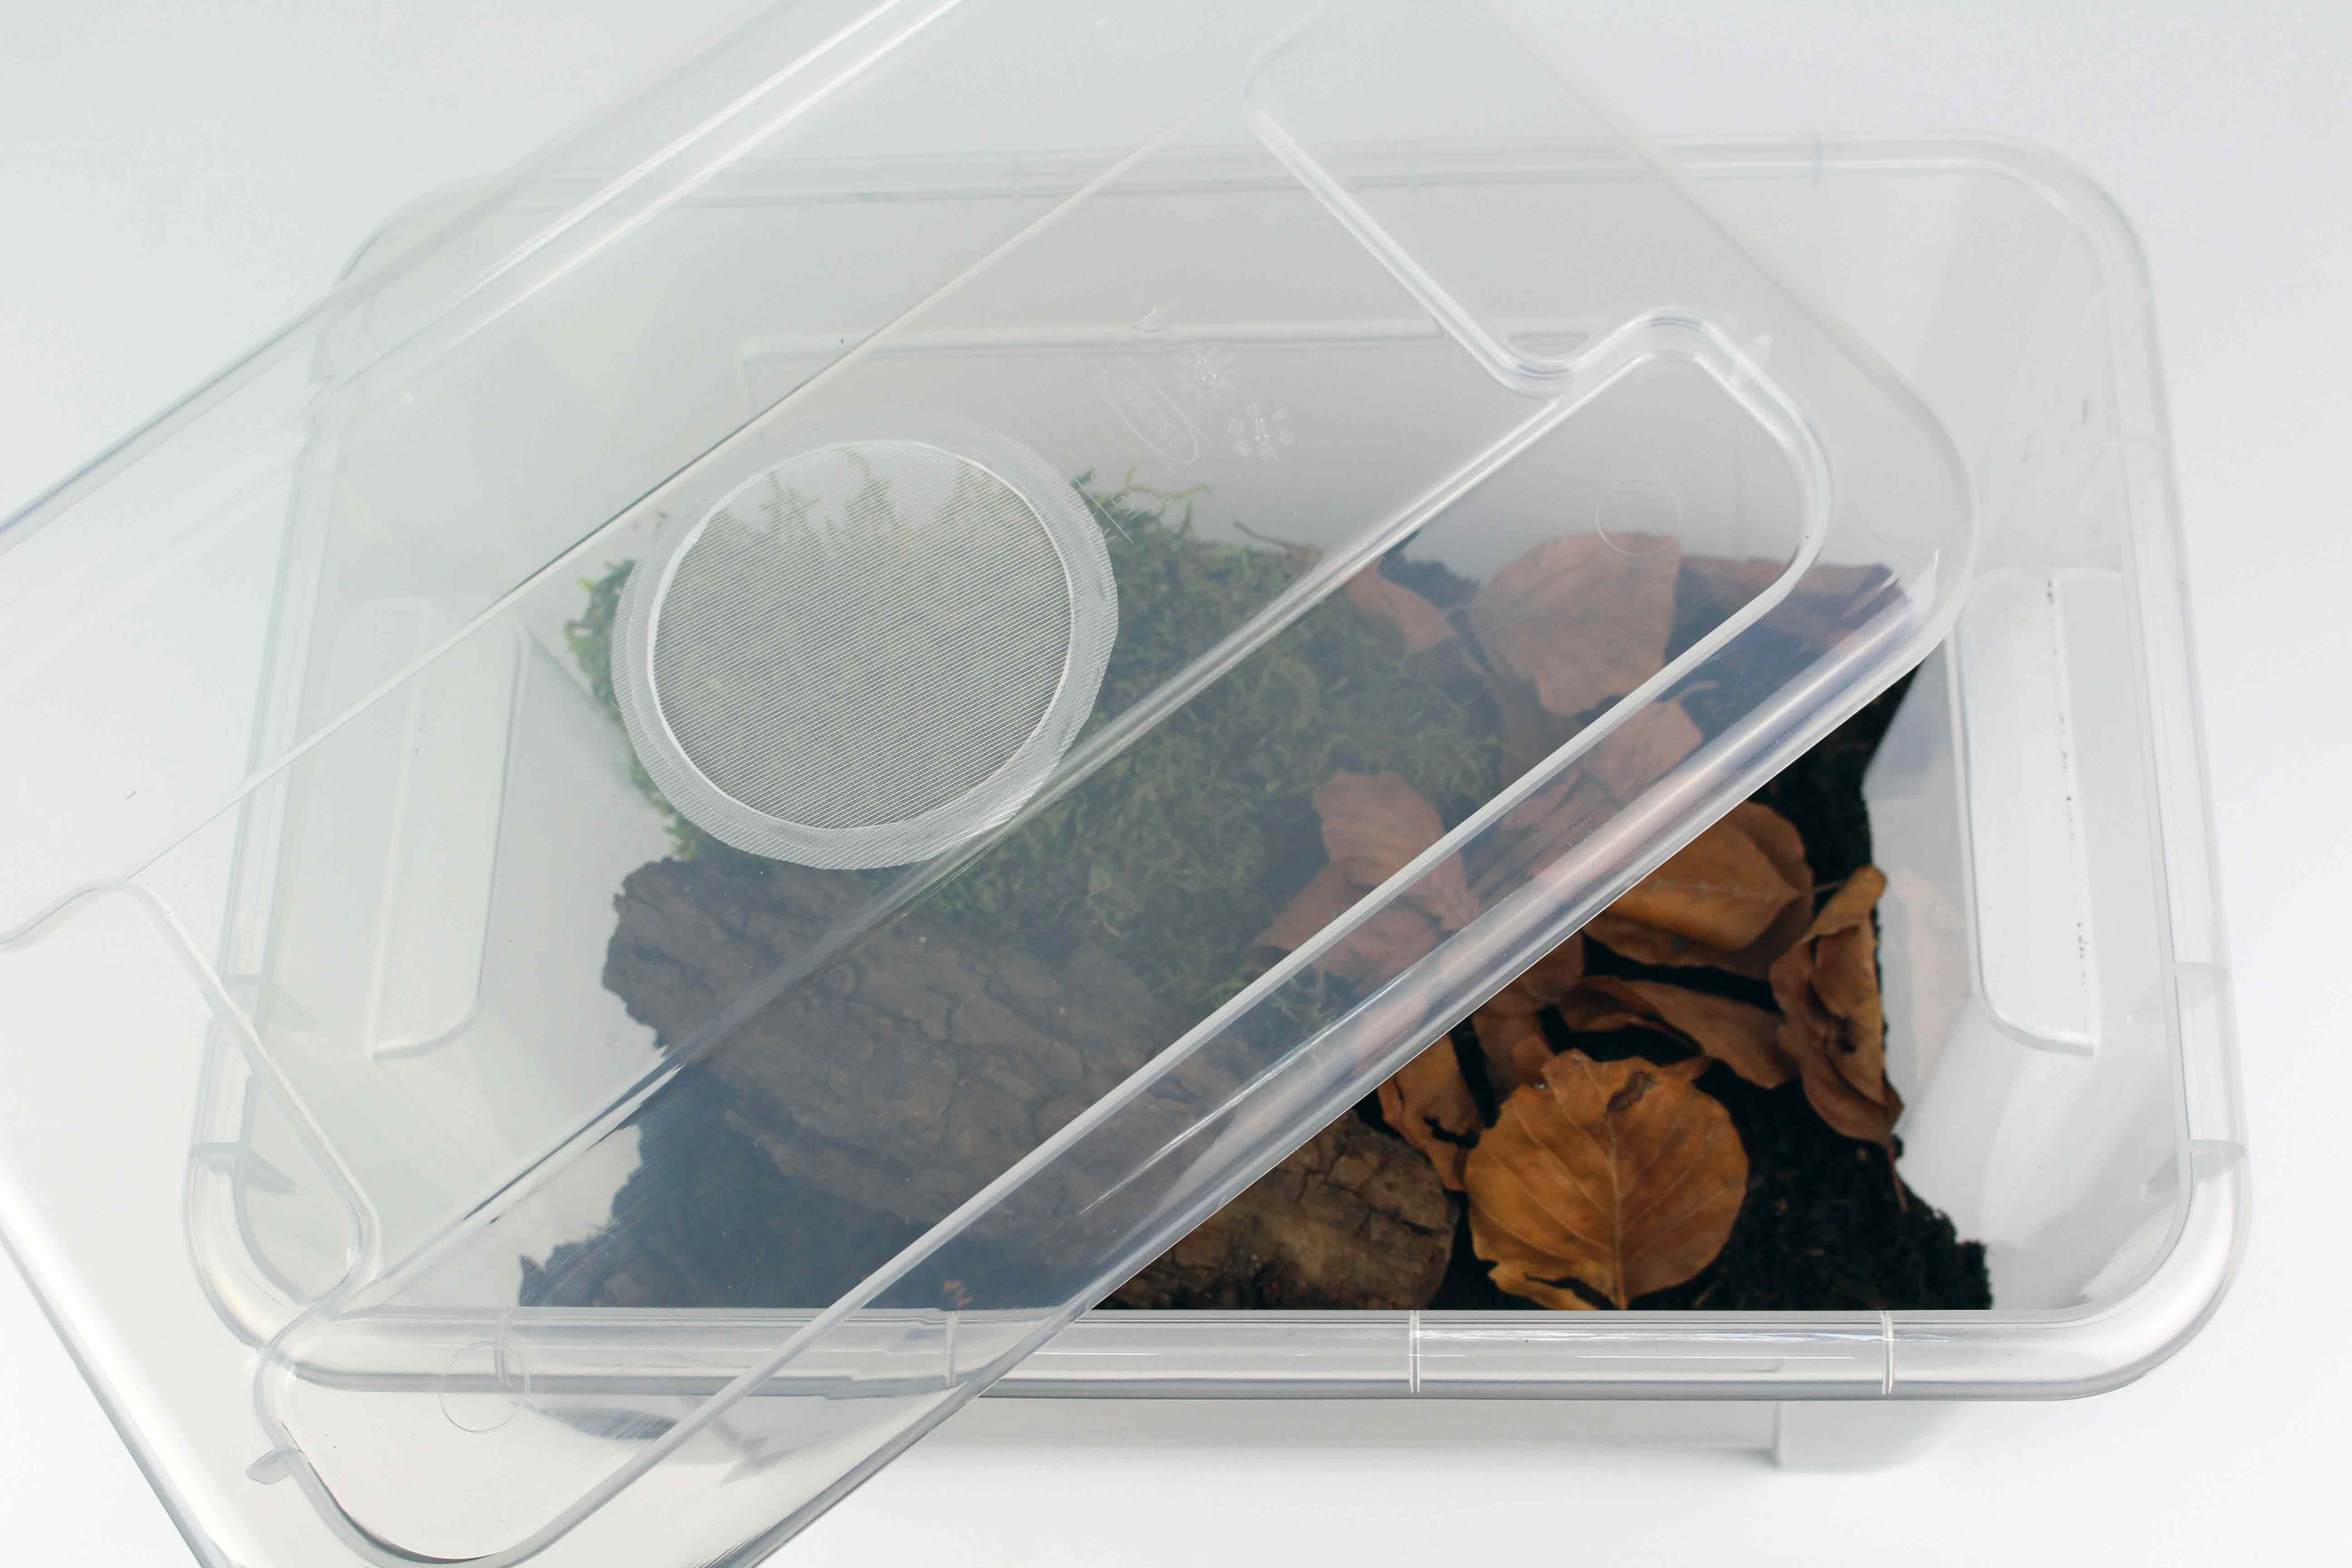
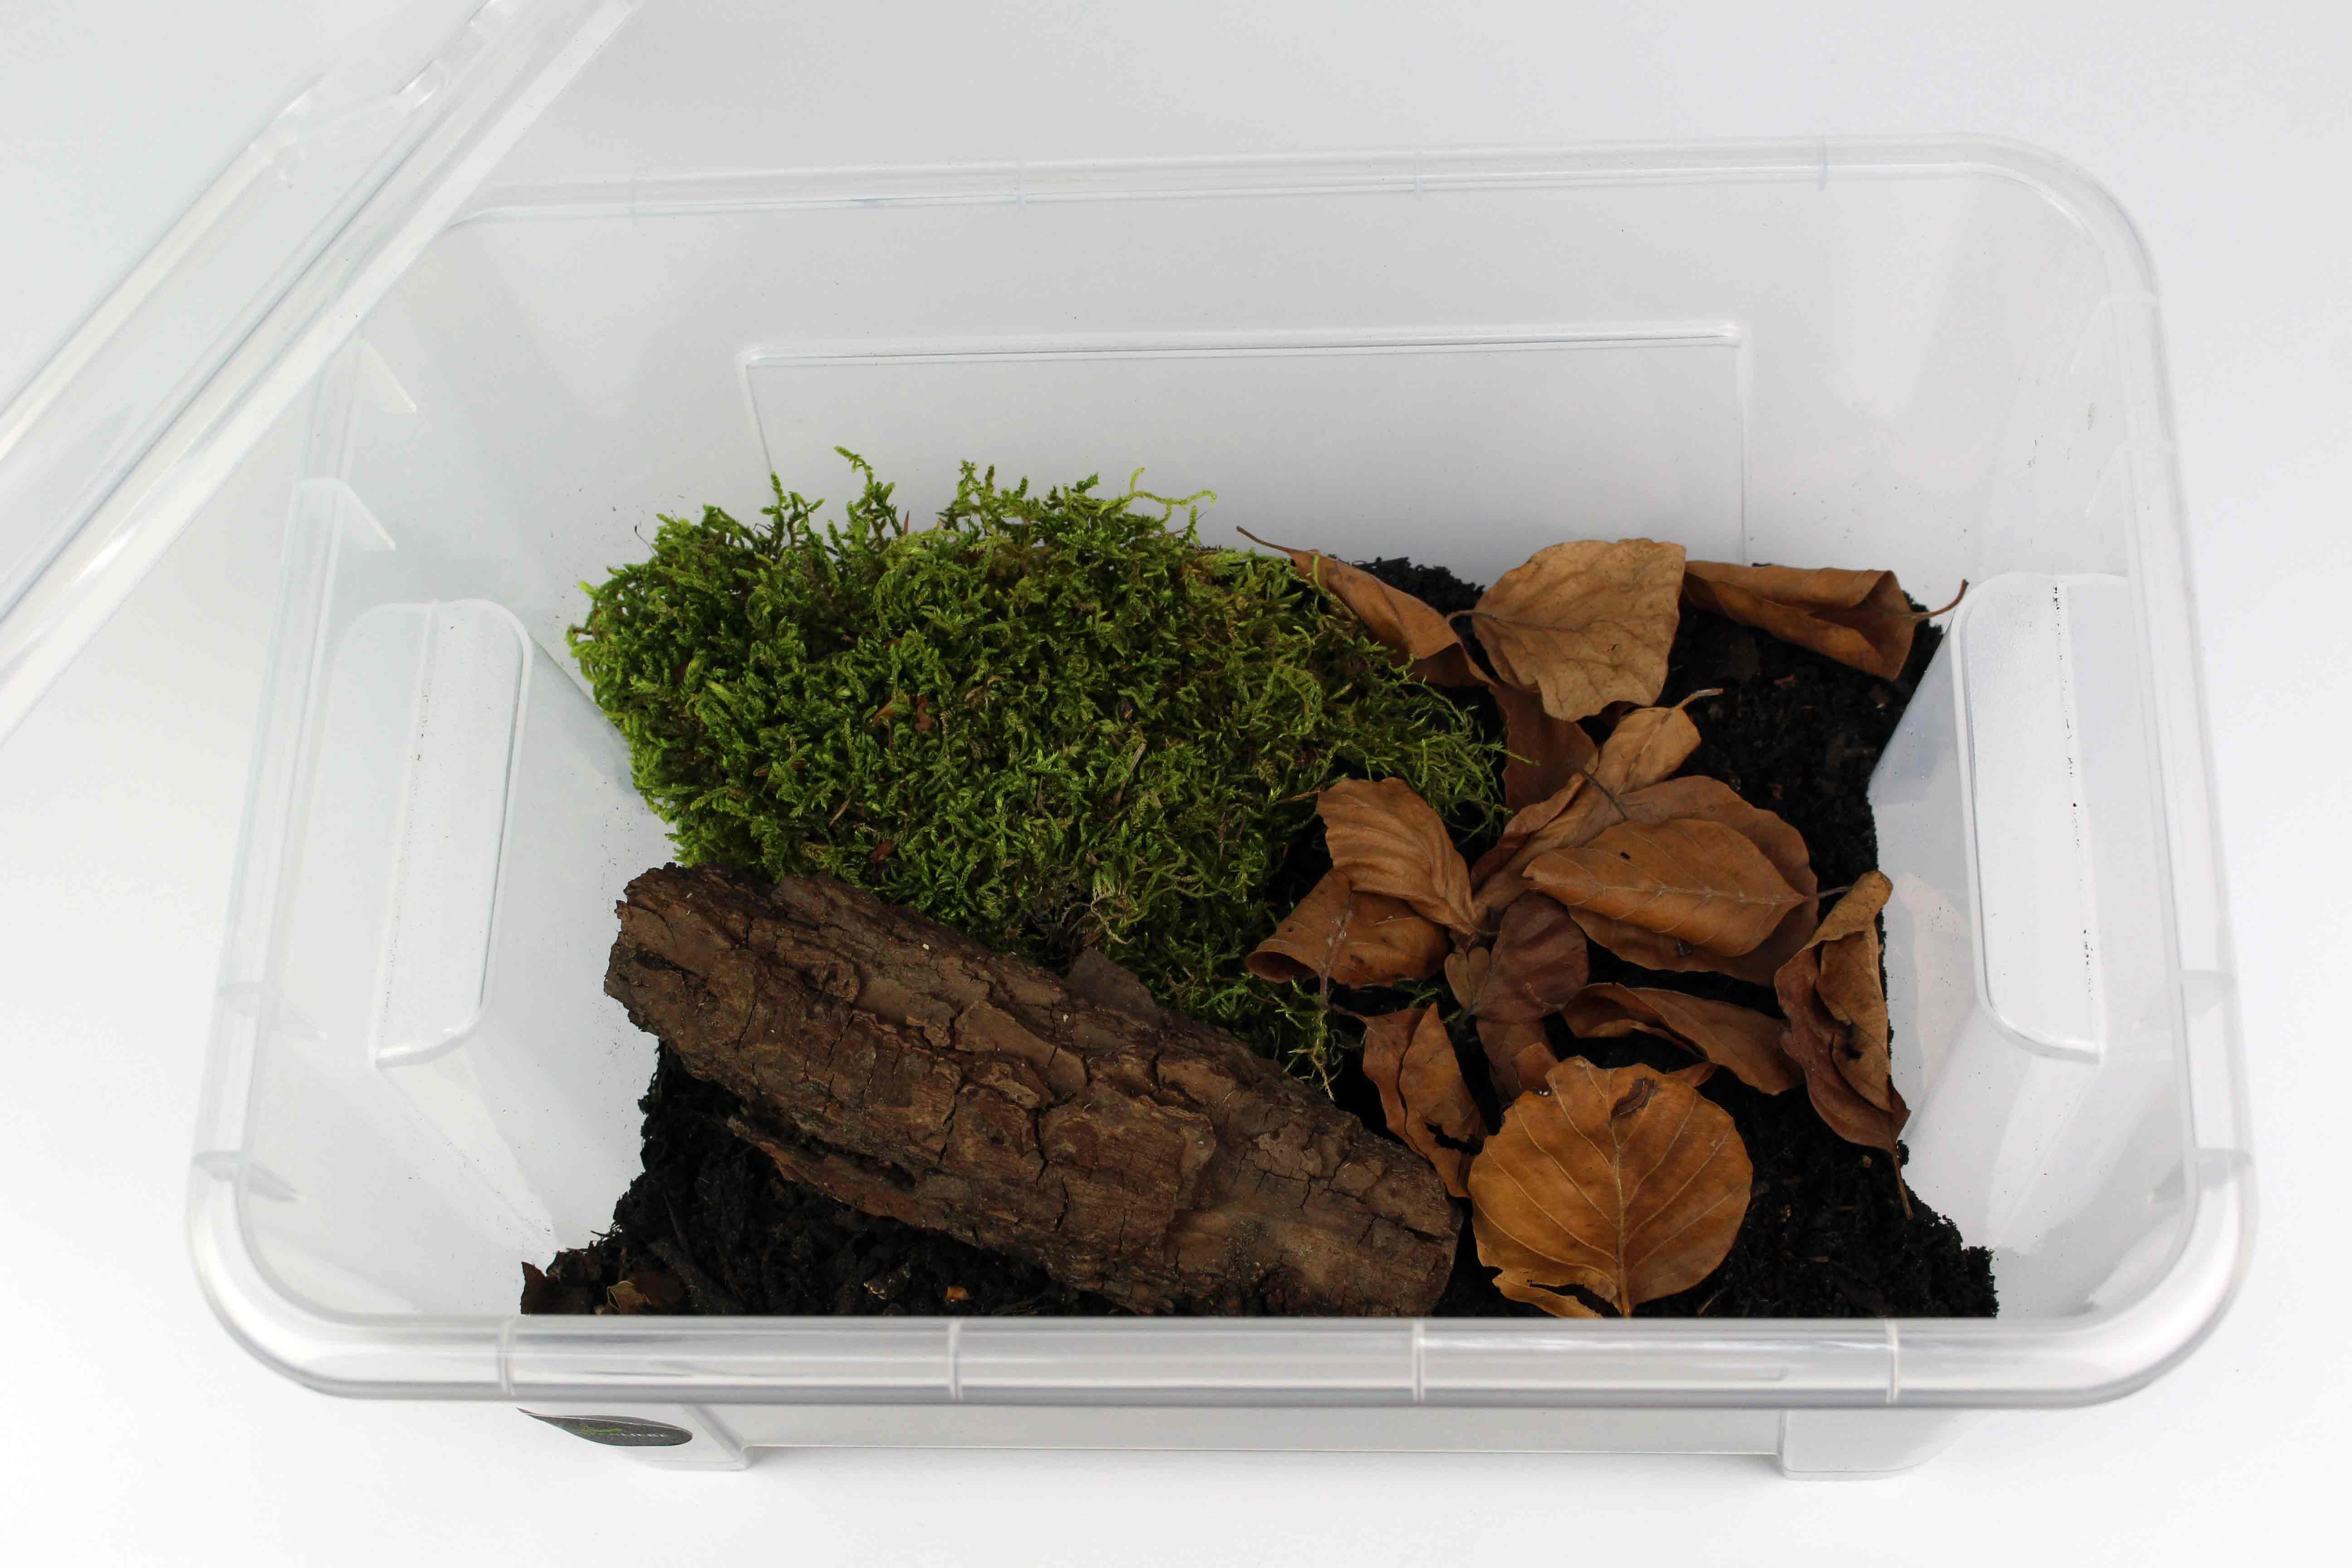
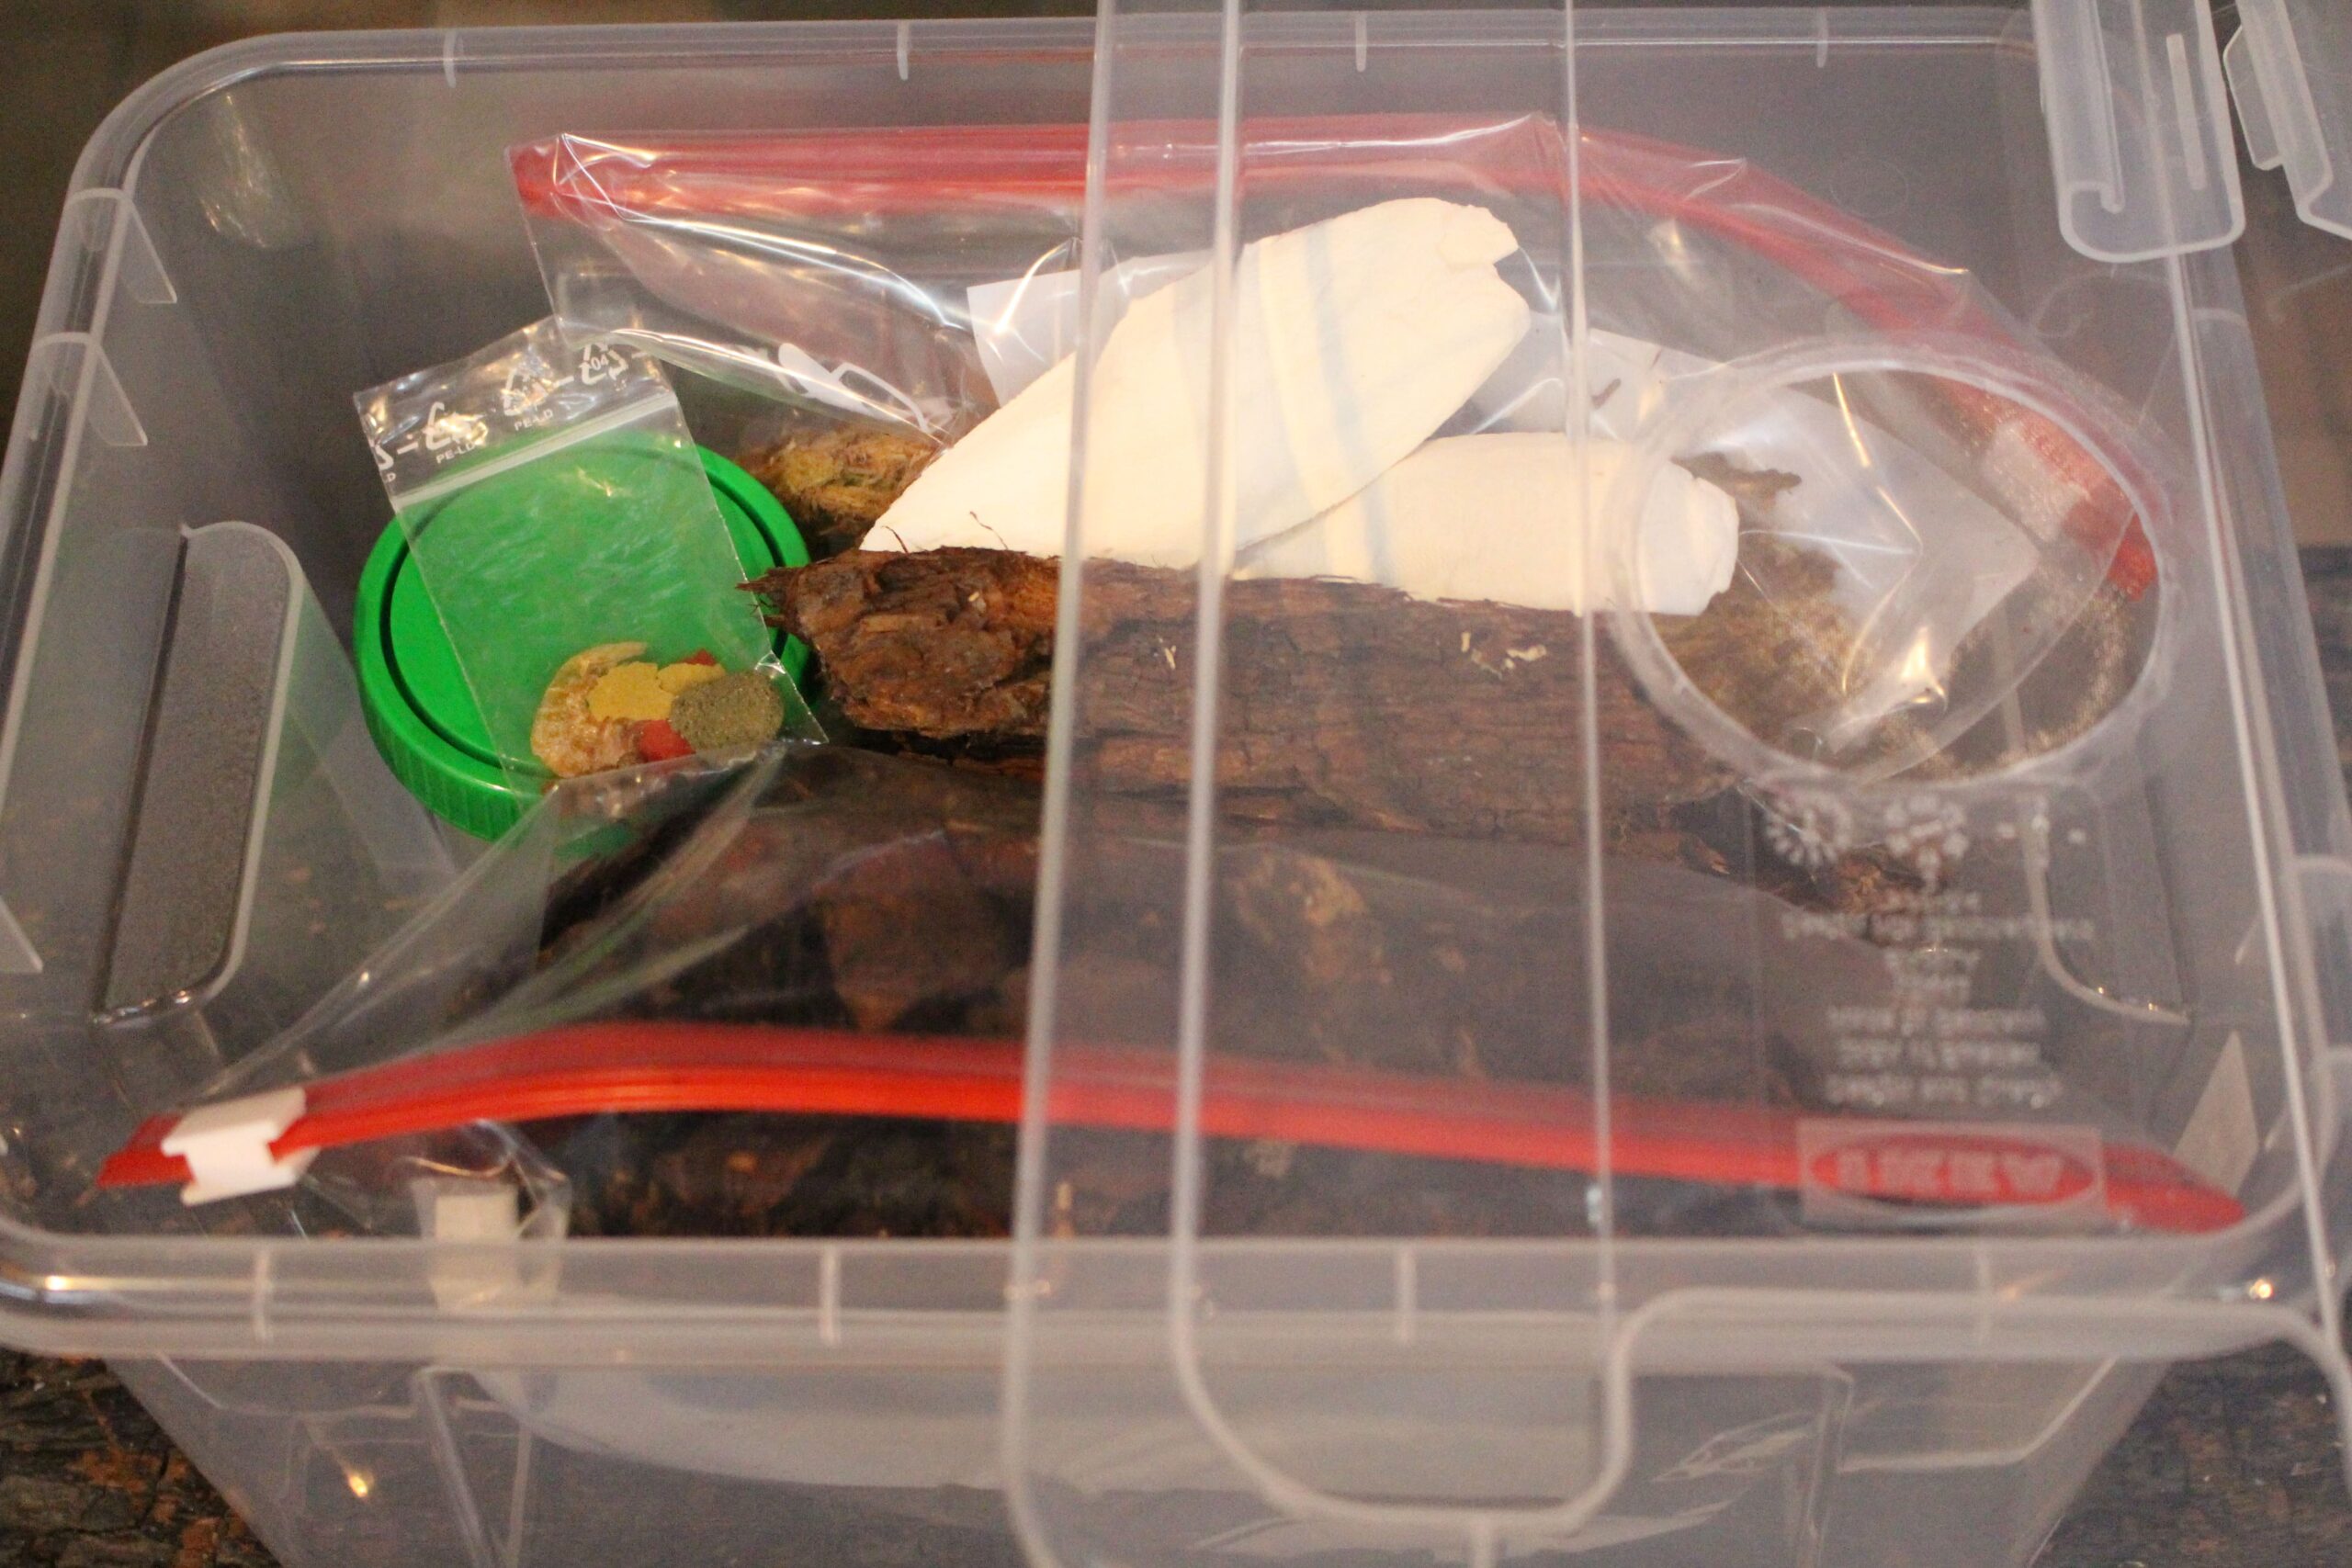
Terrariums with a greater height than length and width are particularly suitable for housing. Terrariums or containers measuring 10 × 17 × 21 cm to 20 × 20 × 30 cm are ideal. You can also keep the animals in containers with similar dimensions. Care should be taken to ensure good air circulation, e.g. in the form of a terrarium with double ventilation.
Jumping spiders generally like to stay in the upper part of the terrarium and spin their webs there.
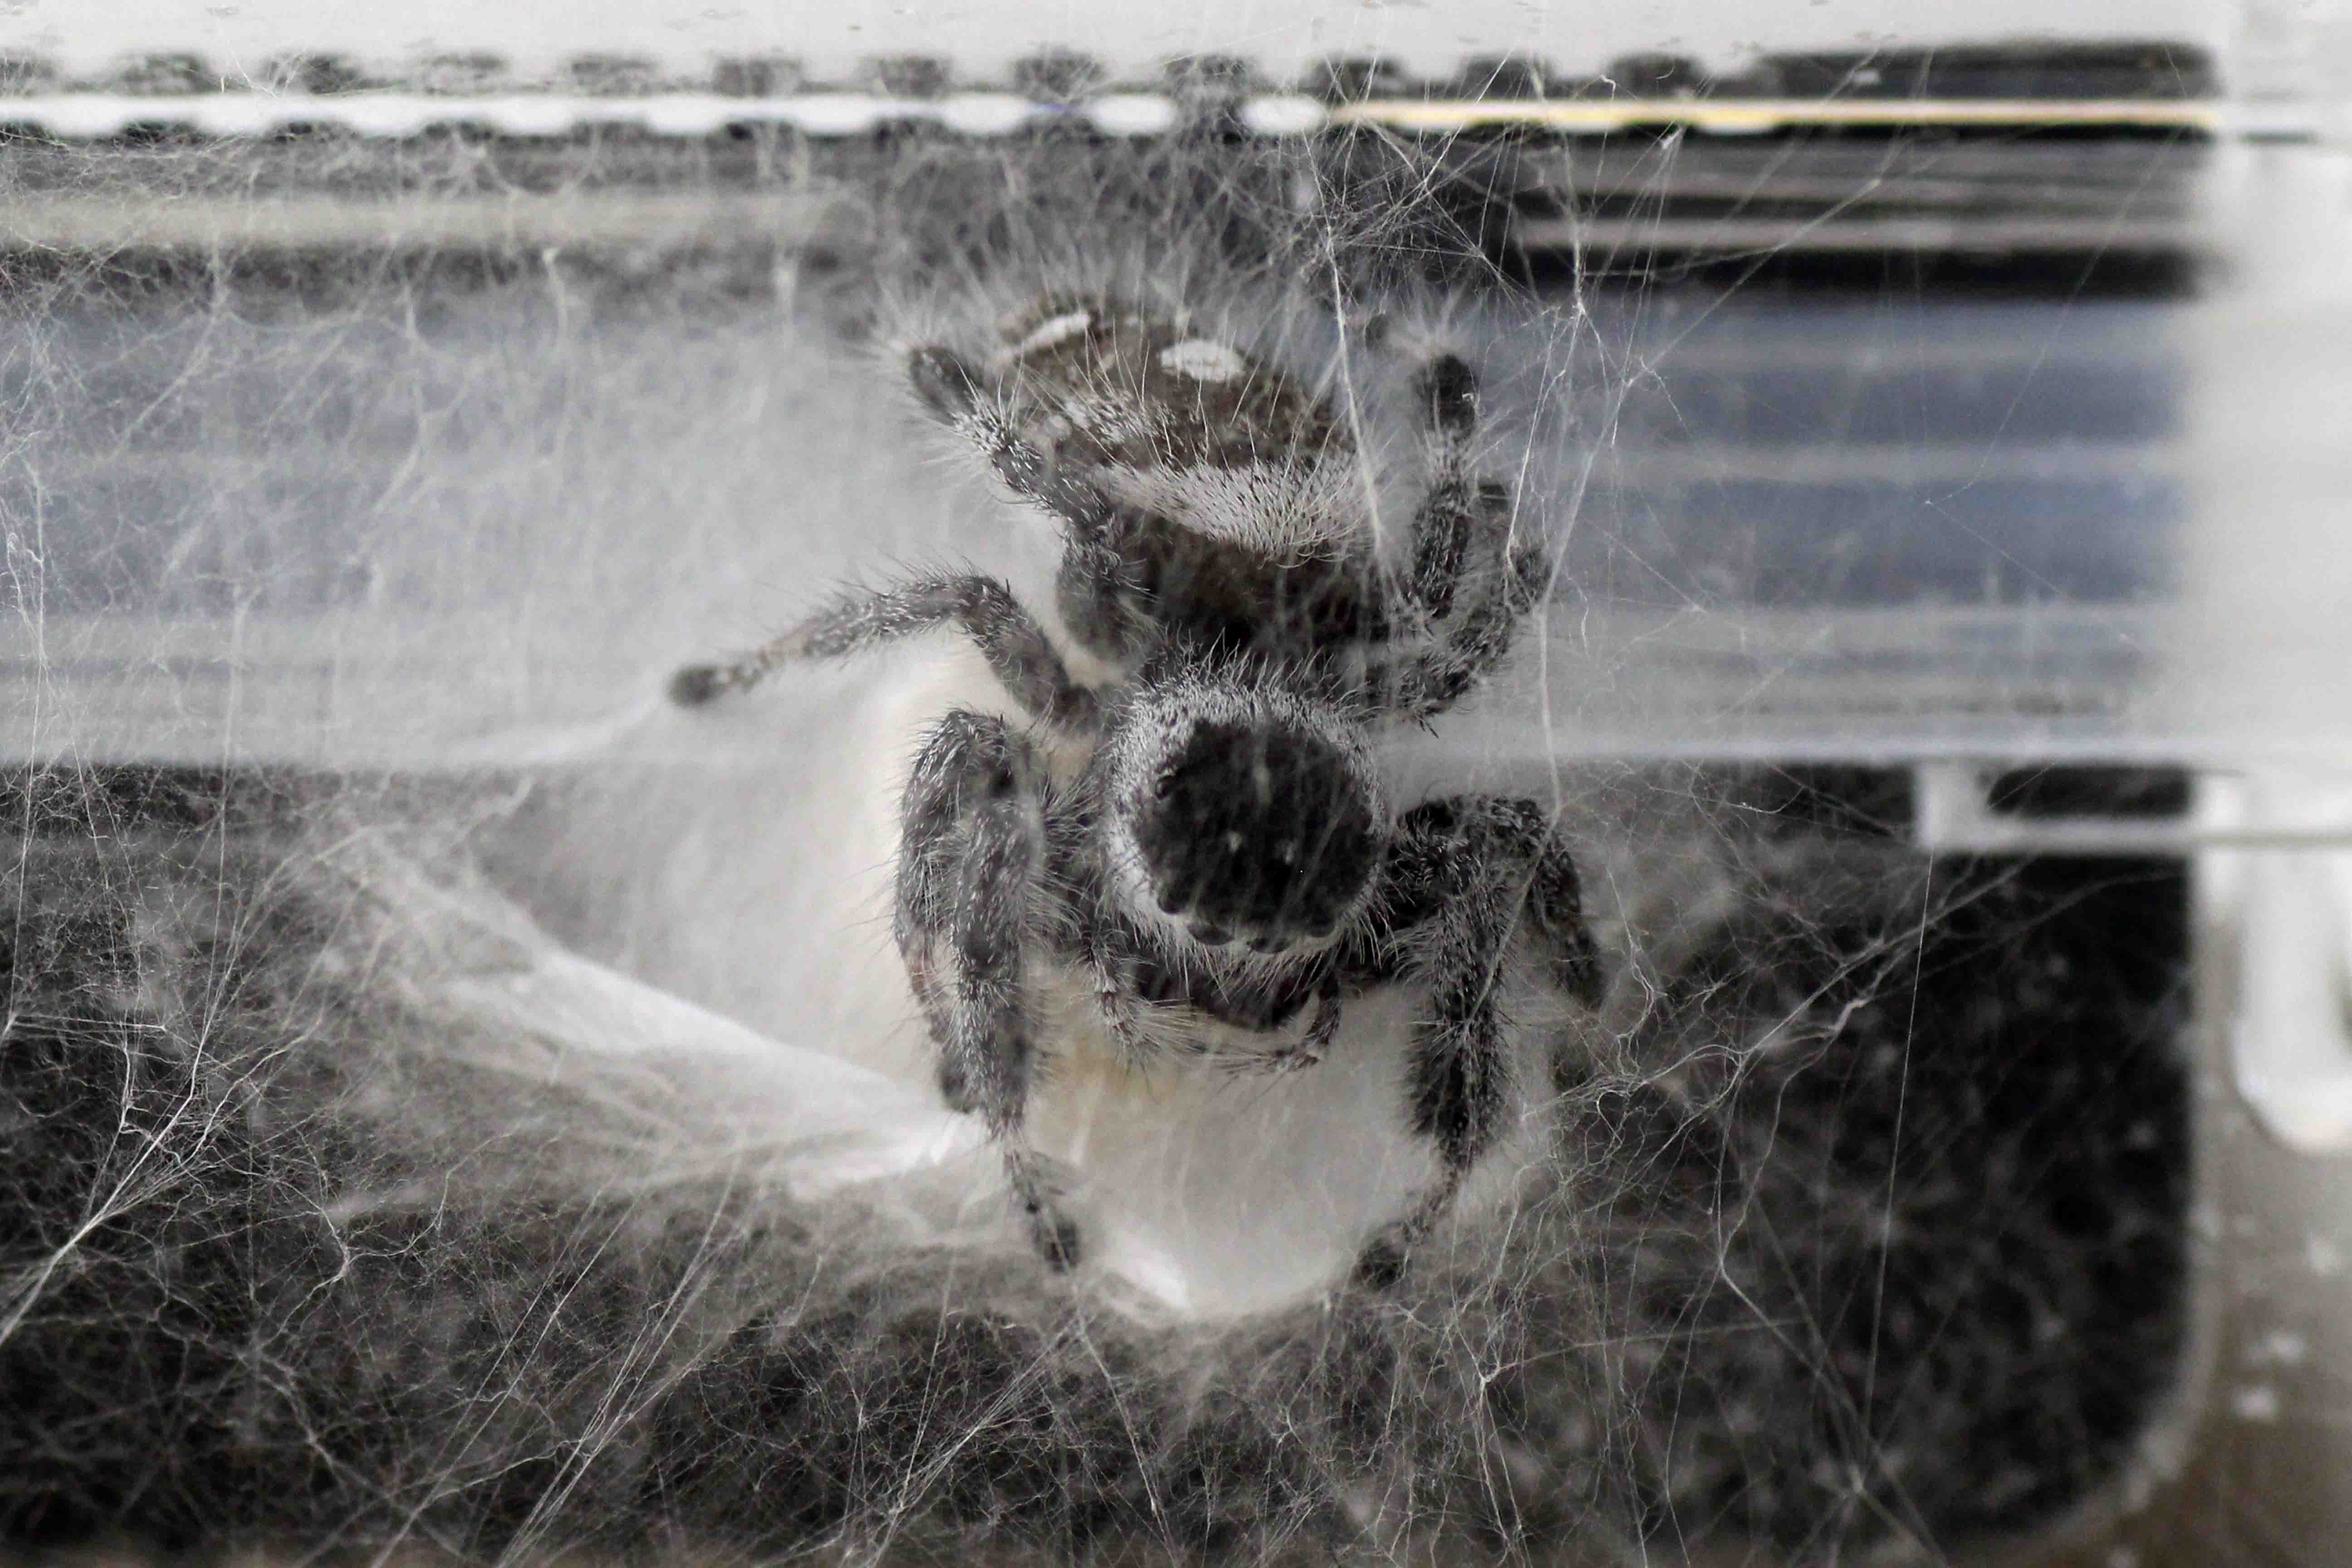

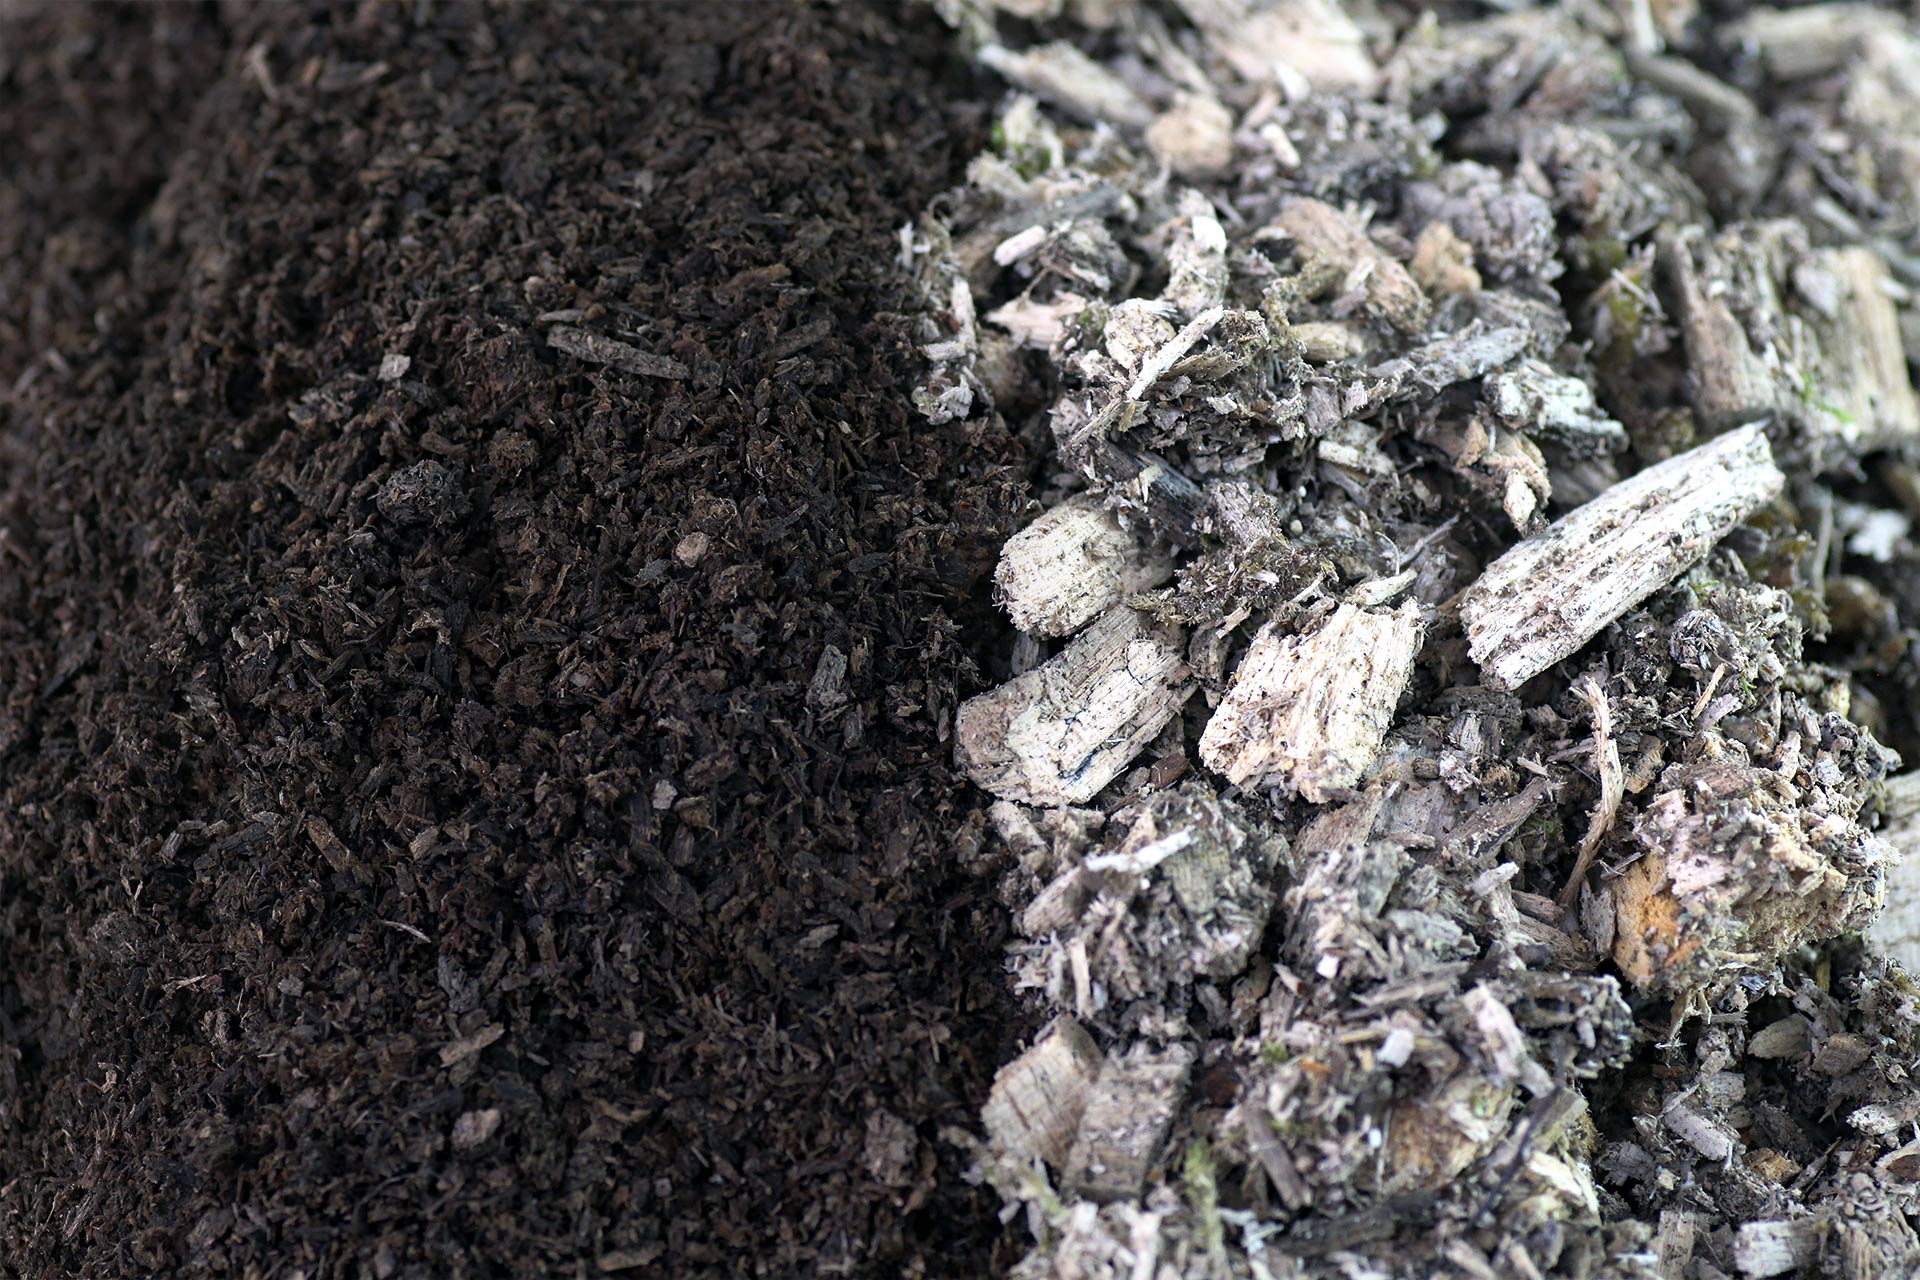
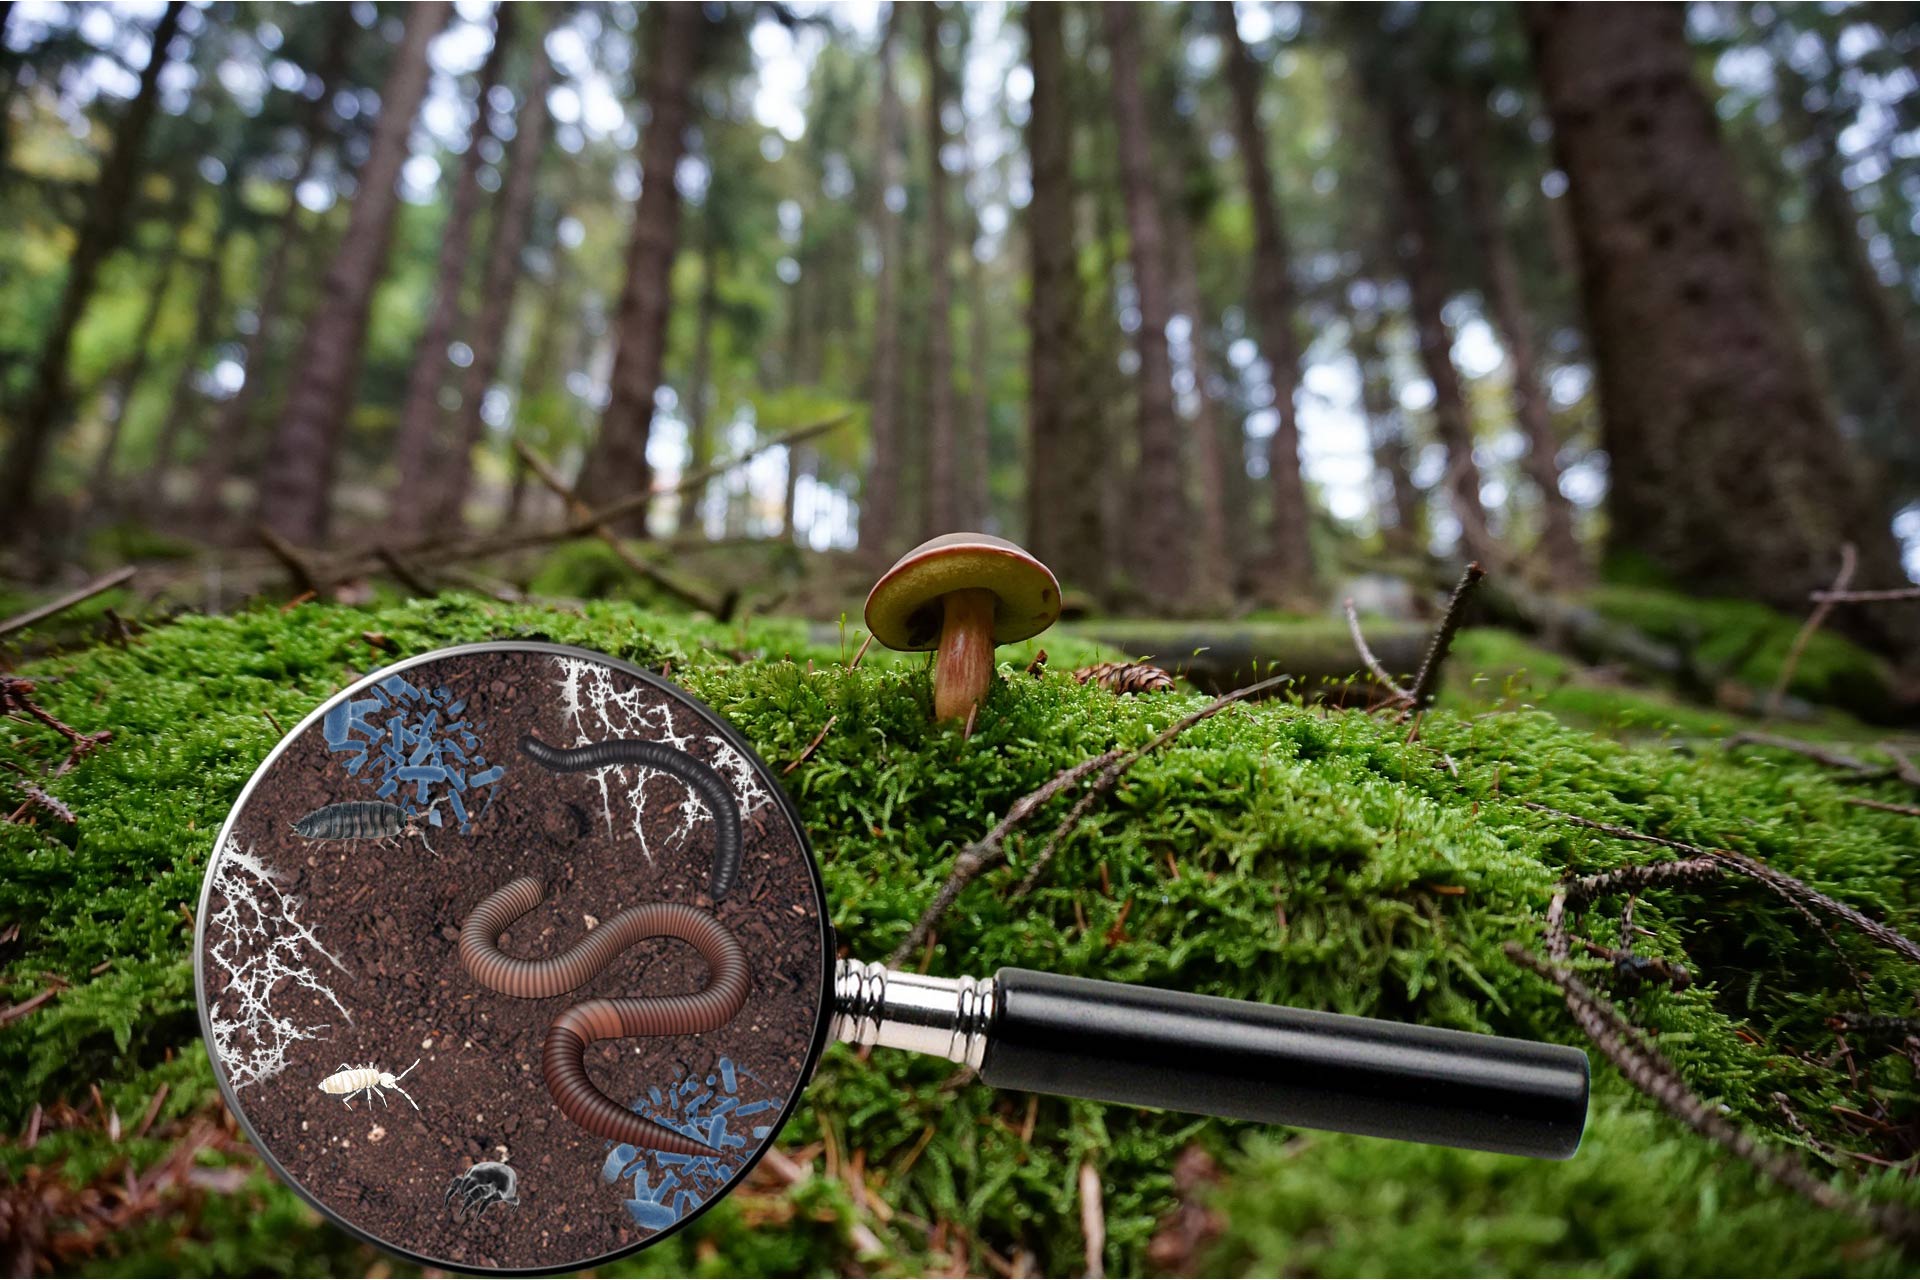
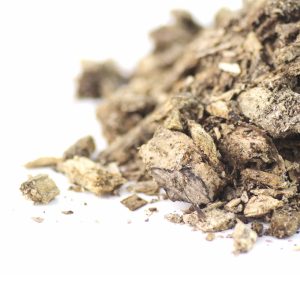
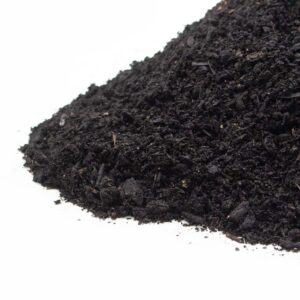
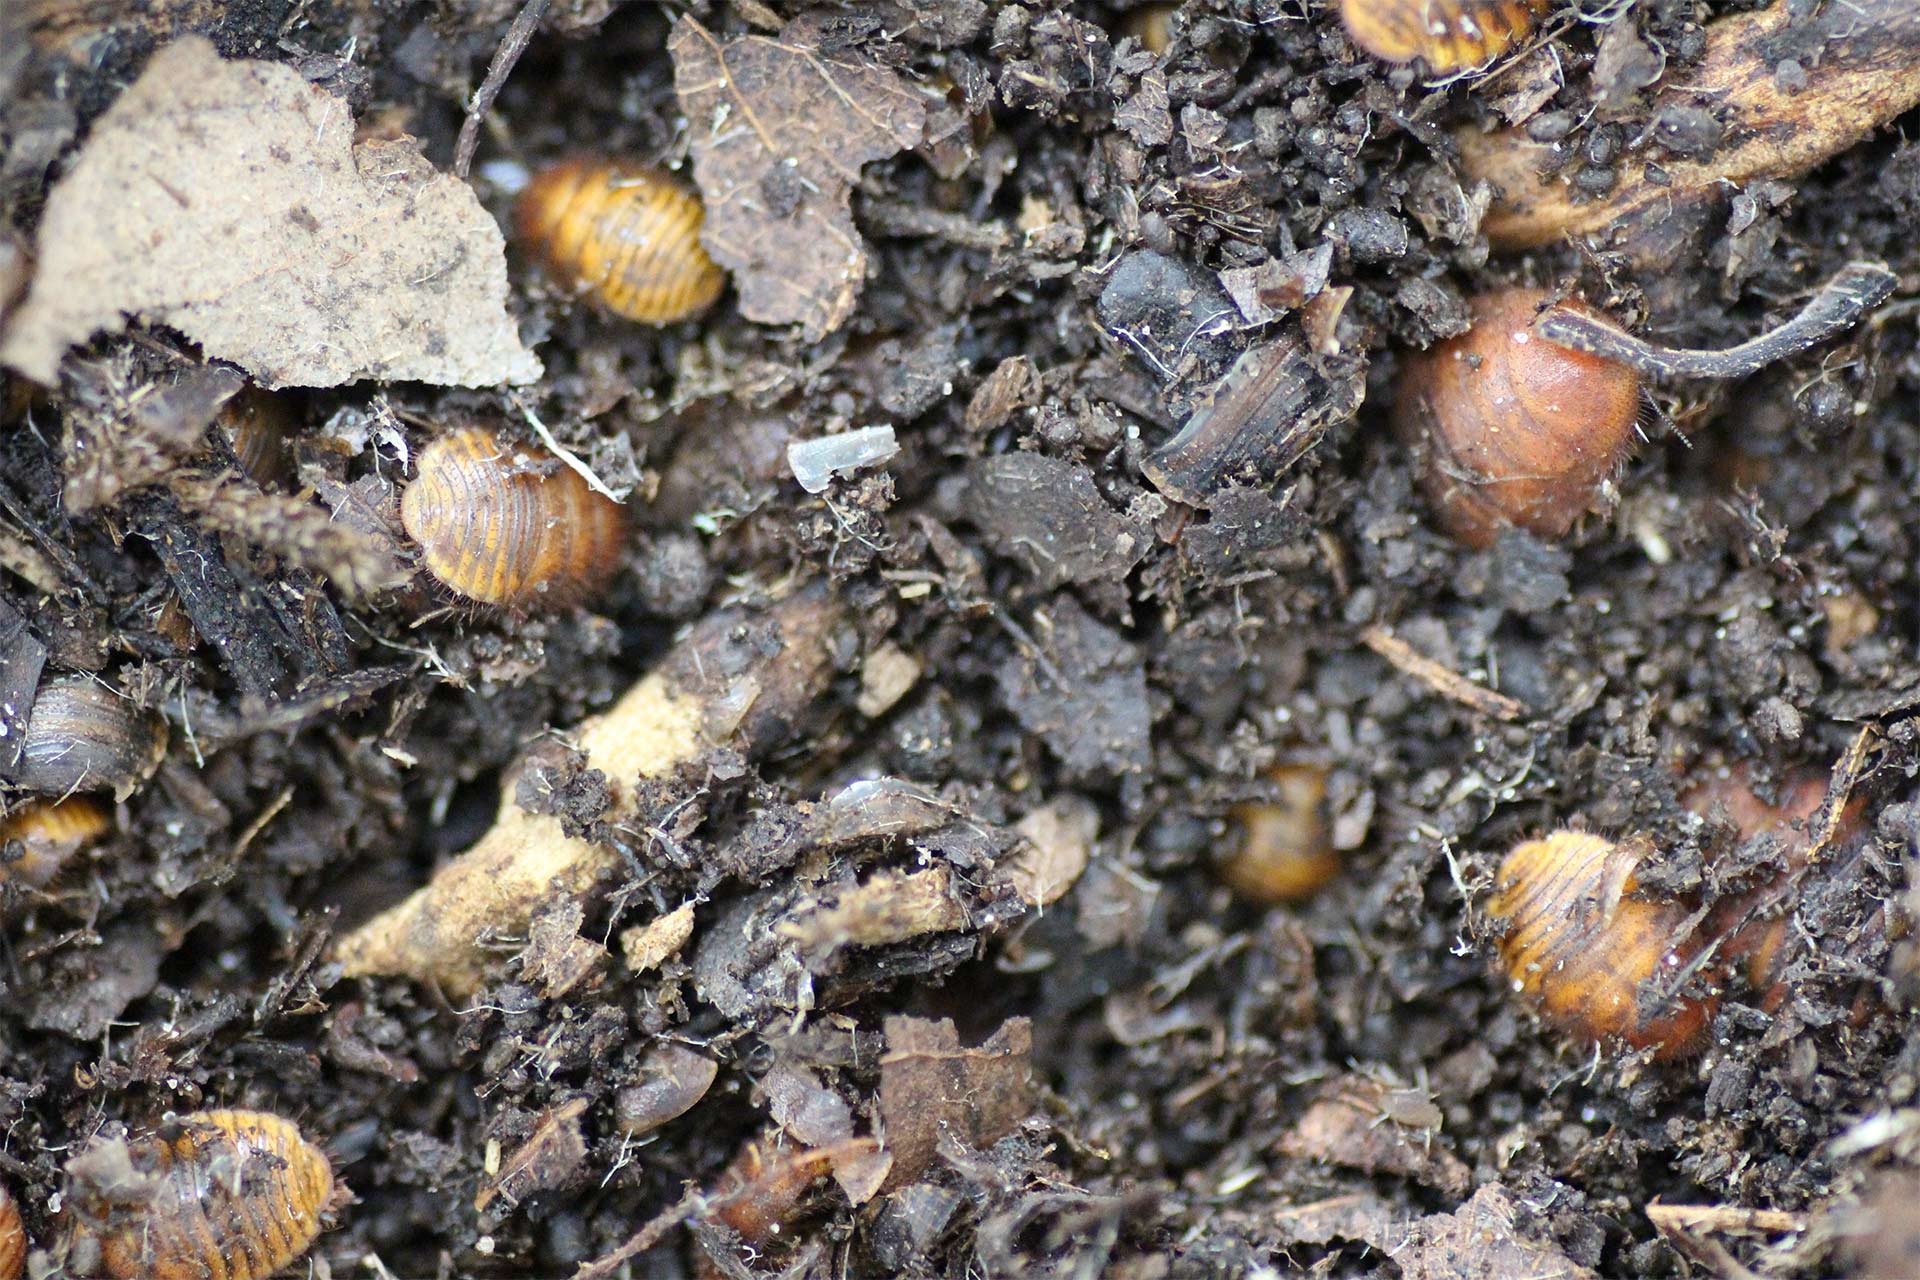
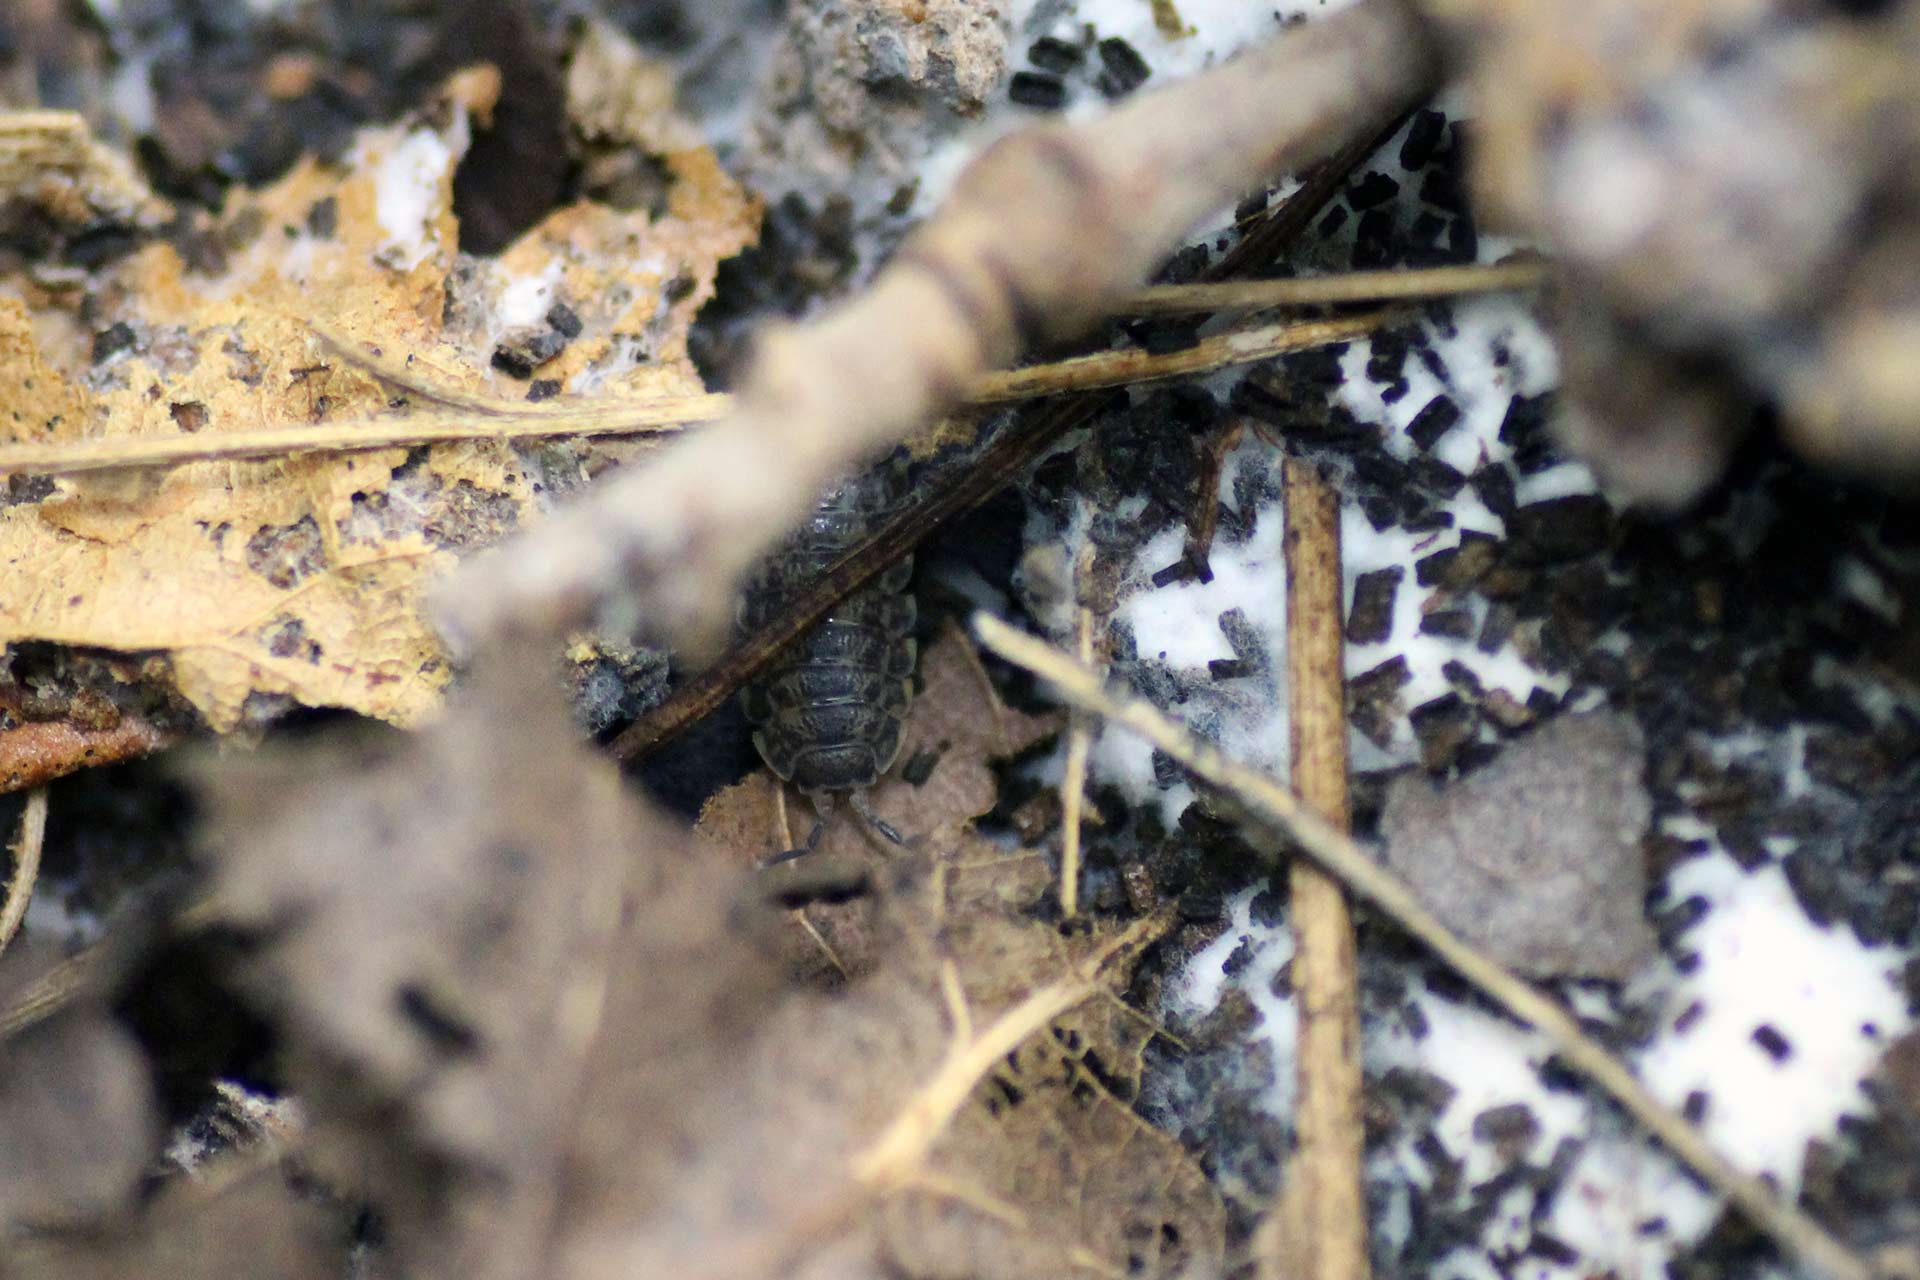
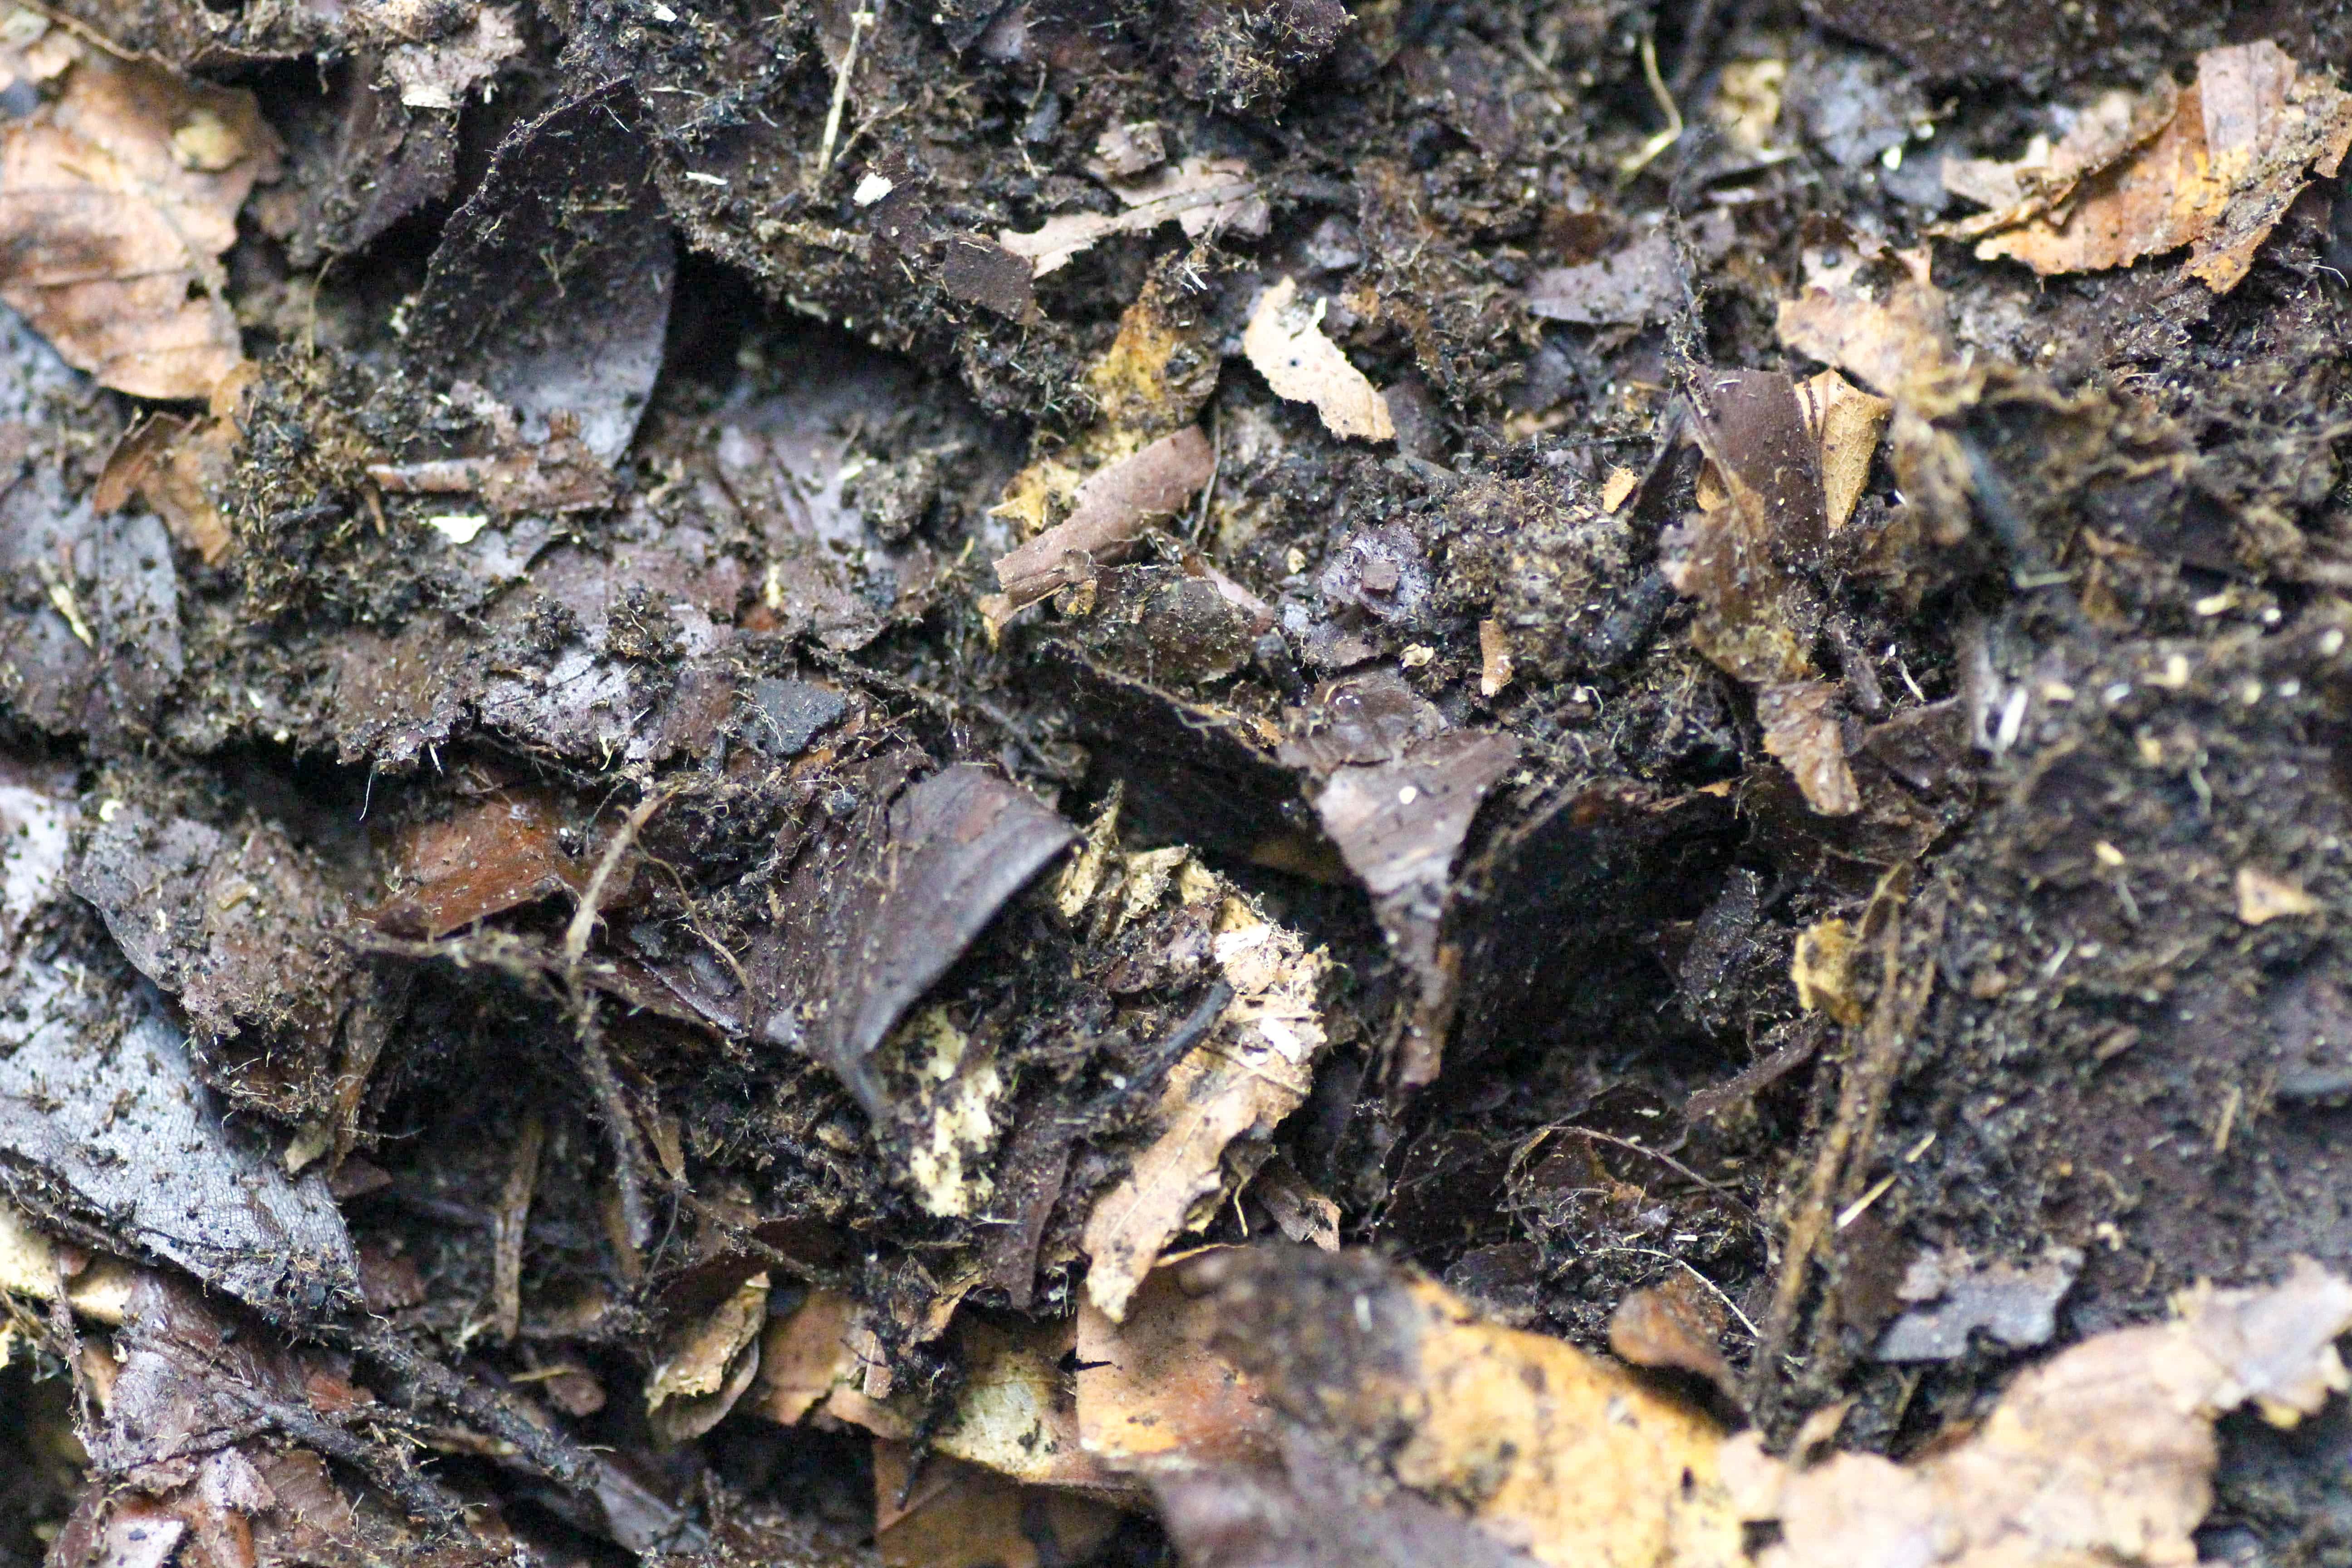
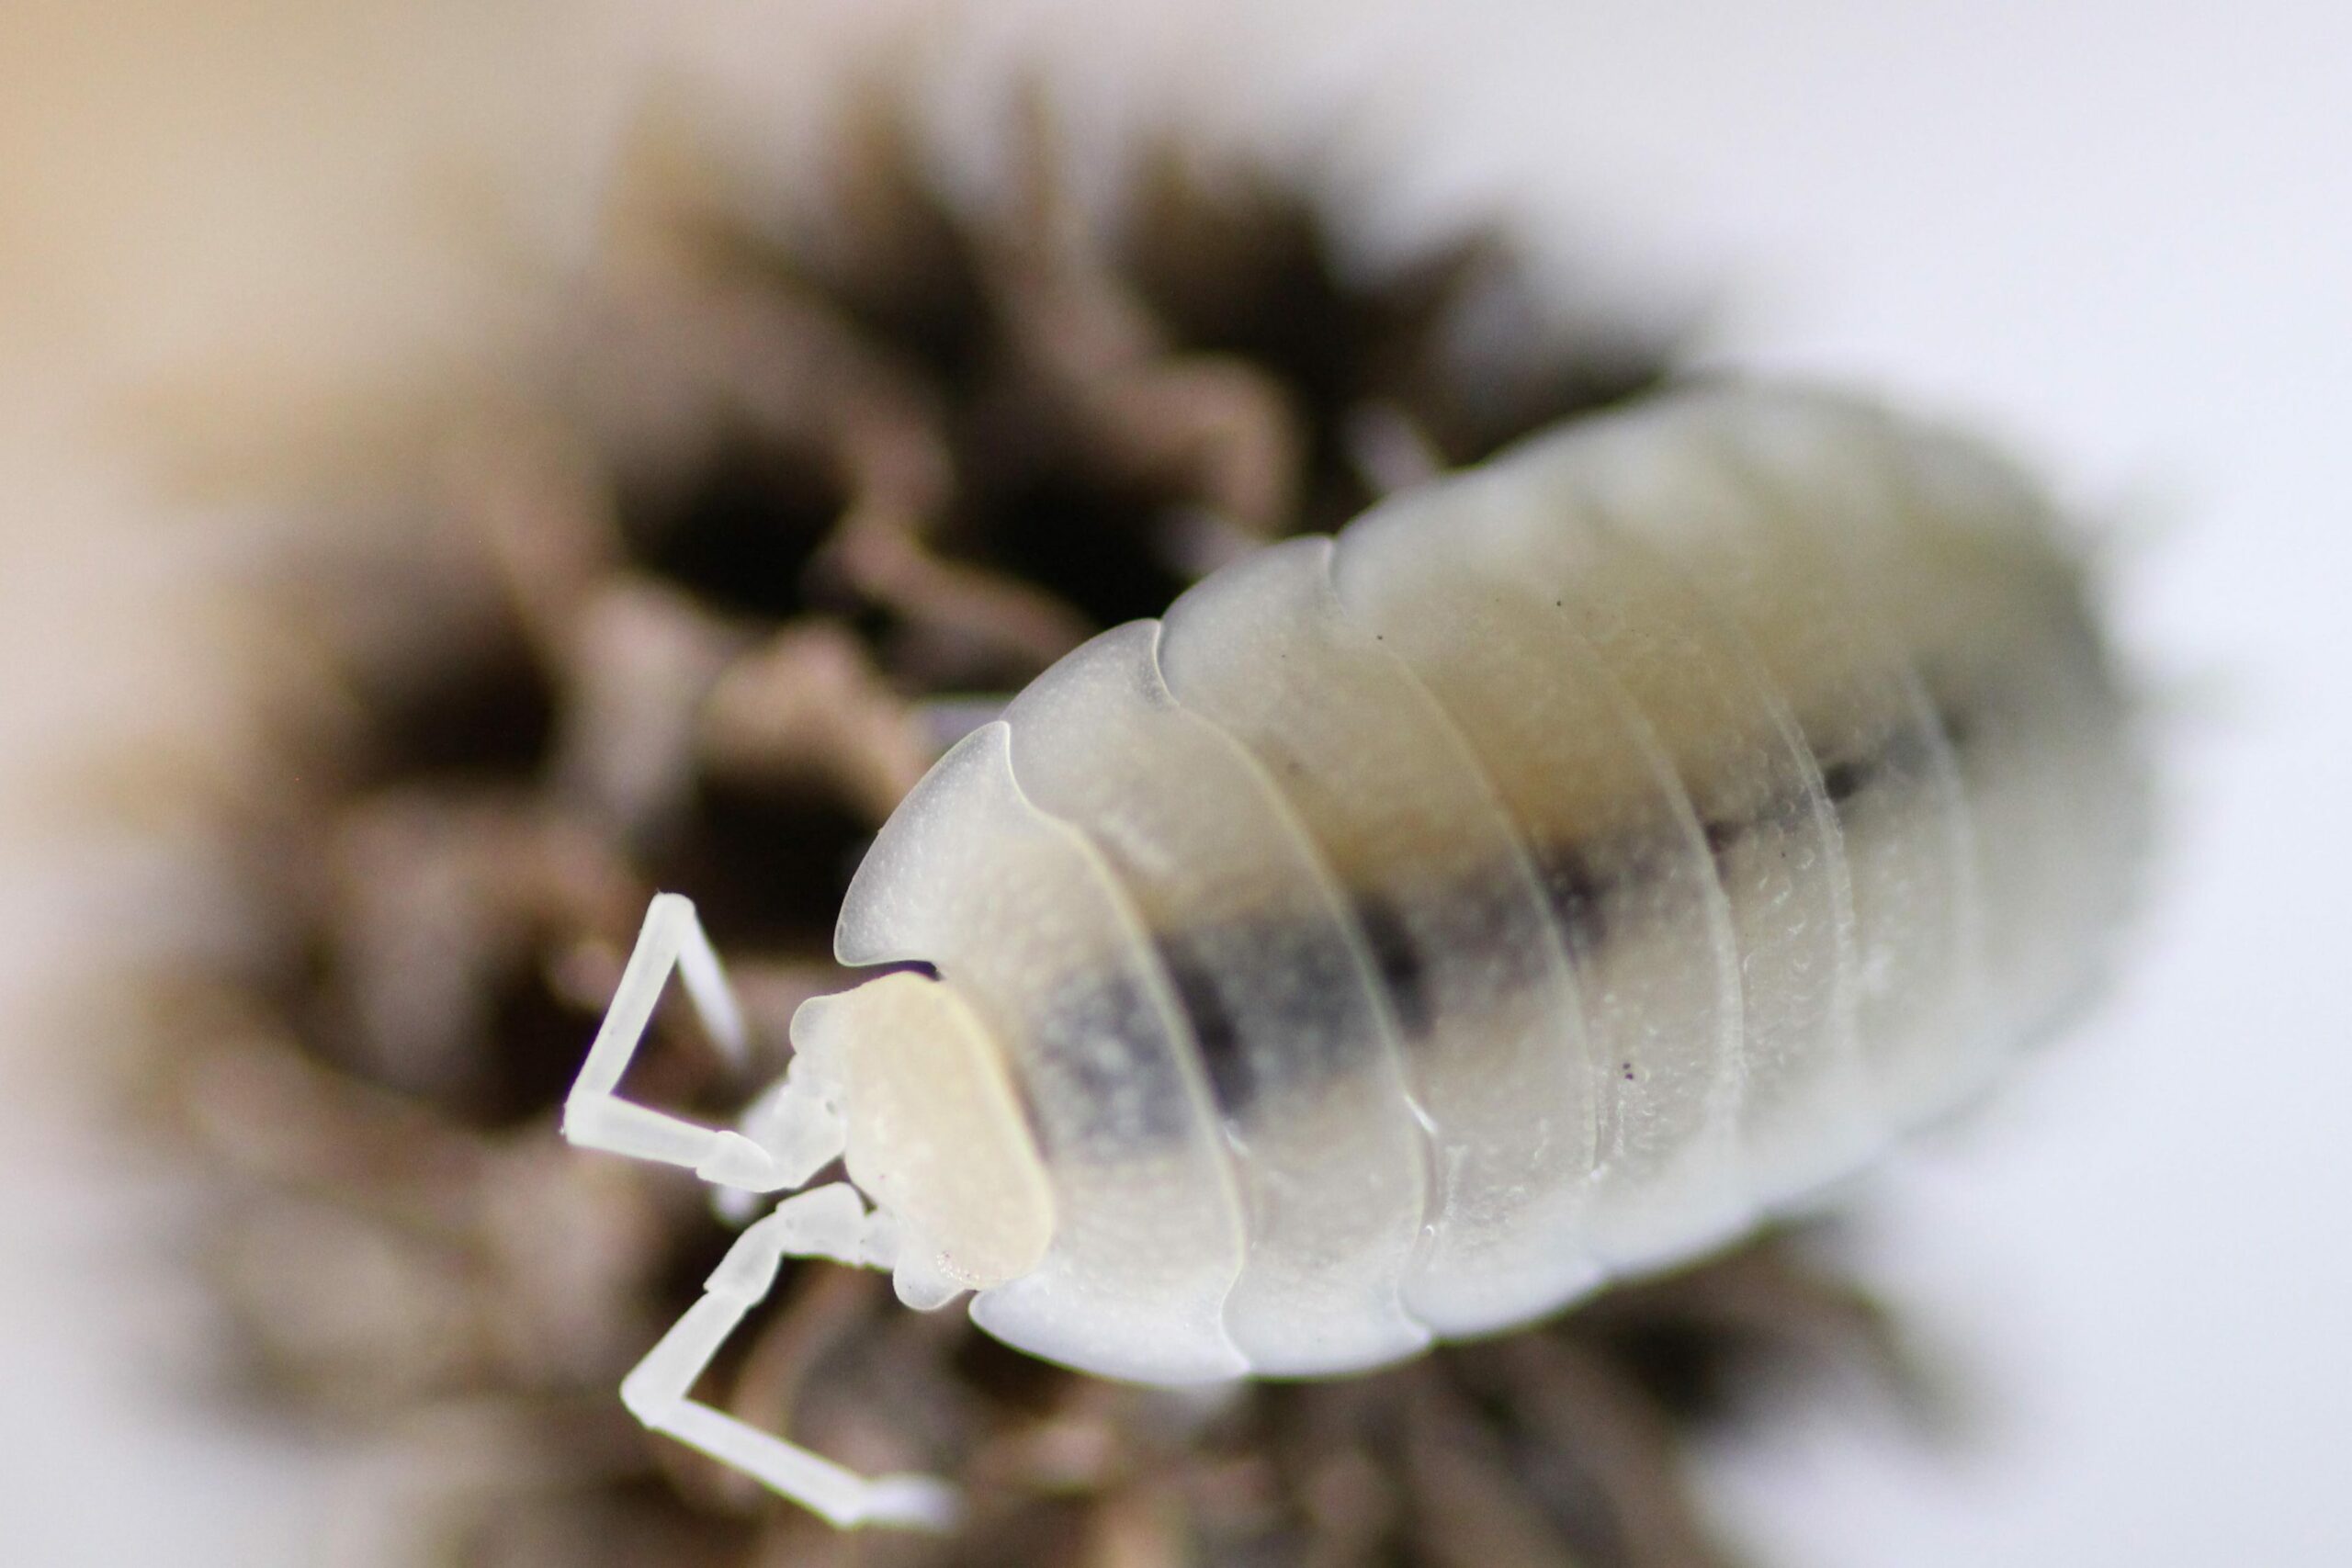
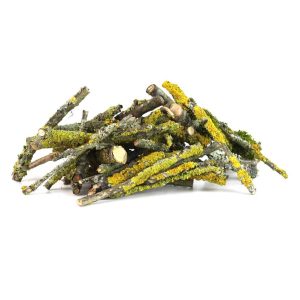
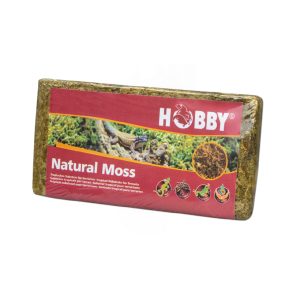
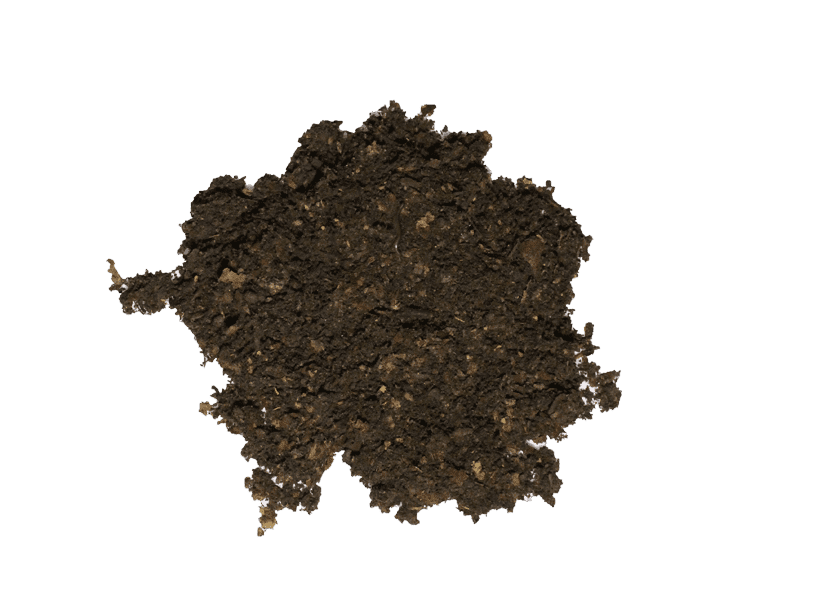
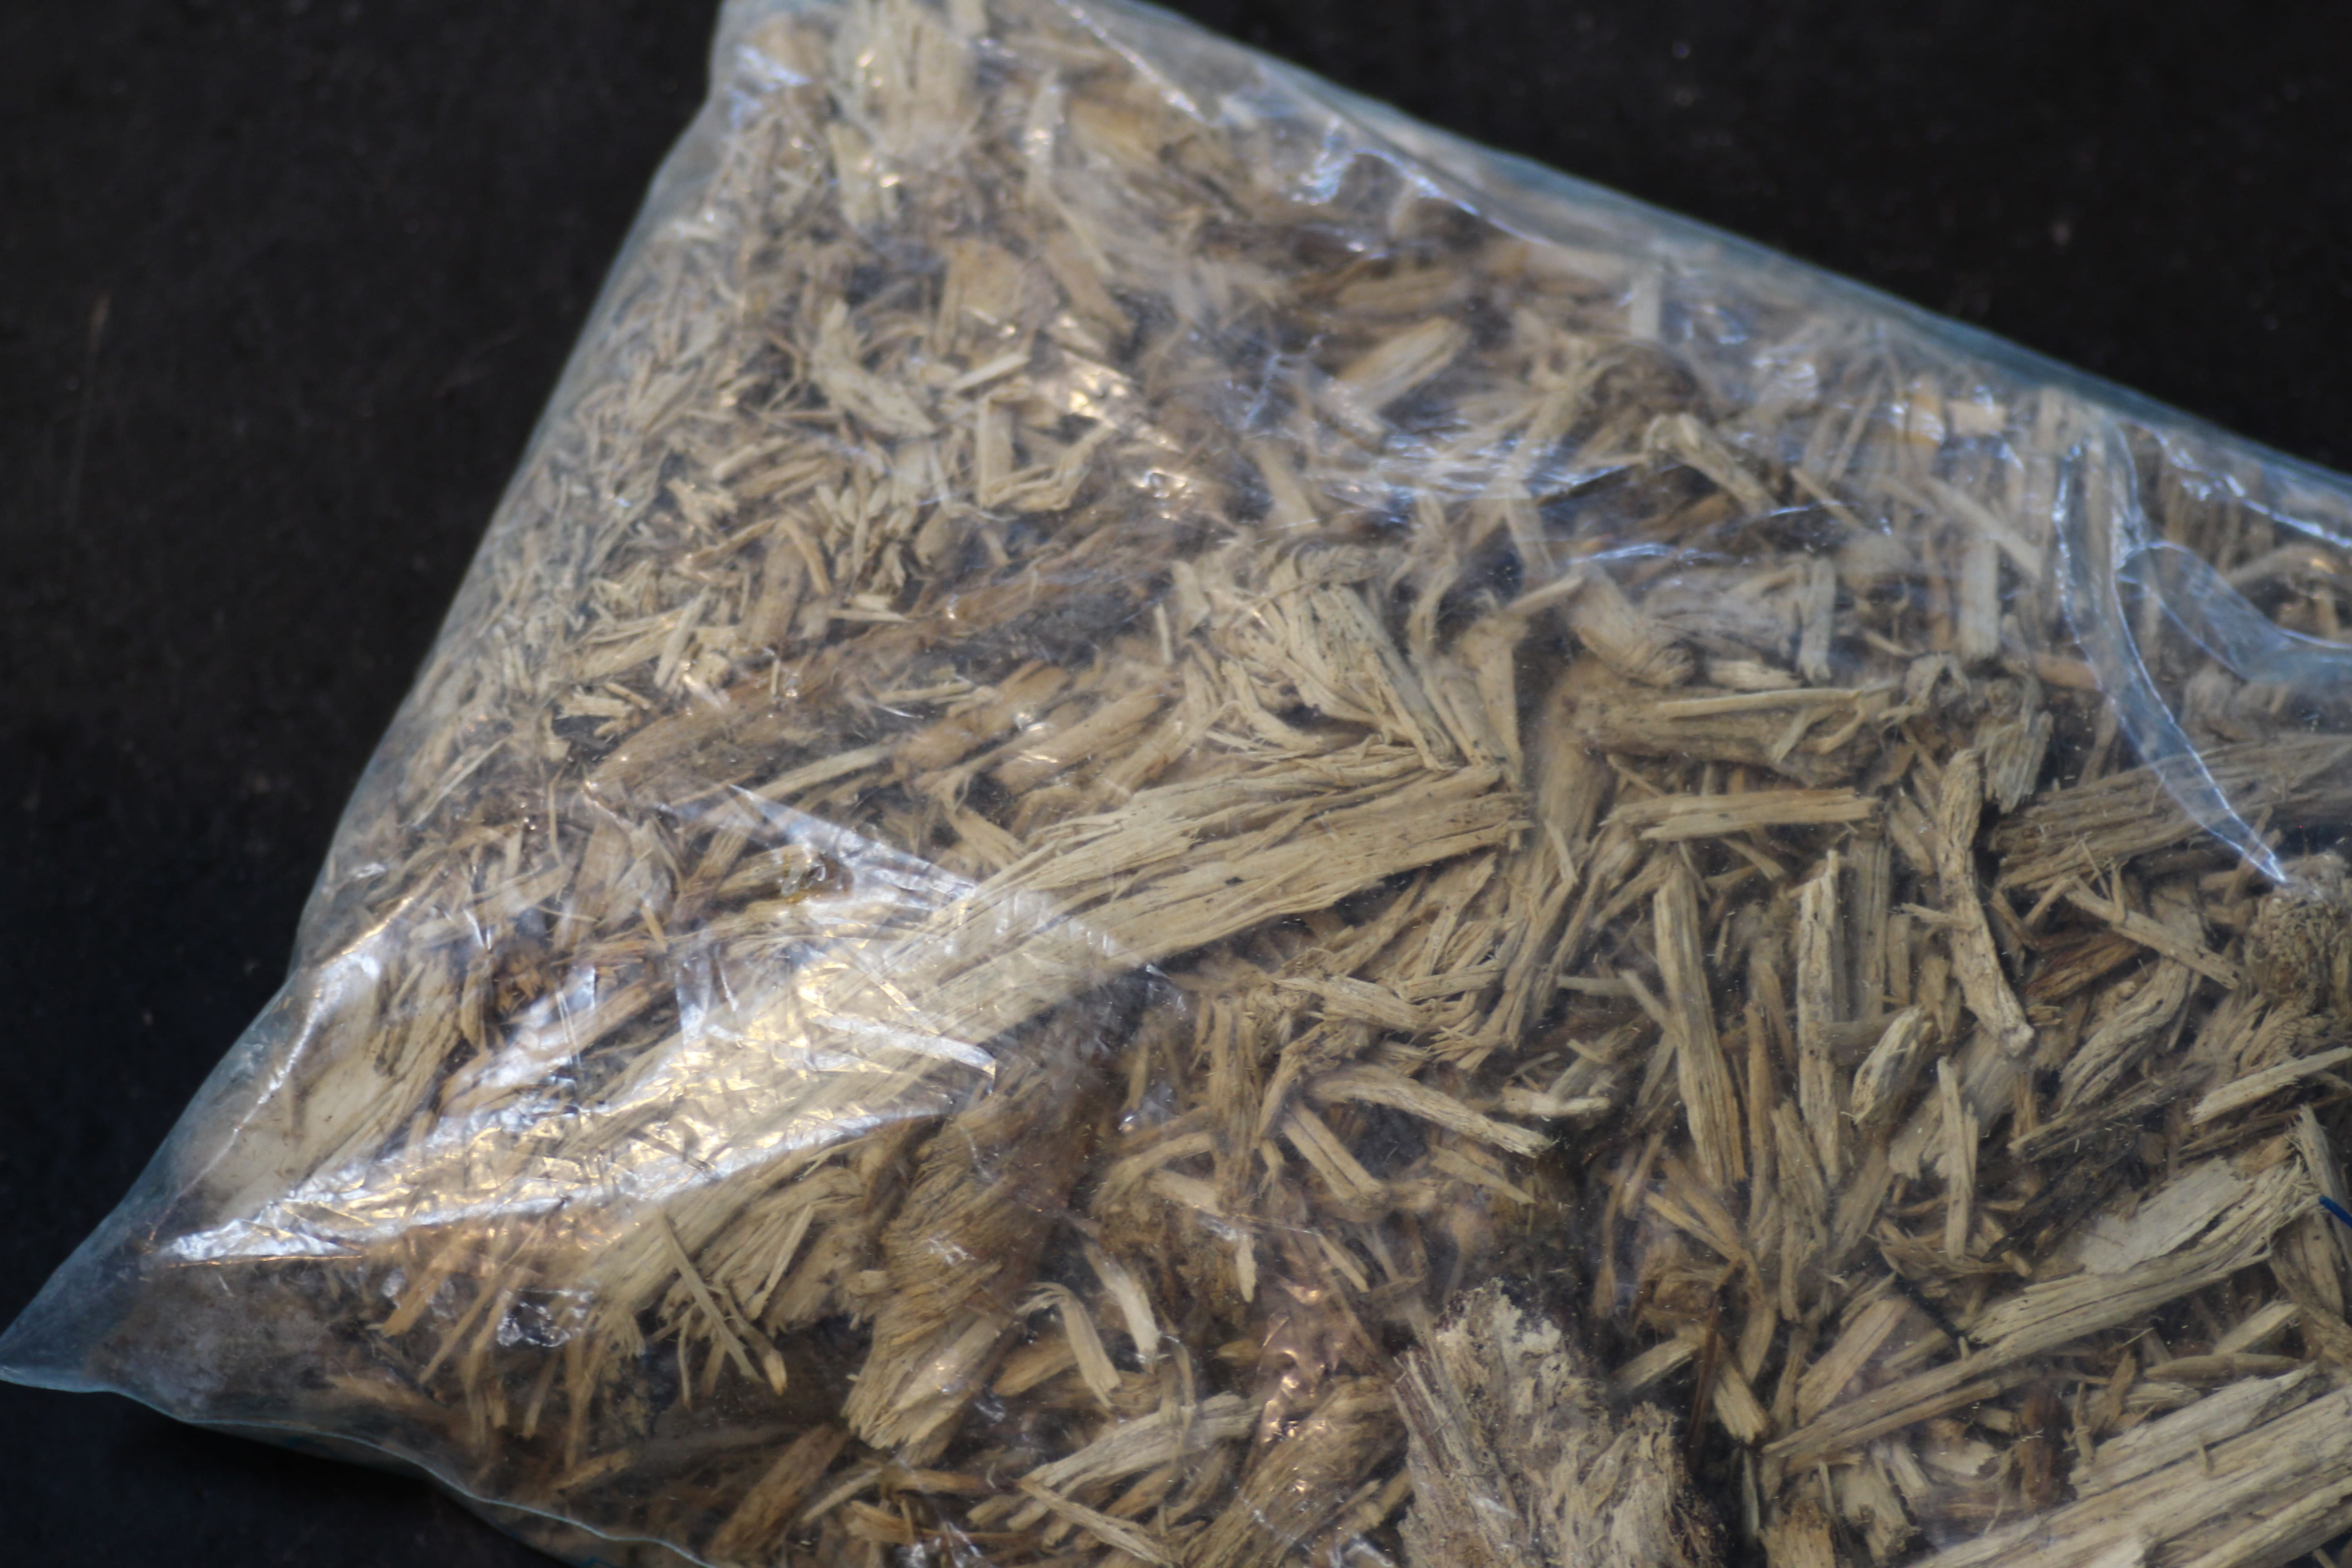
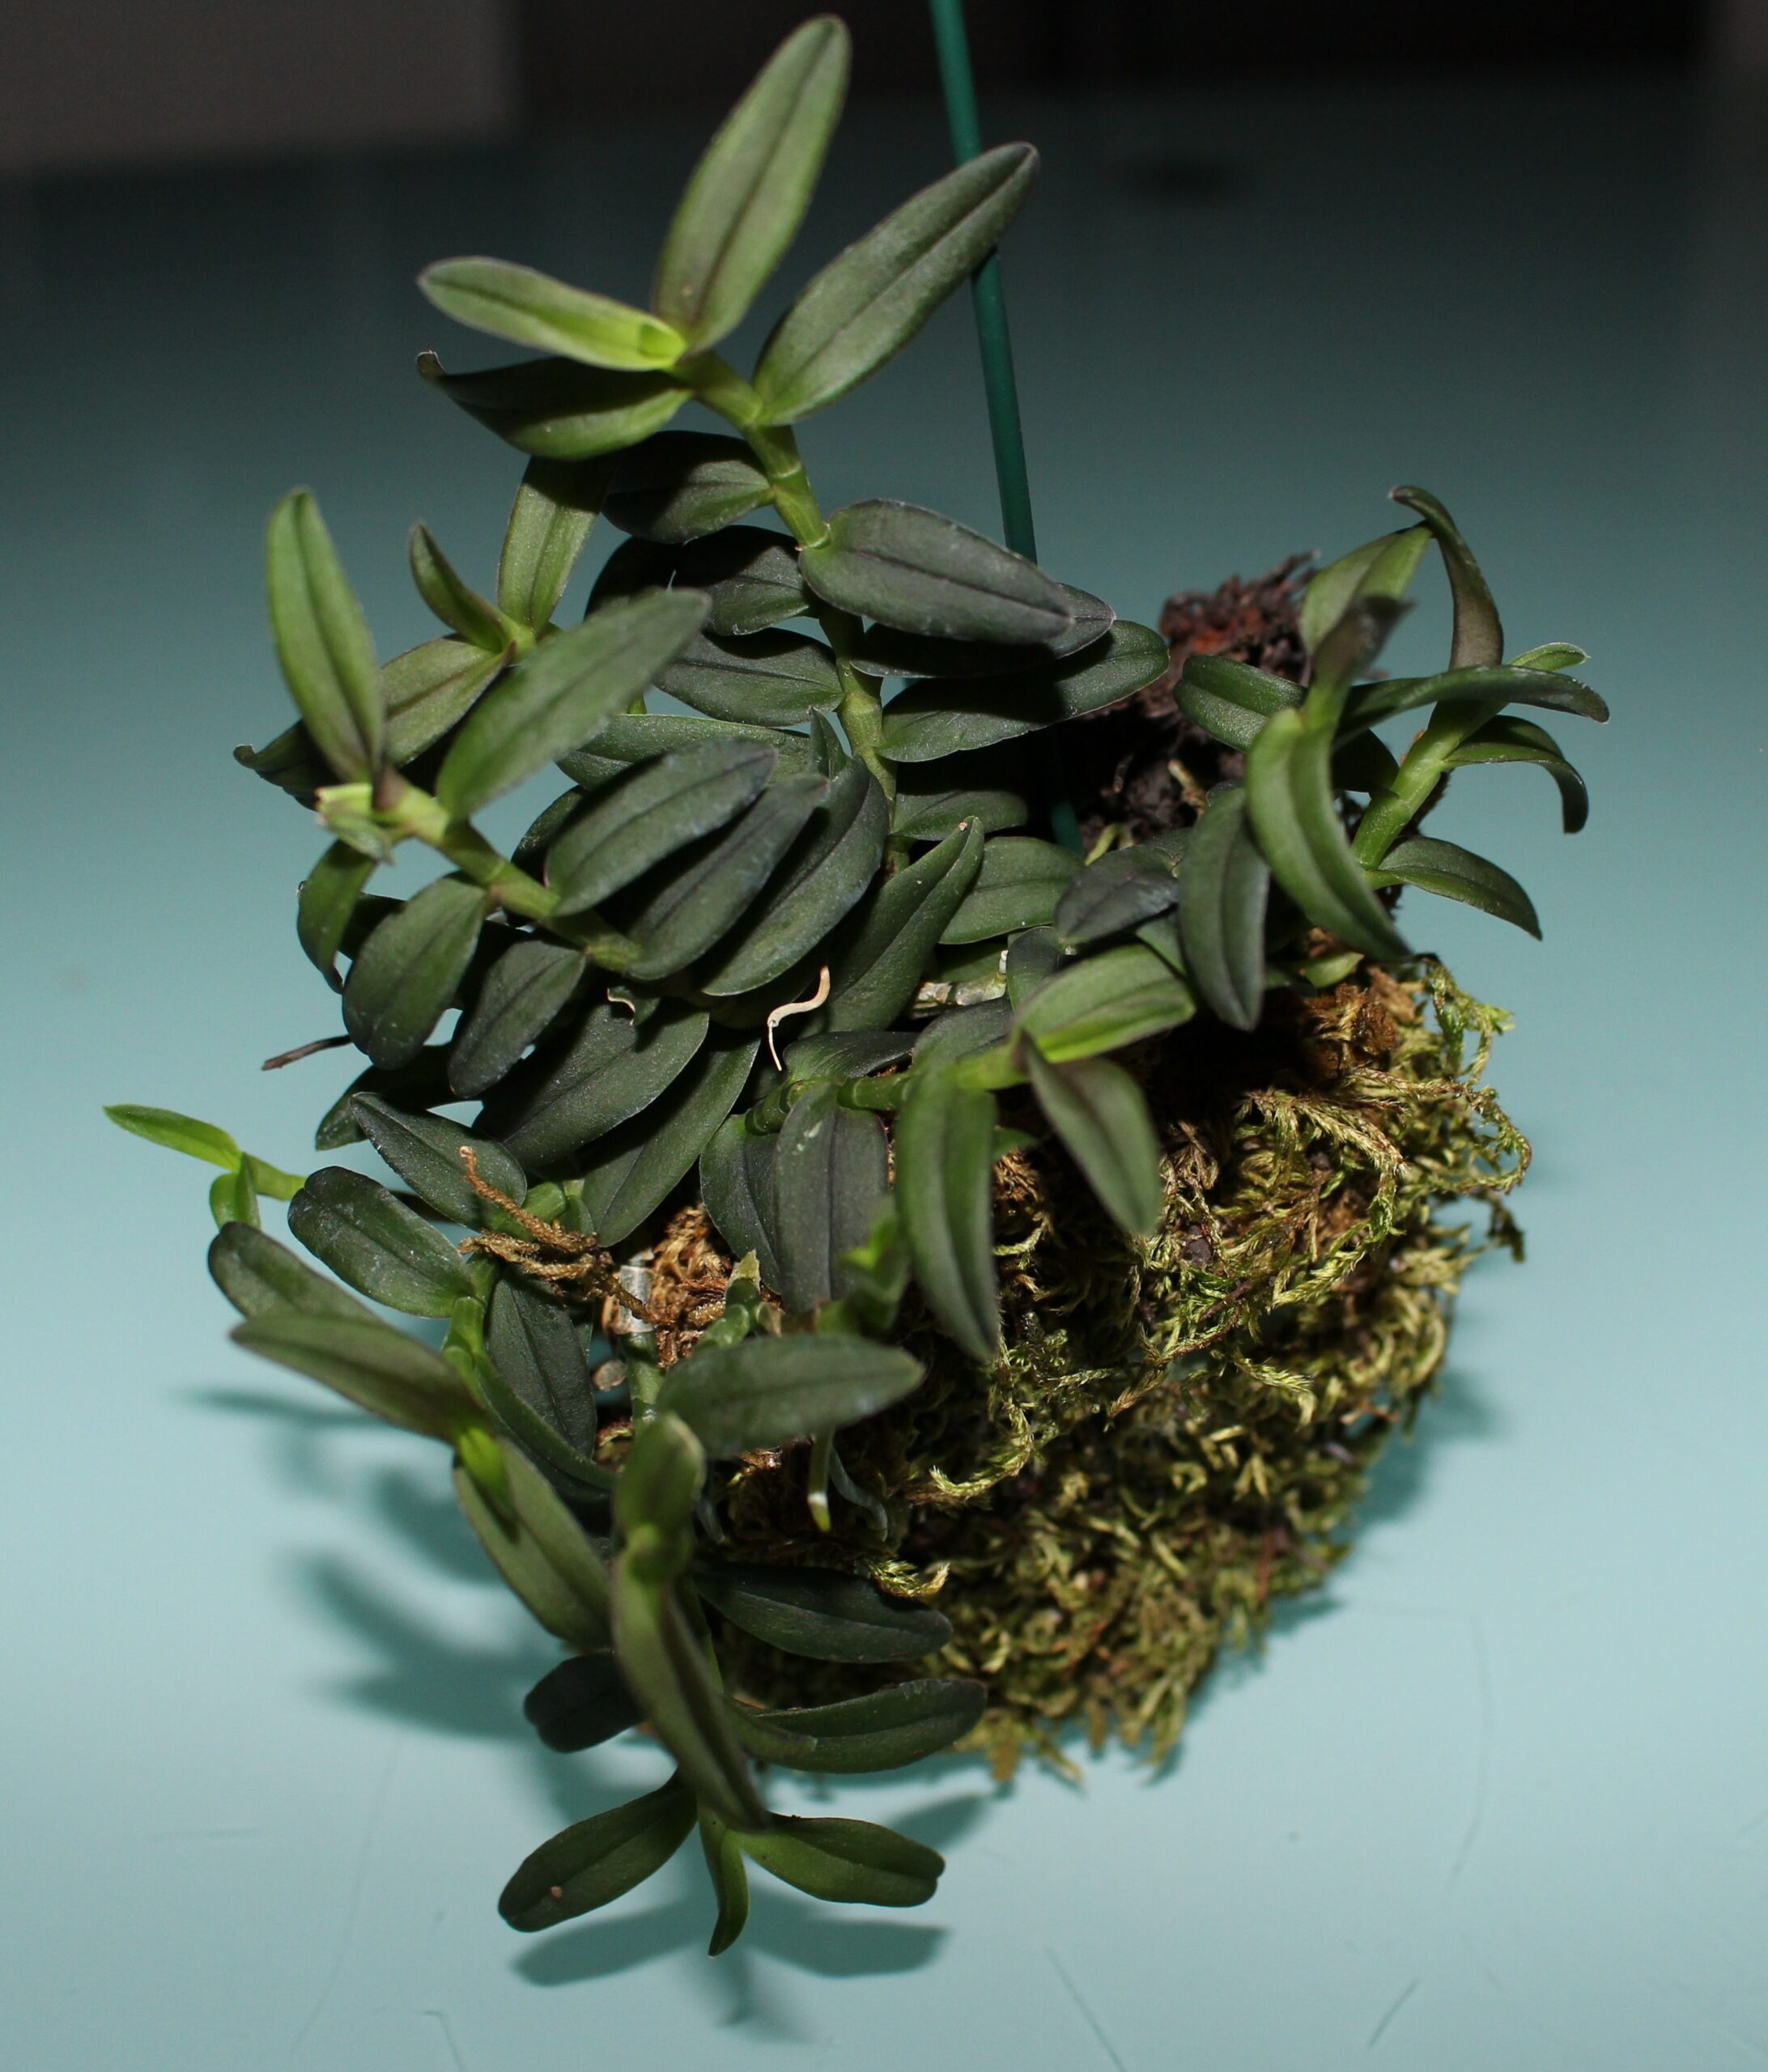
For this reason, the substrate of the terrarium is relatively secondary. However, if you want to integrate plants or a soil police in the terrarium, forest humus, white rotten wood and leaves are the ideal substrate. The terrarium should be equipped with plenty of climbing opportunities that reach in all possible directions of the terrarium. This provides the jumping spider with sufficient running space, exercise and hiding places. In addition, real plants not only beautify every terrarium, but also offer additional hiding places for the animals.
It is important to know that the animals should only move into their final terrarium when they reach a body length of approx. 1 cm. Before that, they may not be able to find their food due to the large amount of space. The following list shows which containers are suitable for the spiders depending on their size:
FH1-3:
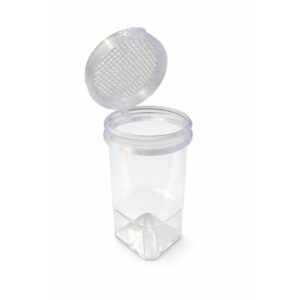
SpiderSafe rearing box
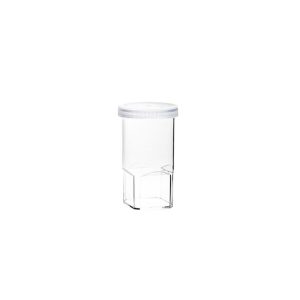
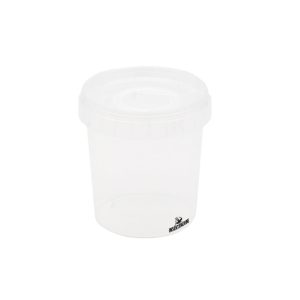
Rearing tins

Jumping spiders tree house
FH4-6:
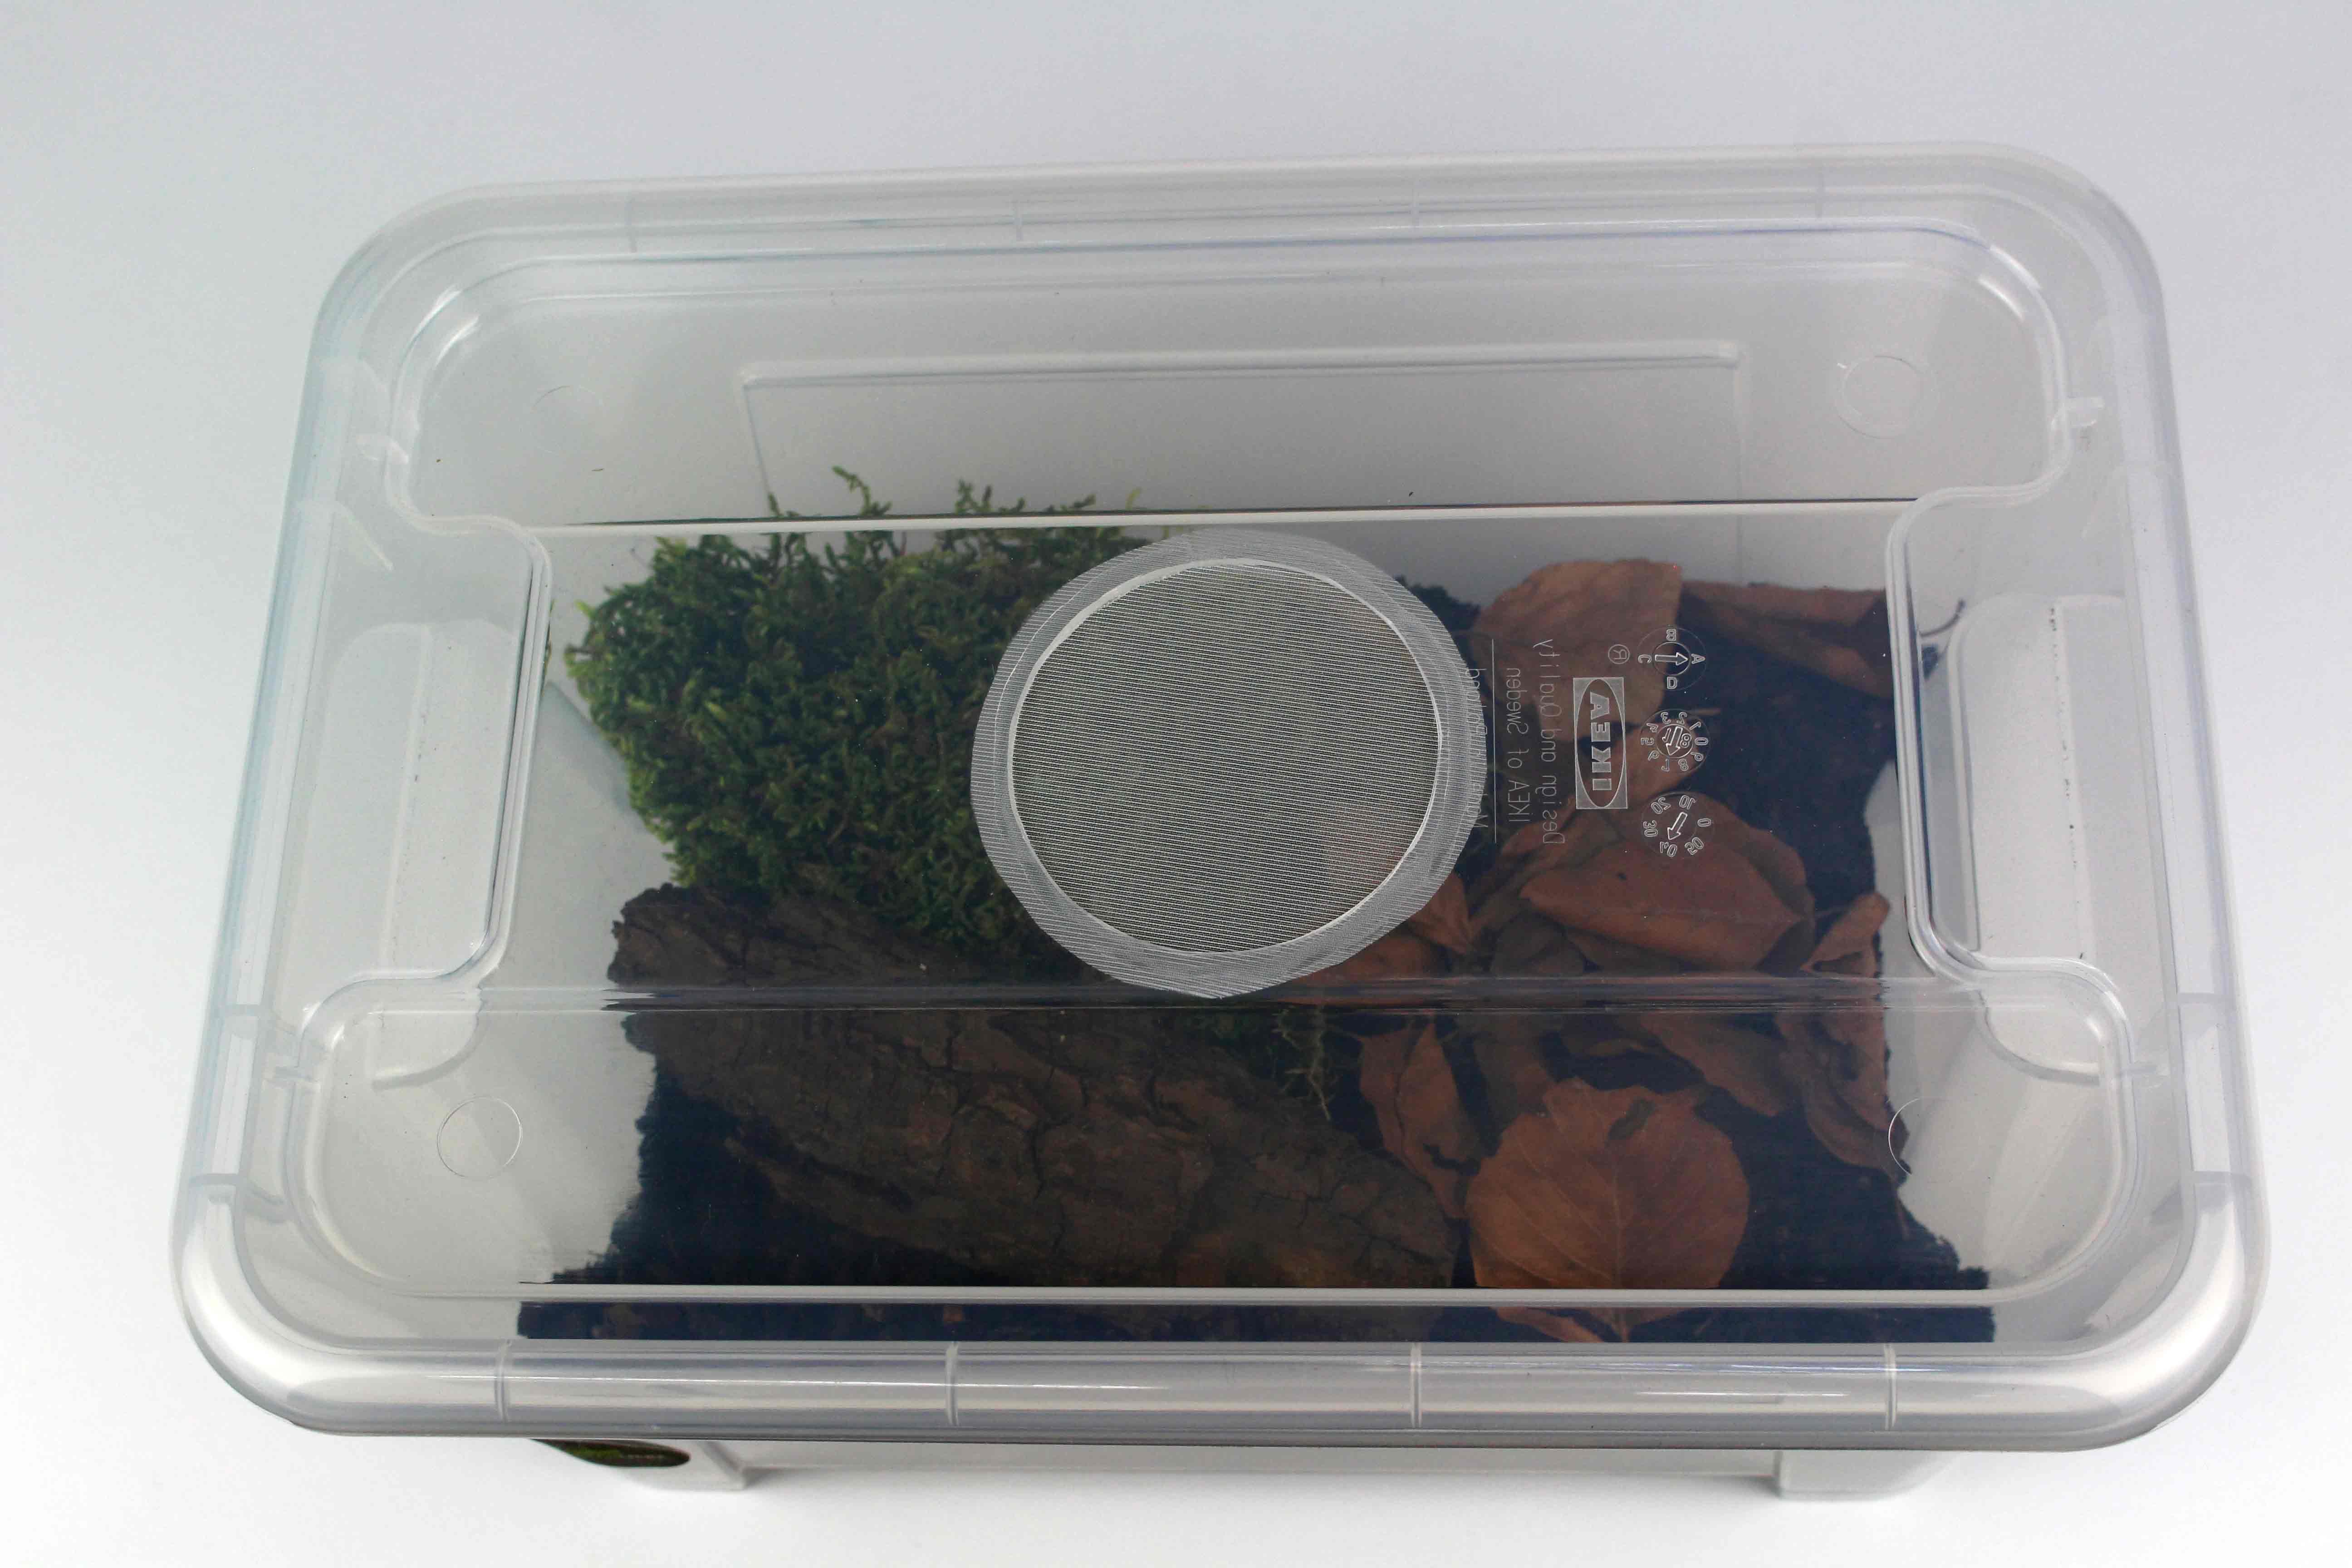
Rearing tins with gauze in the lid
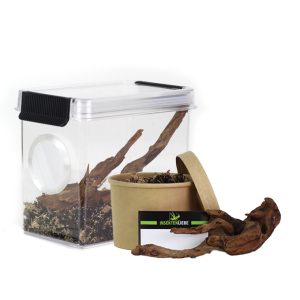
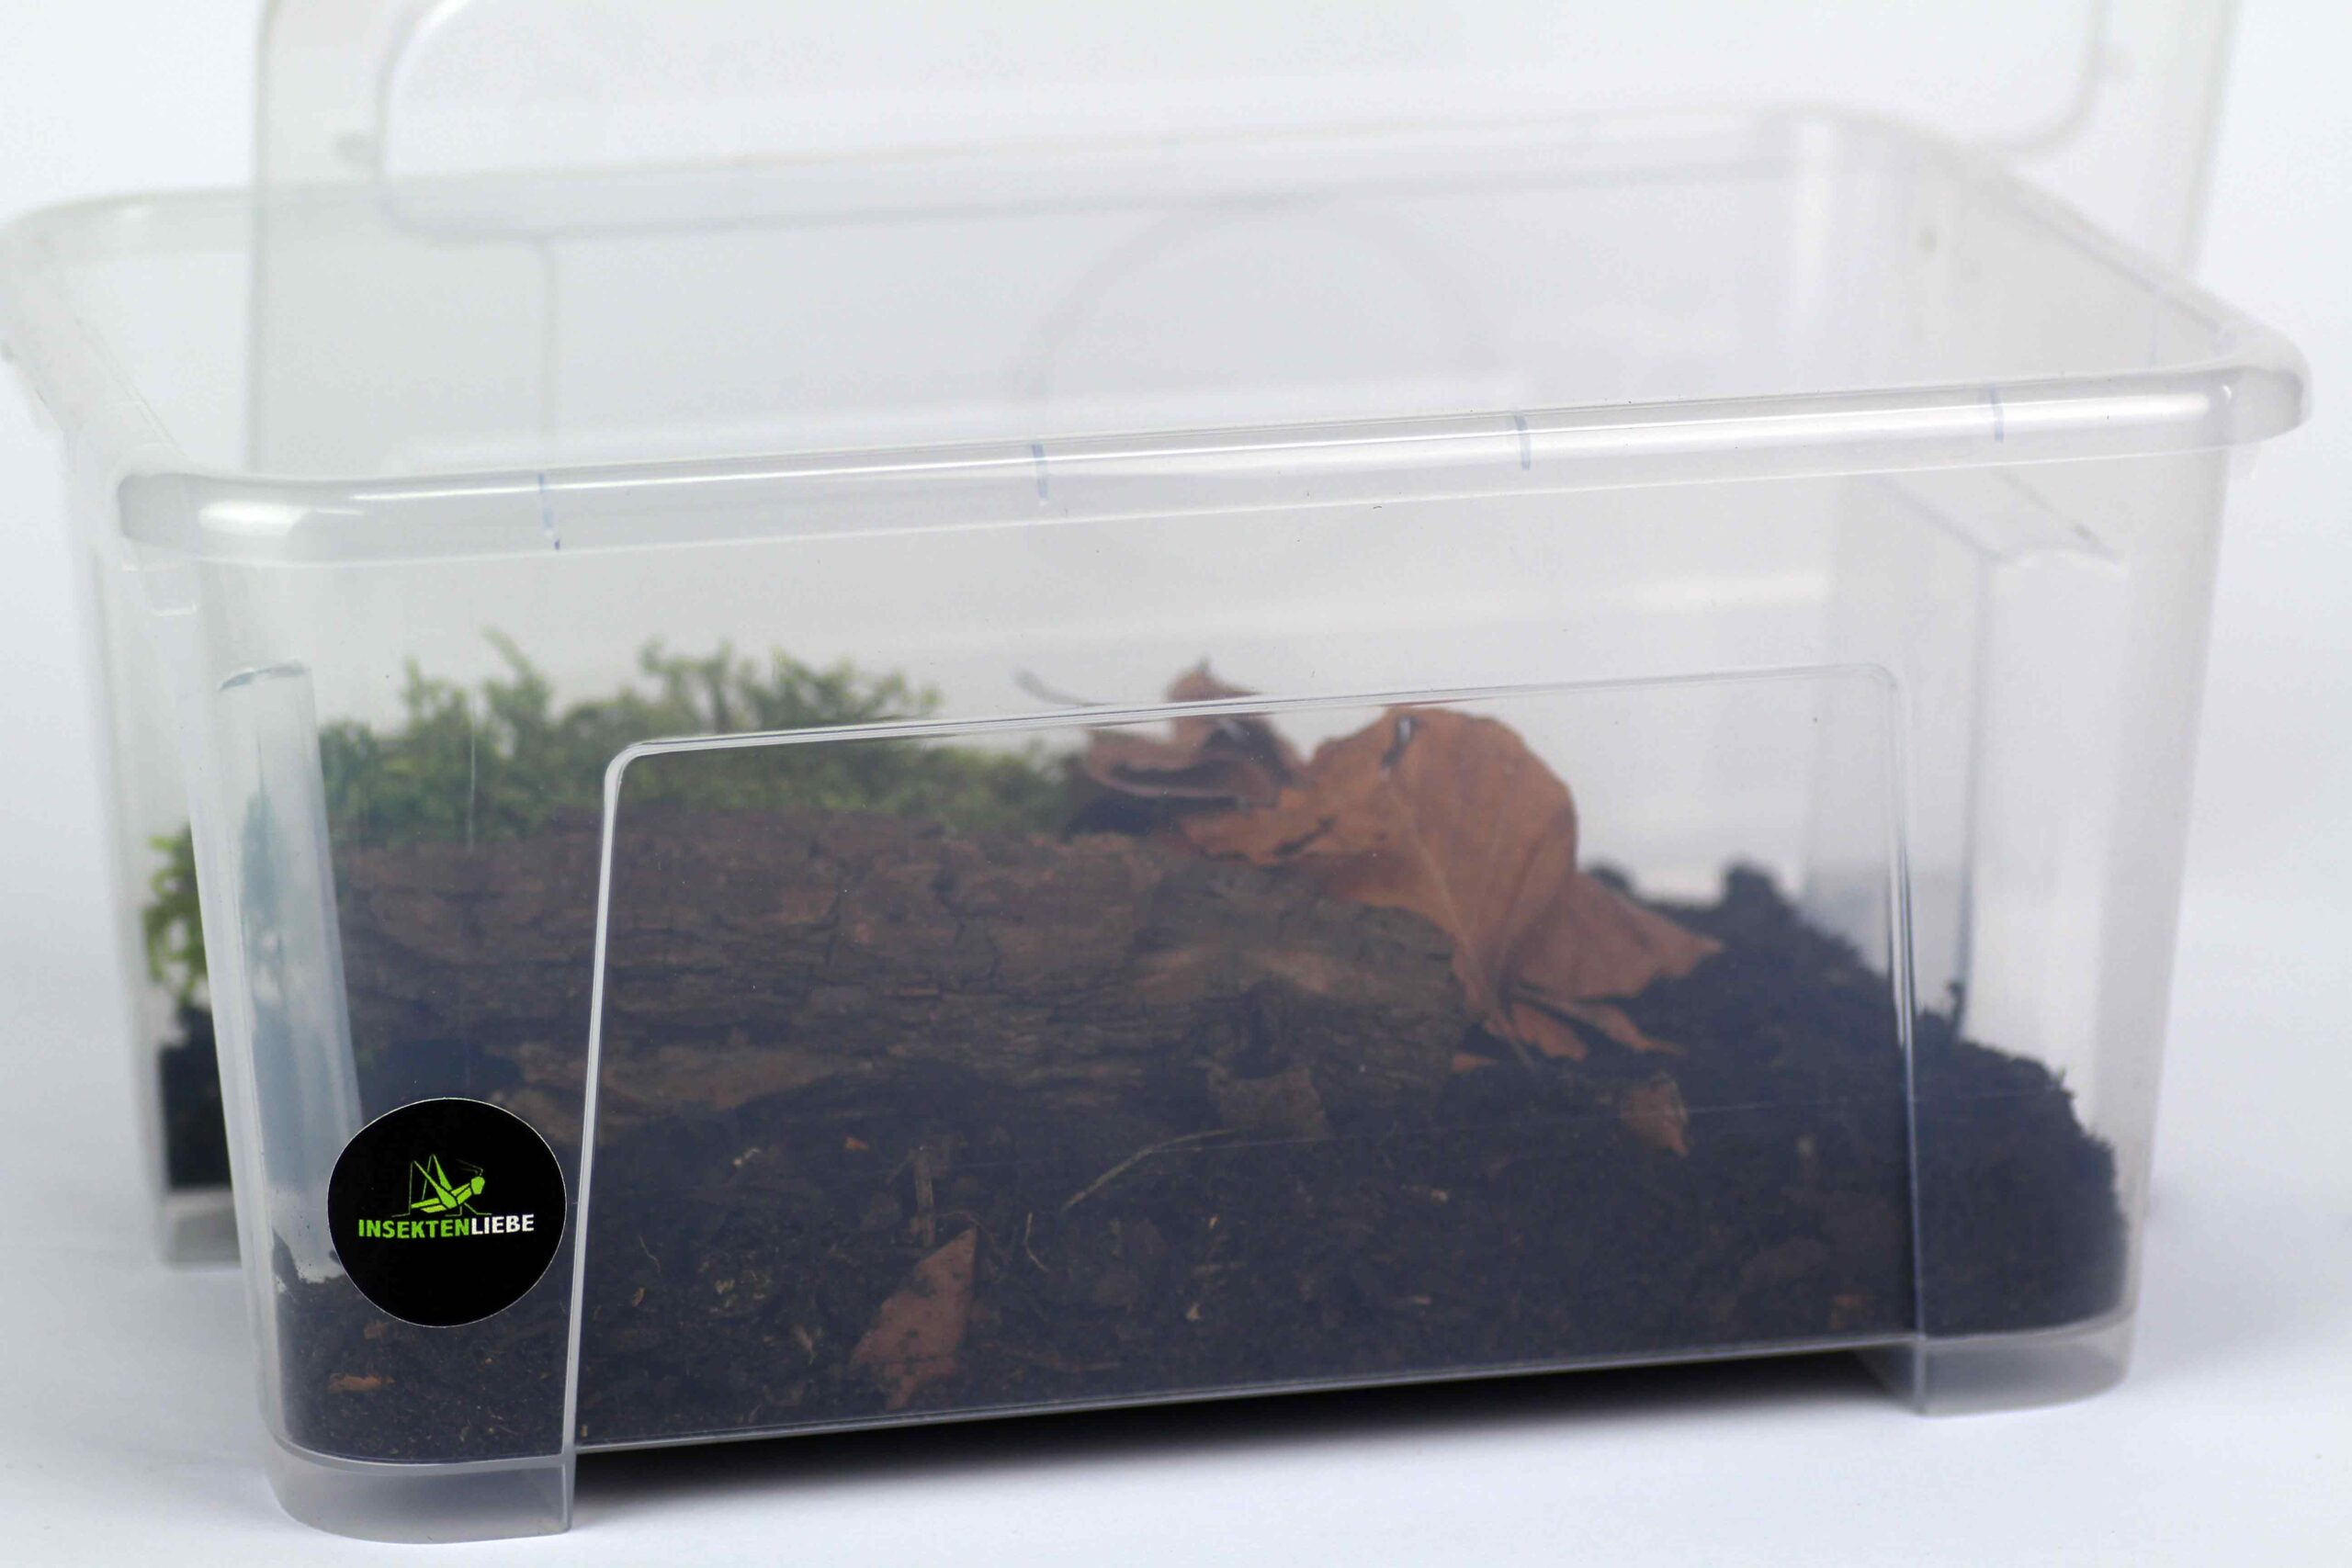
Insektenliebe rearing terrarium
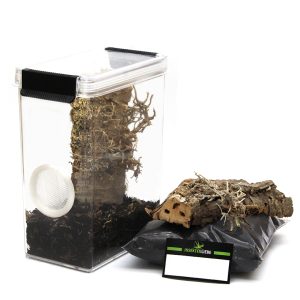
Insektenliebe rearing terrarium XL
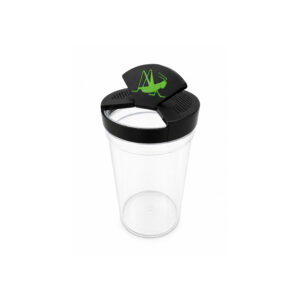
Insektenliebe rearing cup
from FH6:
Insektenliebe rearing terrarium XL
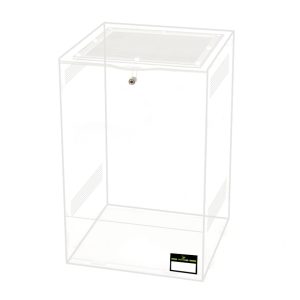
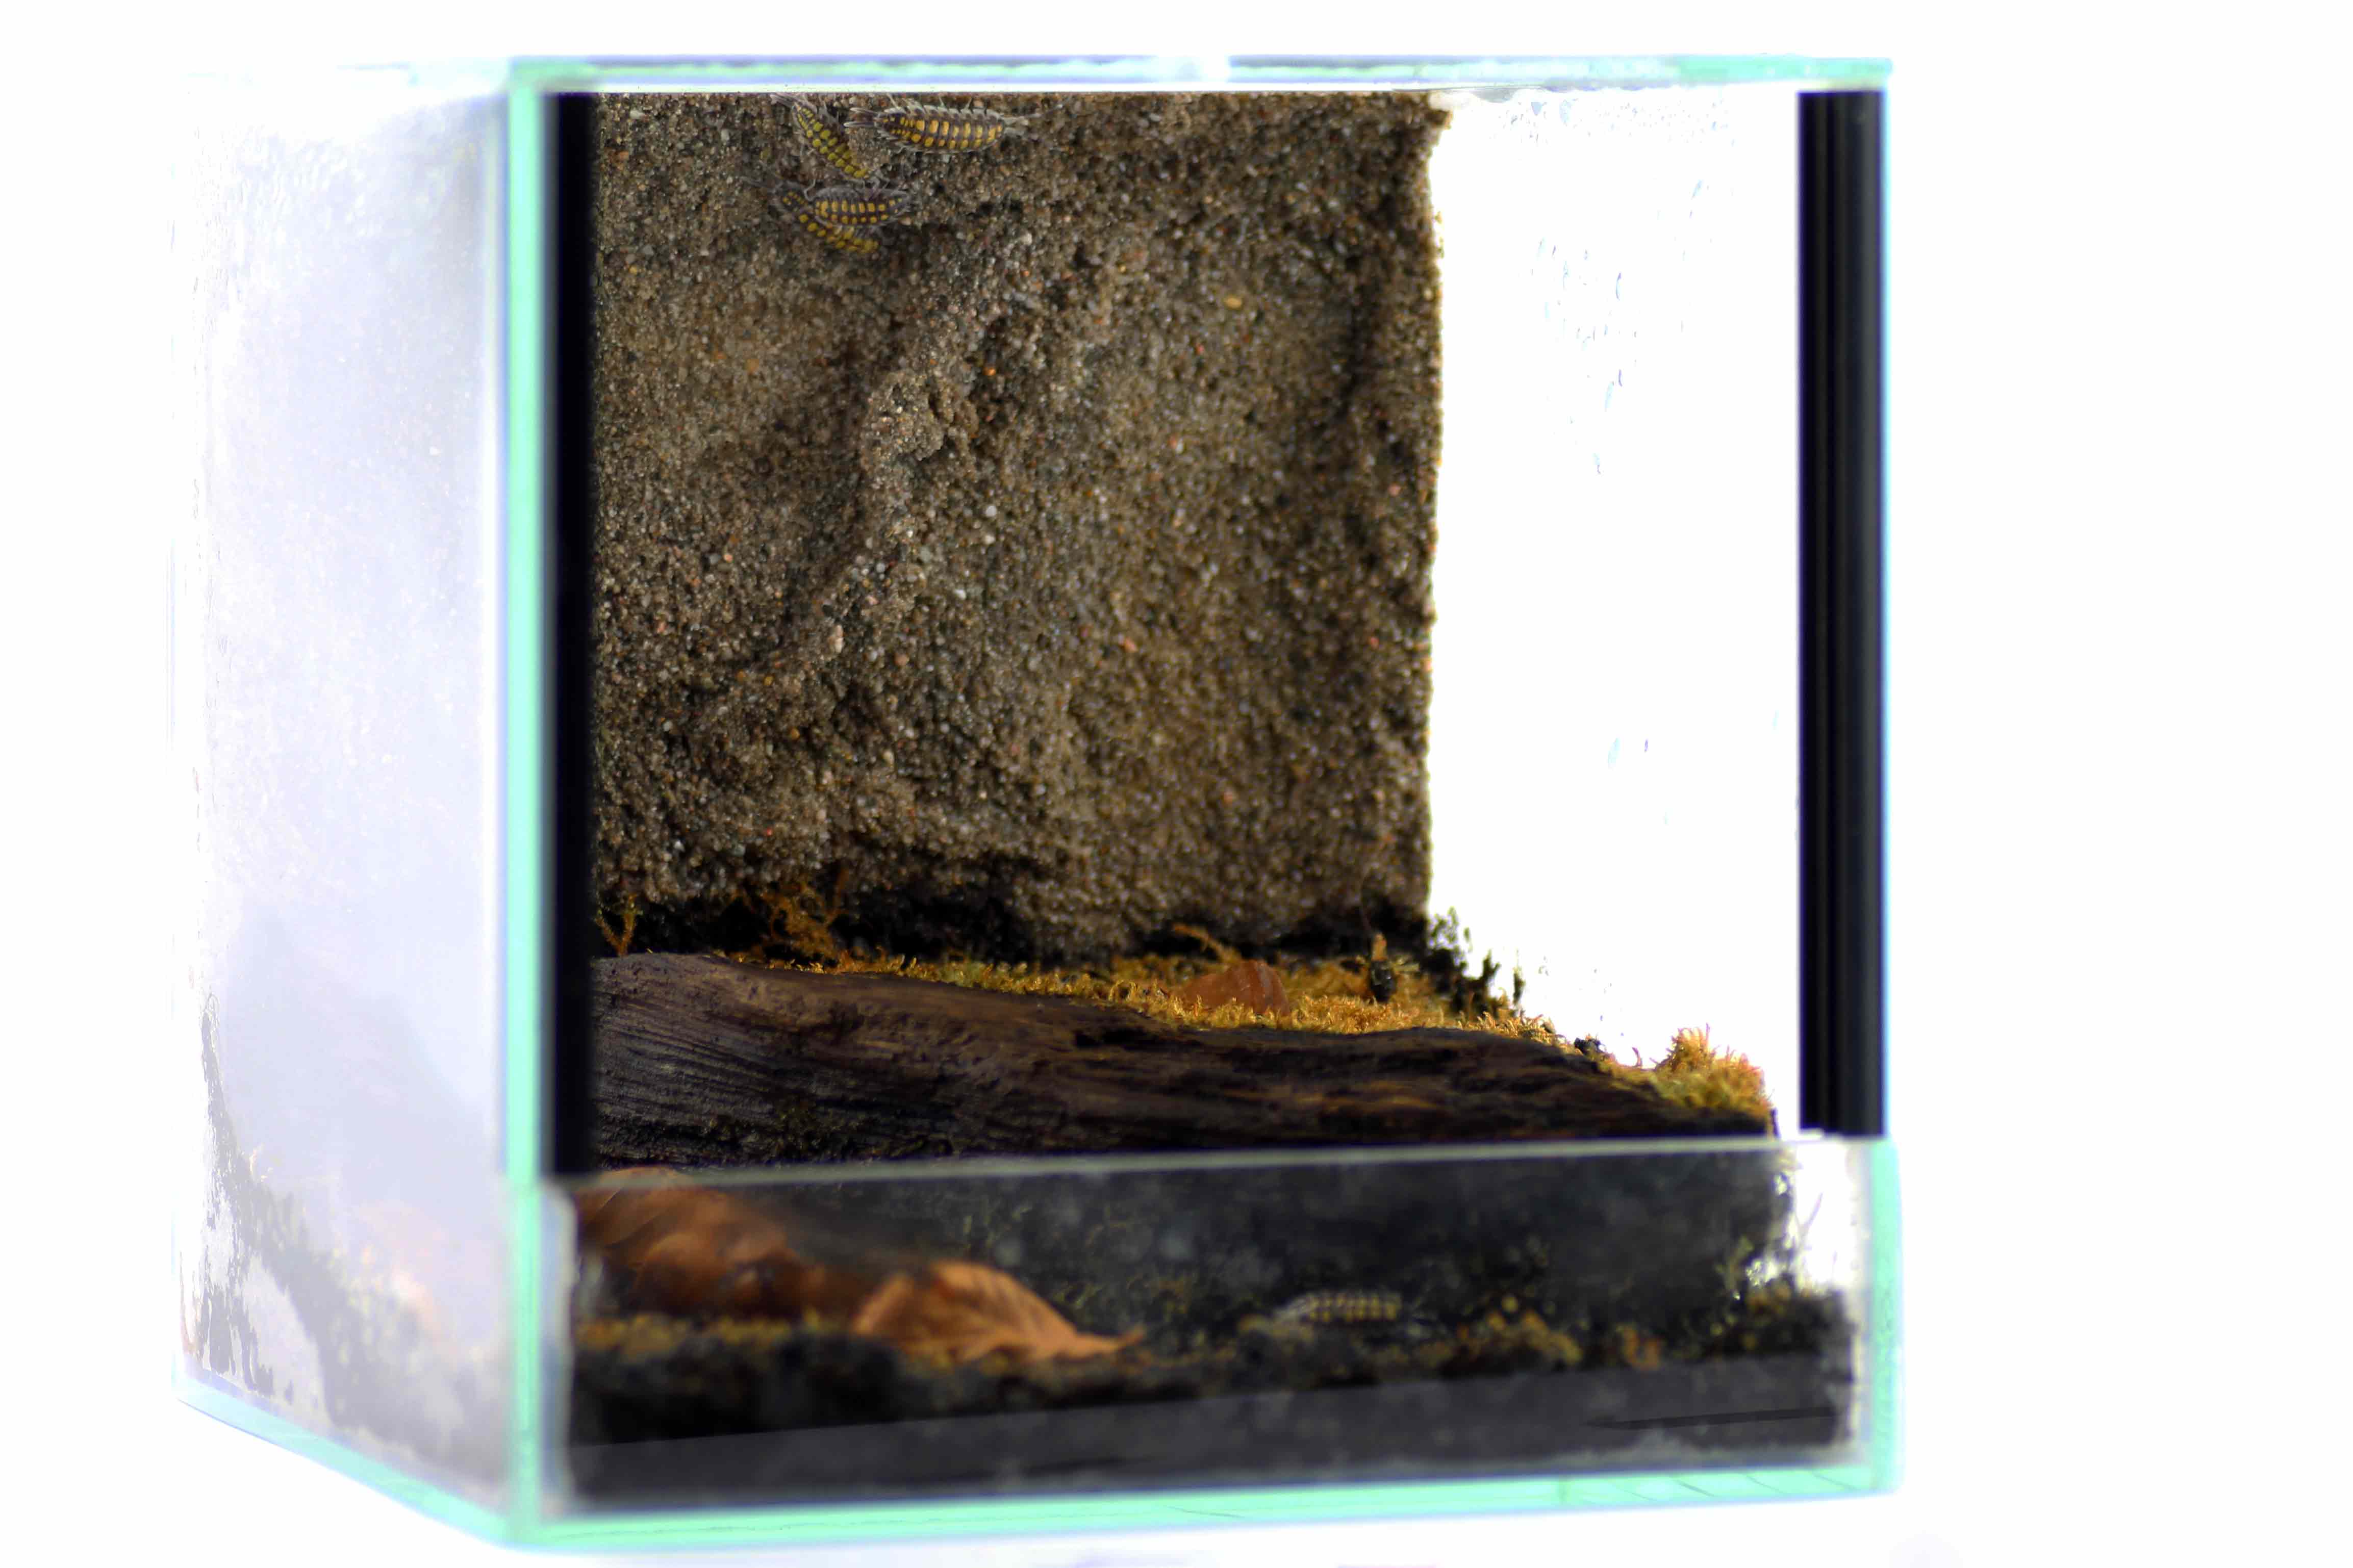
Insektenliebe acrylic terrarium
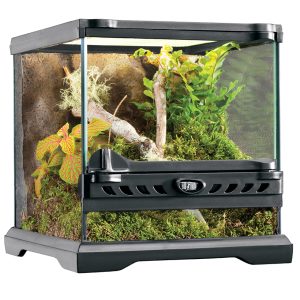
Exo Terra Terrarium
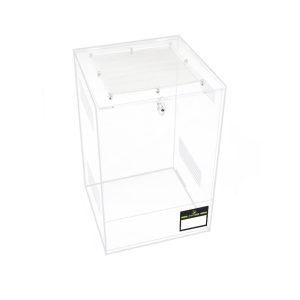
Repto Terra Clear
Food and water
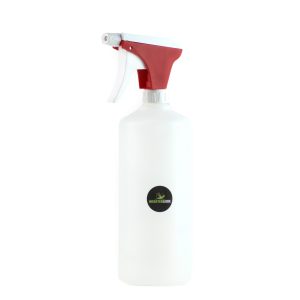
Like all living creatures, jumping spiders need food and water to survive. The animals should be provided with both two to three times a week to ensure that they are well and thrive. Liquid is best given to the jumping spiders by spraying water onto one side of the terrarium with a spray bottle two to three times a week. There should be enough droplets on the glass to last for 2-4 hours so that the spider has enough time to drink. You can also choose the side where the spider’s web is, as they also like to drink from the spider silk.
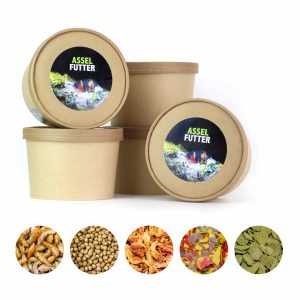
Just like the water, the jumping spiders should also be given food two to three times a week. In principle, Phidippus regius can catch food that is 1-1.5 times their own size. In addition, when keeping jumping spiders, care should be taken to provide a wide variety of food animals, as these contain different nutrients that are important for the spider. If the jumping spider does not accept a food animal, you can simply try a smaller food animal at the next feeding. Food animals such as crickets or grasshoppers should be removed from the terrarium if they are not eaten. This protects the jumping spider during moulting, as it can be eaten by these food animals during this period. The following is a list of which food animals are suitable for which size of jumping spider:
FH1-2:
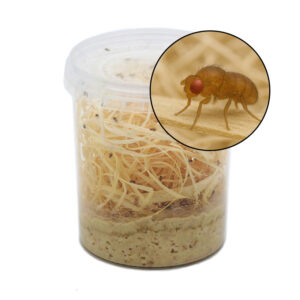
Small fruit fly “ant”
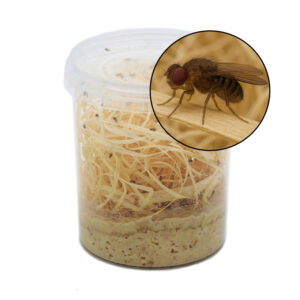
Large fruit fly
FH3-4:
Large fruit fly
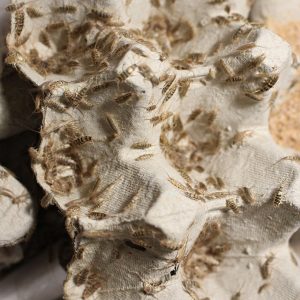
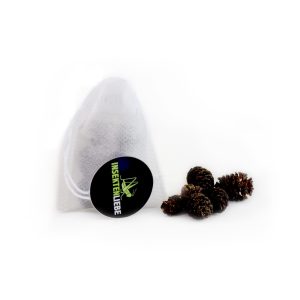
Thermobia domestica “Ovenfish”
FH5-7:
Thermobia domestica “Ovenfish”
Terfly

Gold flies
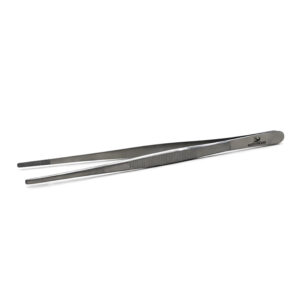
Feeding tweezers
from FH7:
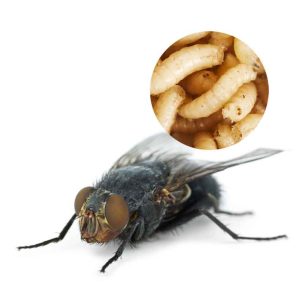
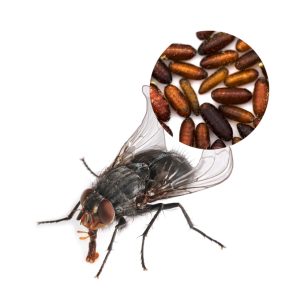
Blowflies
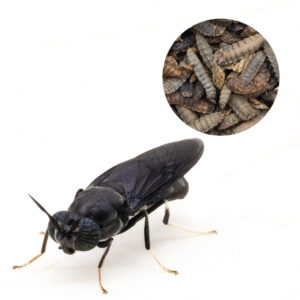
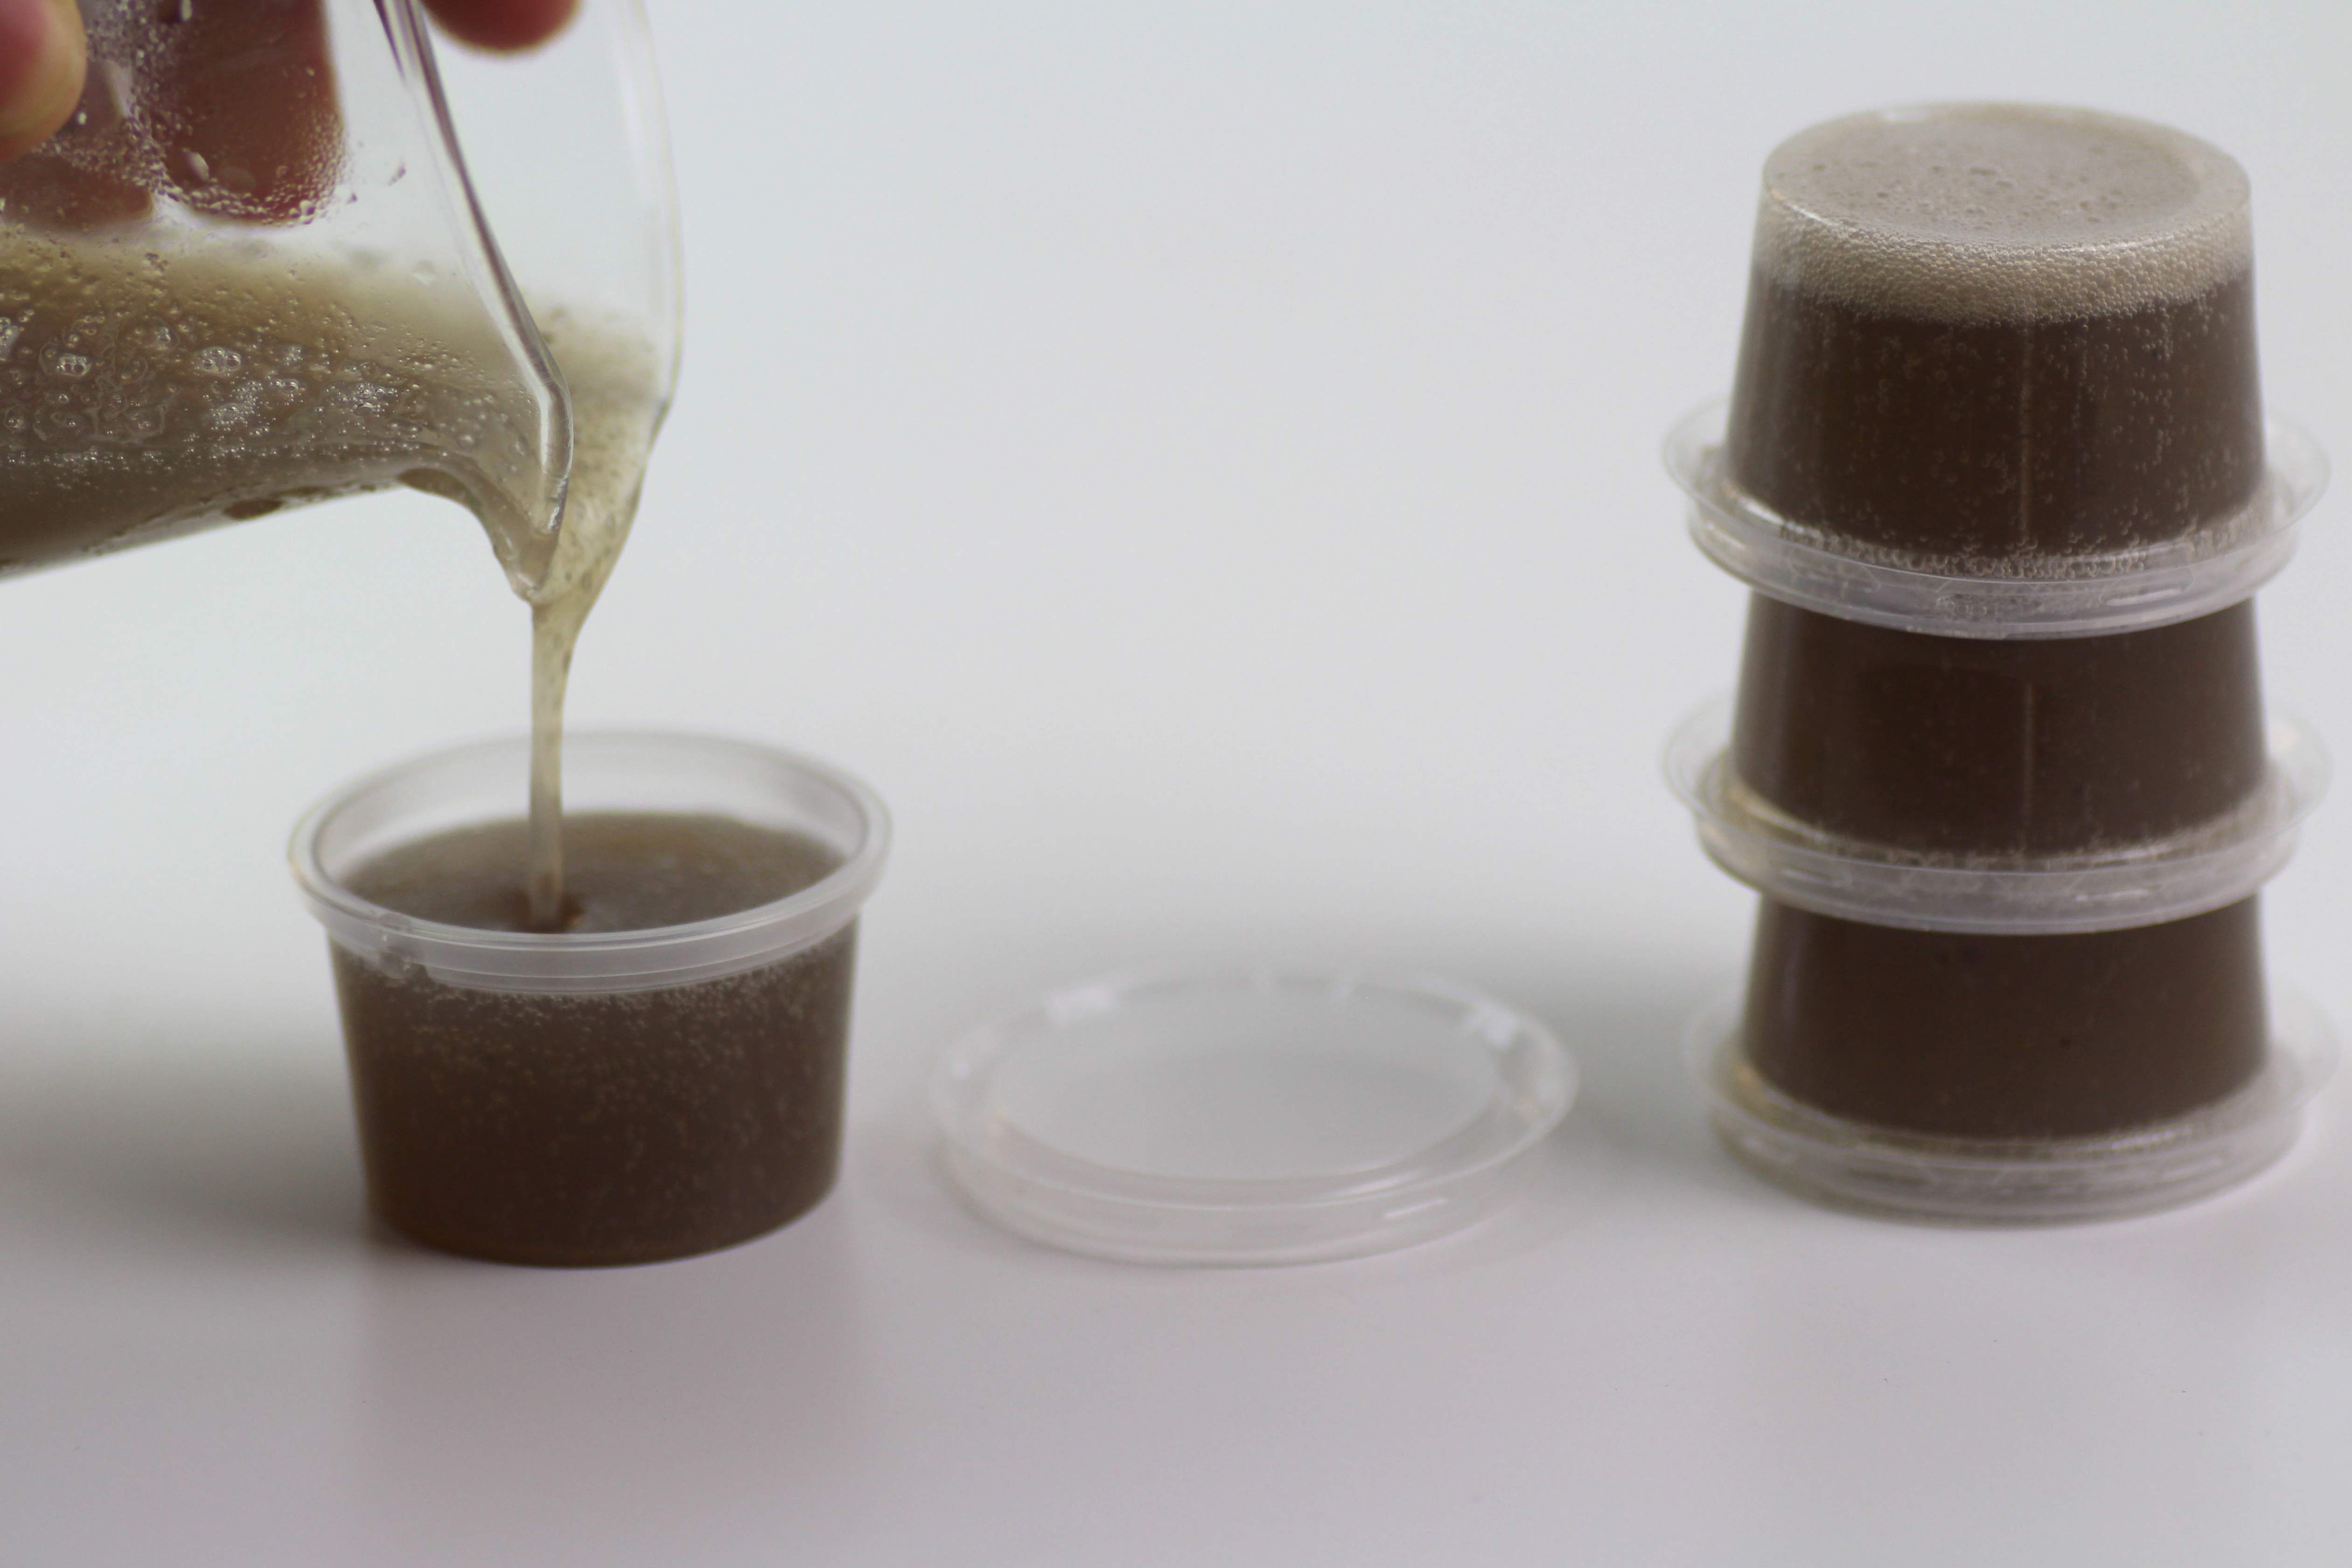
Soldier fly larvae – Dolls, 30 pieces
You can find out more about food in our article Jumping spider food – The right diet!
Keeping jumping spiders is therefore not particularly complicated and even beginners can get to grips with the subject. If you follow and implement the points listed, you will have a lot of fun with the cute little jumping spiders.
If you have any further questions, please leave them in the comments below the article.


