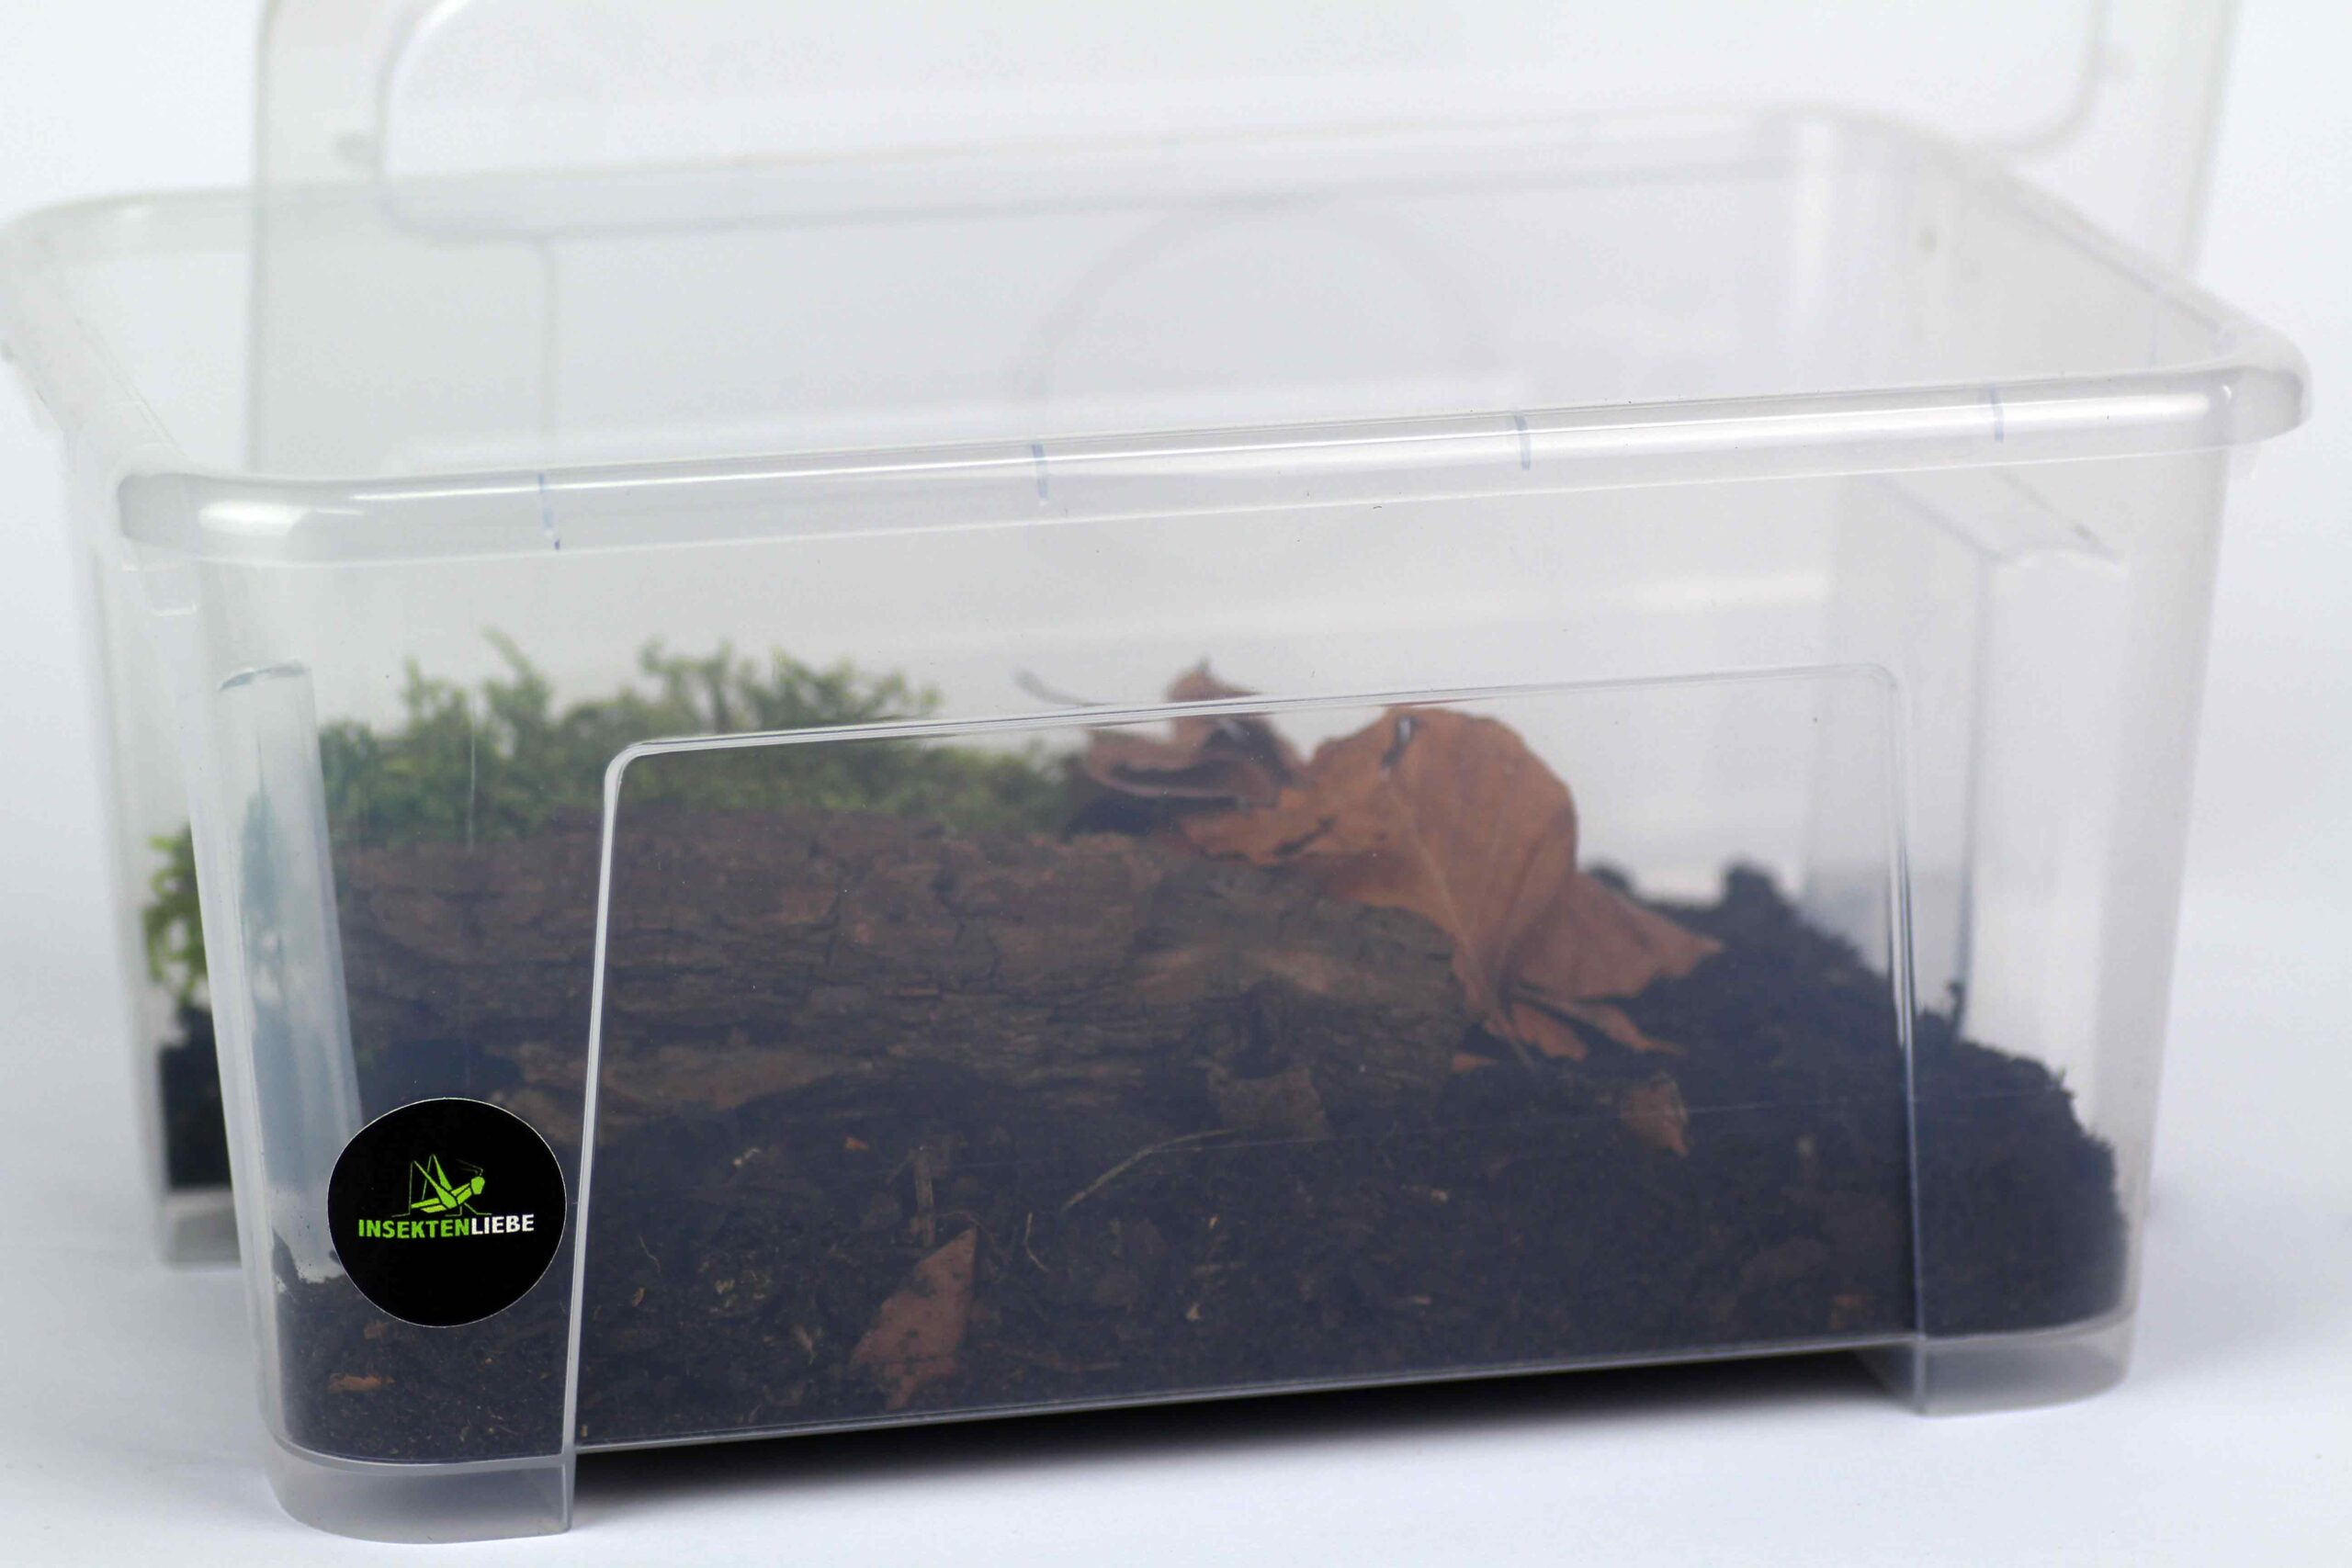


Want to set up an isopod terrarium but wondering what you really need? With us, you can start with a compact isopod box or create a display terrarium. Here you’ll find the differences between our complete sets and instructions for the substrate, leaves, hiding spots, and the humid corner.
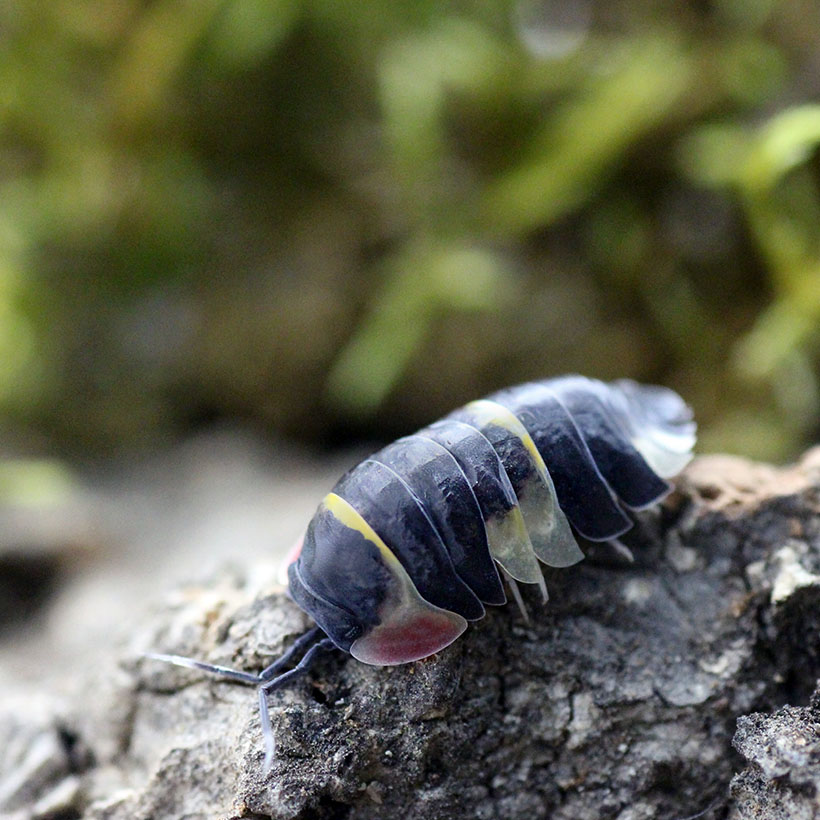
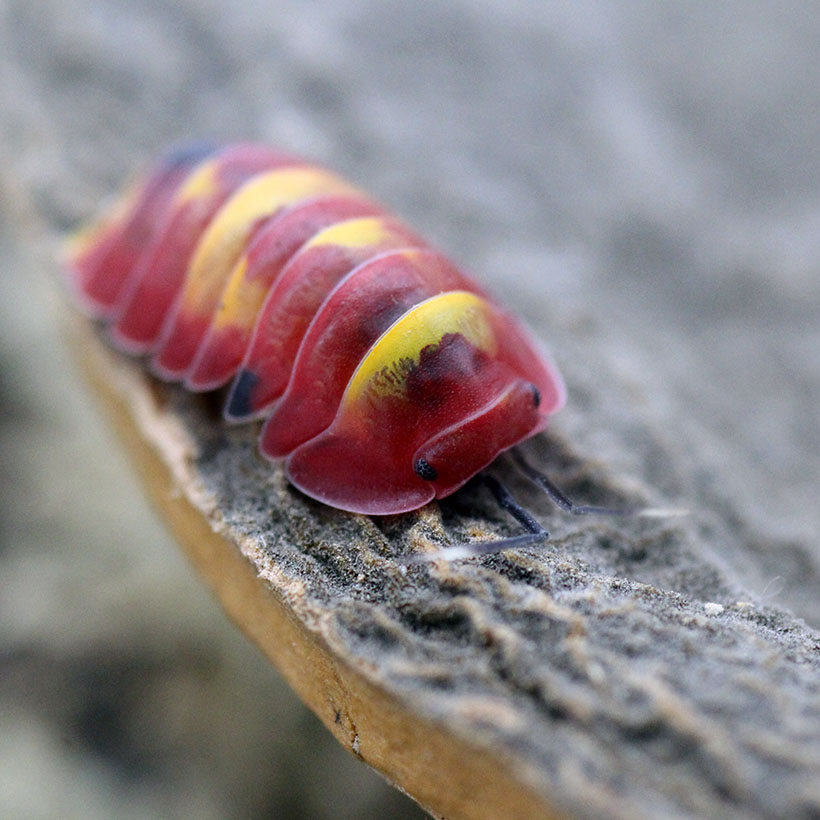
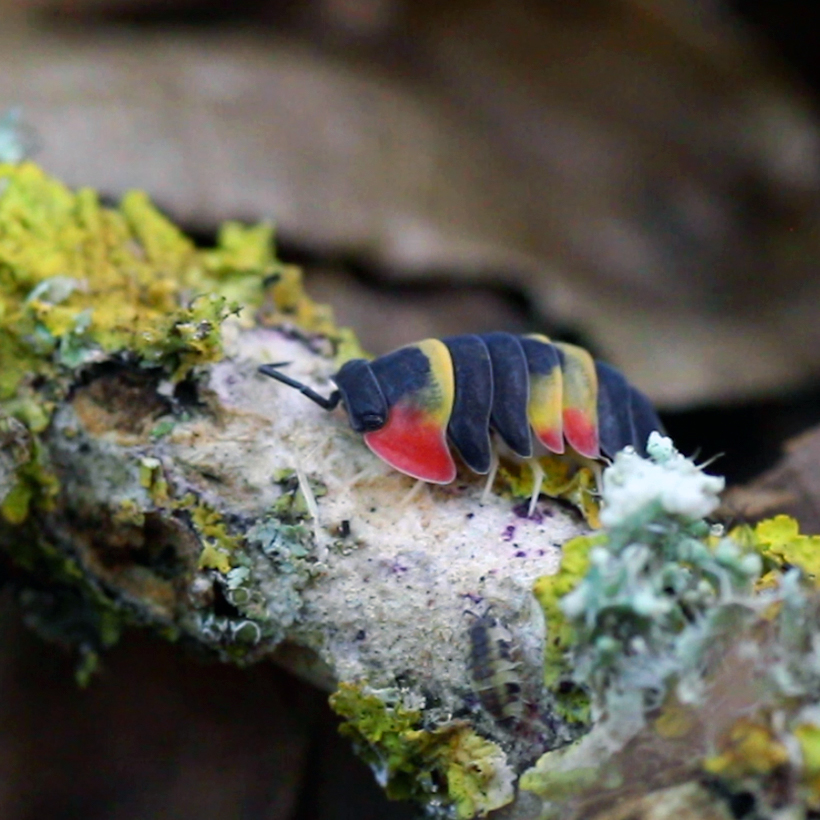
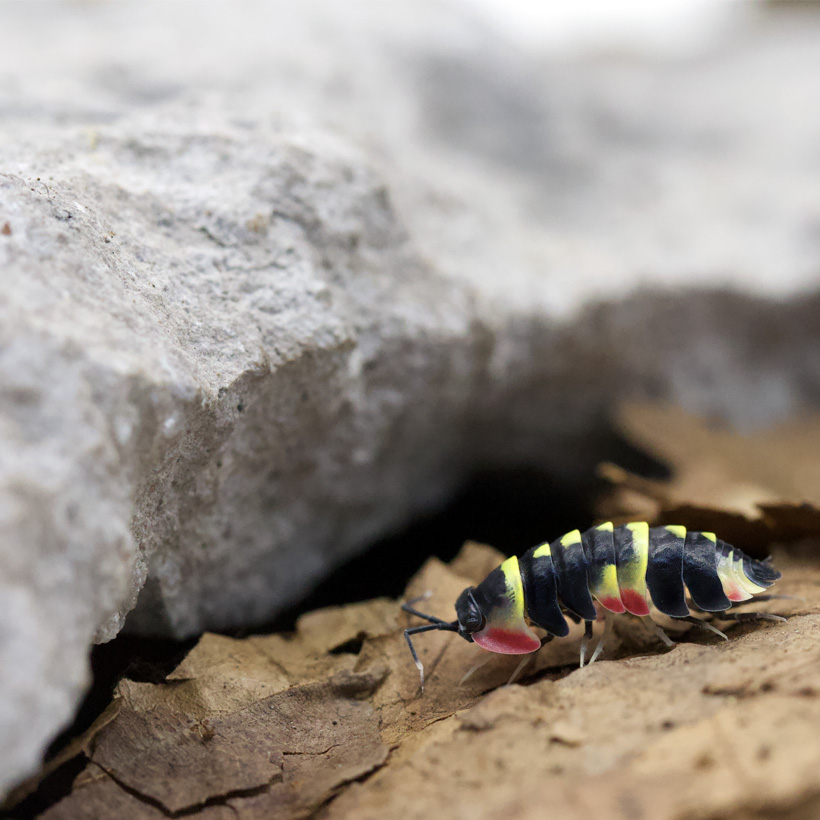
A good start begins with the species you plan to keep. Zebra pill bugs, Porcellio laevis “Panda,” and Cubaris “Rubber Ducky” don’t all need exactly the same conditions. That’s why we pair the choice of container with the appropriate care. If you already have a suitable box, you can, of course, continue to use it.
Which isopod terrarium is right for you?
I started out with small plastic boxes myself. A larger floor area makes it easier to create damp and drier zones and to arrange the interior. For Isopods, usable floor space is more important than as much height as possible. Be sure to plan for a growing group.
For a display terrarium: Isopod Terrarium Complete Set
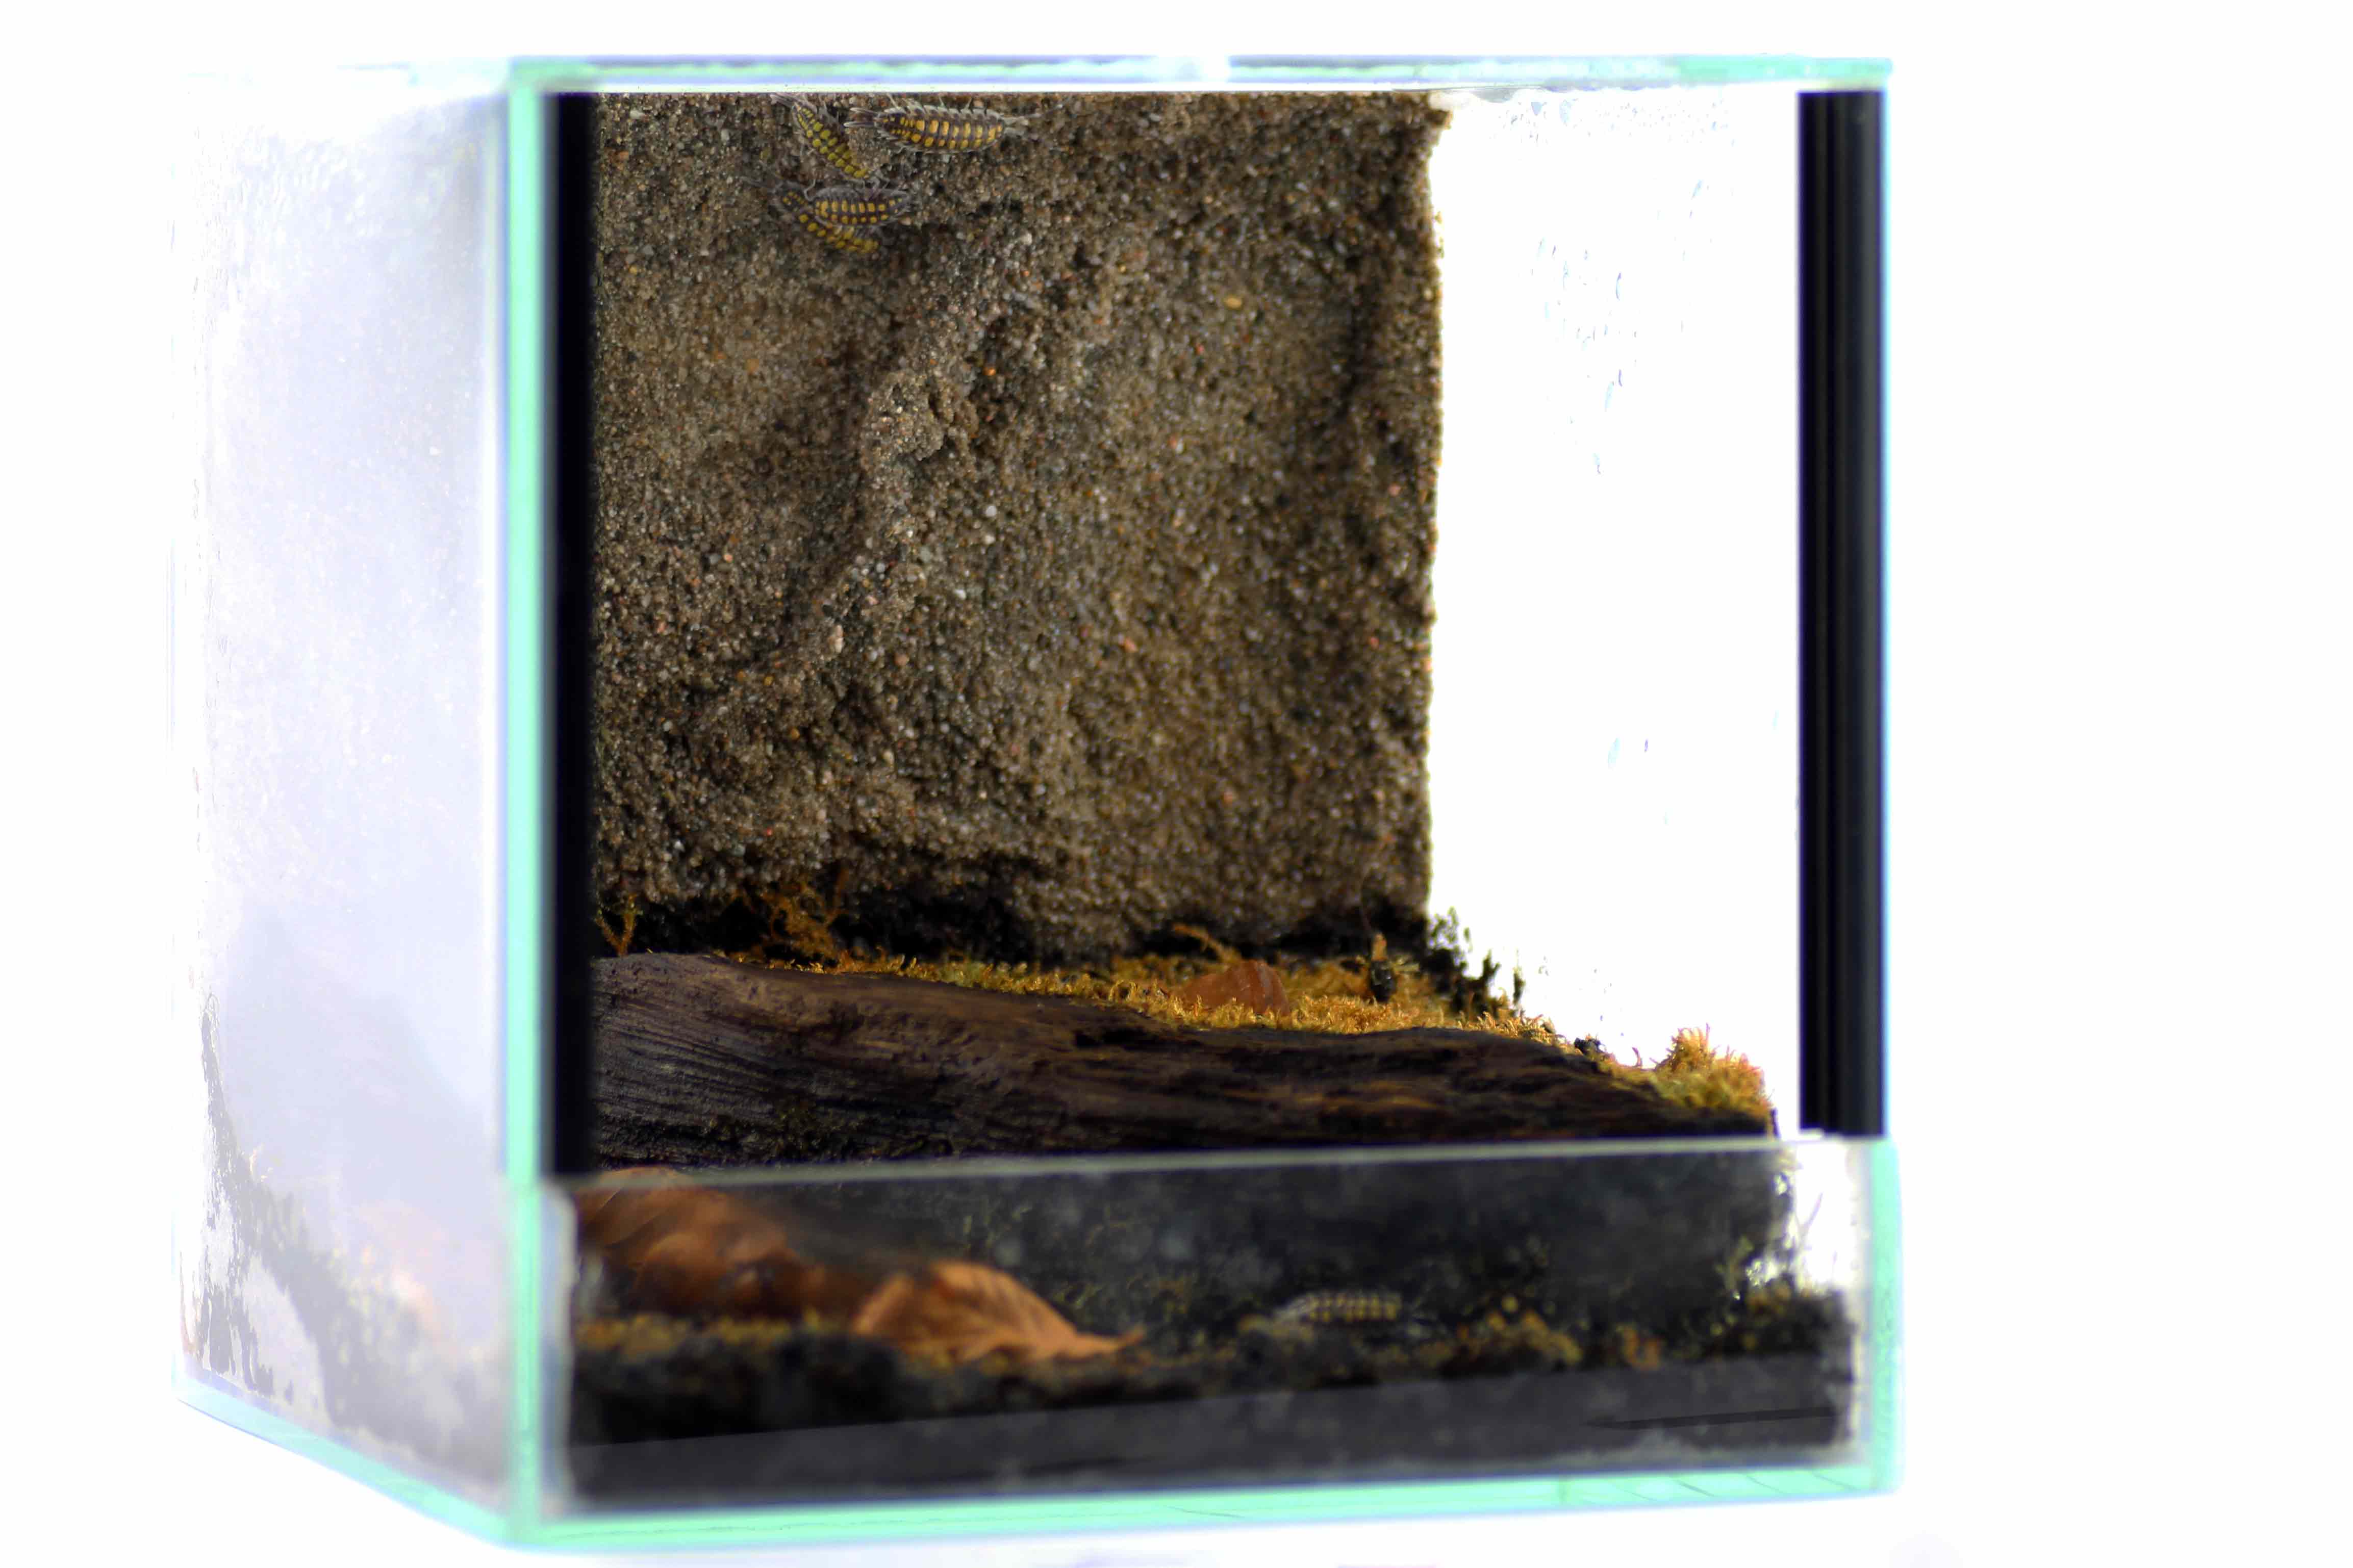
If you want to observe your little forest landscape through glass panels, the Isopod Terrarium Complete Set (30 × 30 × 30 cm) is the way to go. You can access the interior from above via the mesh lid. This makes it easy to set up the terrarium and add leaves. A ready-to-use set saves you the trouble of finding materials; you’ll just need to set it up and adjust the humidity to suit your specific species.
The set includes the terrarium, 6 liters of forest humus, 1 liter each of white-rotted wood and decaying leaves, mussel grit, a cuttlebone, terrarium moss, porous rock, a Buddha nut, and a species name sticker. Isopods are not included in this list. A lamp or heater is also not included and is not automatically necessary. First, check the temperature at the intended location.
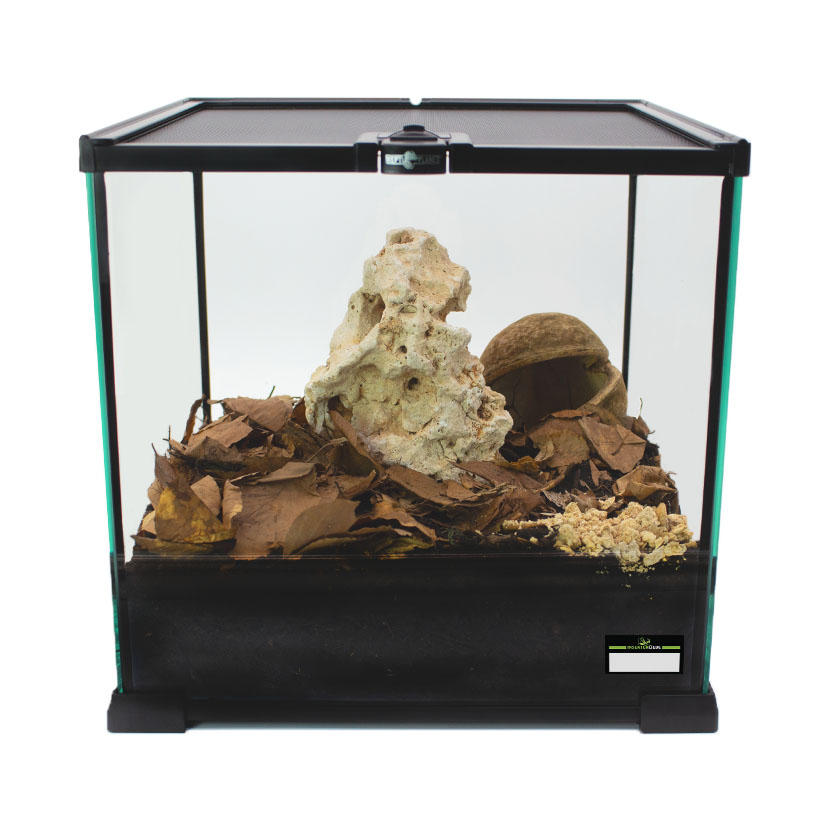
Isopod Terrarium Complete Set
Get Started Quickly: Insektenliebe-Isopod Starter Kit
The 5-liter plastic box is a space-saving option for a small starter group, such as zebra woodlice or Porcellio laevis “Panda.” It’s especially suitable if you want to keep things simple and observe the animals when you open the box. As the population grows, you may need more floor space later on.
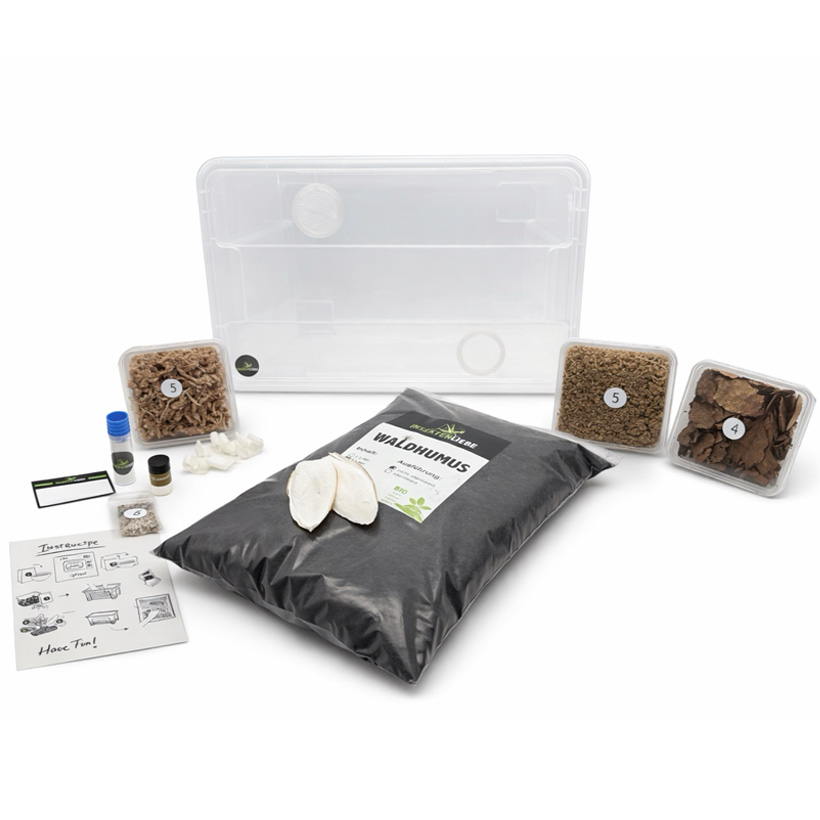
Choose your version carefully: The “Set with Accessories” includes, in addition to the ventilated box, forest leaf litter, white-rotted wood, feed leaves, moss, lime, cuttlebone, cork bark, and a feed sample. The “Set without Accessories” includes the box with a ventilation grille, clips, and stickers. Animals are only included in versions that explicitly specify a particular species of isopod. You can view the available versions directly in the selection.
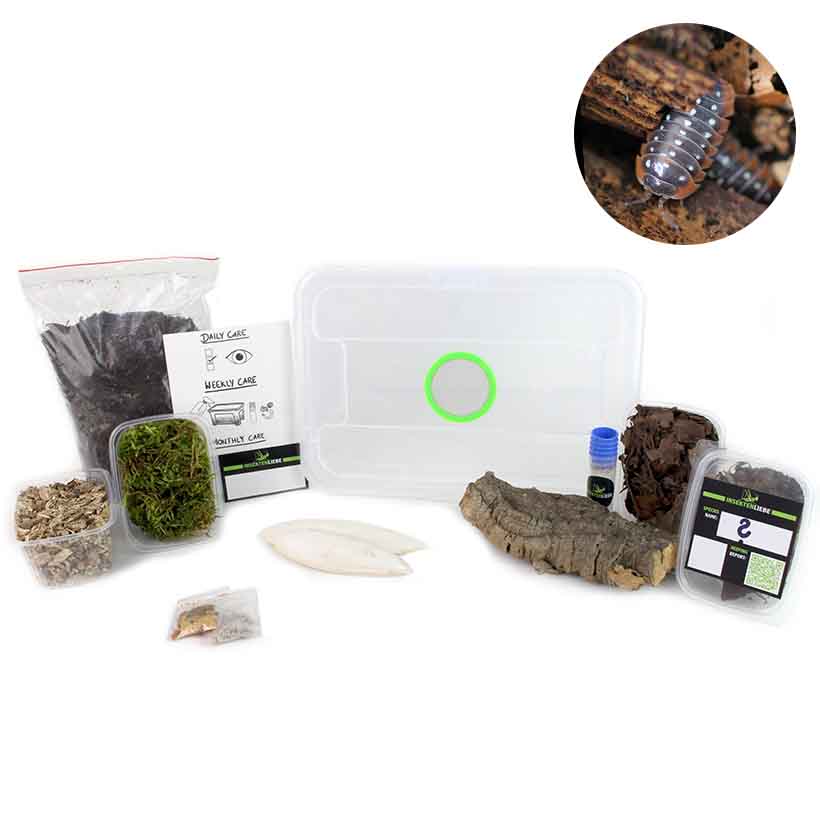
More Floor Space: Isopod Complete Set L
The Isopod Complete Set L, with a capacity of 11 liters and dimensions of 39 × 28 × 14 cm, offers more floor space. This is helpful if you’re caring for a larger group or want more space for hiding spots. The box has two ventilation grilles. It is available with or without accessories; animals are not included in either version.
This accessory set includes 3 liters of forest leaf humus, 500 ml each of white-rotted wood, feed leaves, and moss, as well as lime granules, cuttlebone, cork bark, and a feed sample. This means you won’t need to buy these materials individually to get started. The key is to ensure that the moisture levels and air circulation are appropriate for your species.
Before Setting Up: Type, Location, and Breakout Protection
Set up the isopod terrarium in a spot out of direct sunlight and with exposed ventilation areas. Measure the temperature at the location and compare it to the care guide. If it’s already within the recommended range, no additional heating is needed. Close the lid carefully and check door gaps and cable openings to ensure they are not large enough for young woodlice to escape. Bark, plants, and clinging soil can form climbing paths all the way to the edge.
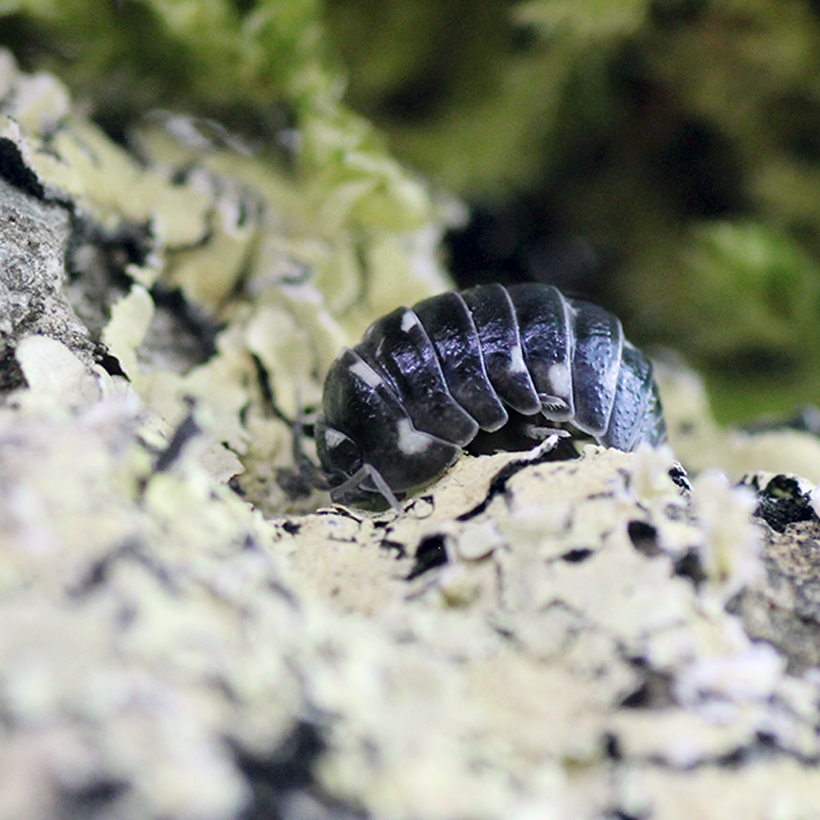
- Zebra roll-up snails: A damp hiding spot and a drier surface give Armadillidium maculatum options. A completely wet substrate is not the goal.
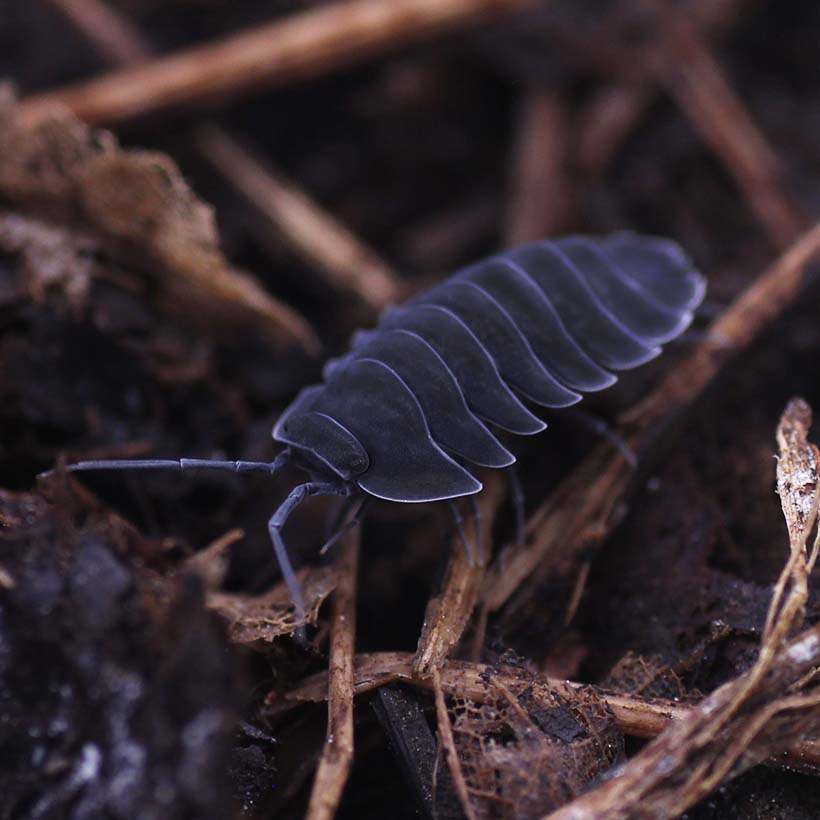
- Porcellio laevis “Panda”: Plan for potential reproduction. As the group grows, more floor space and additional hiding spots become more important. These animals are not the same as Cubaris “Panda King.”
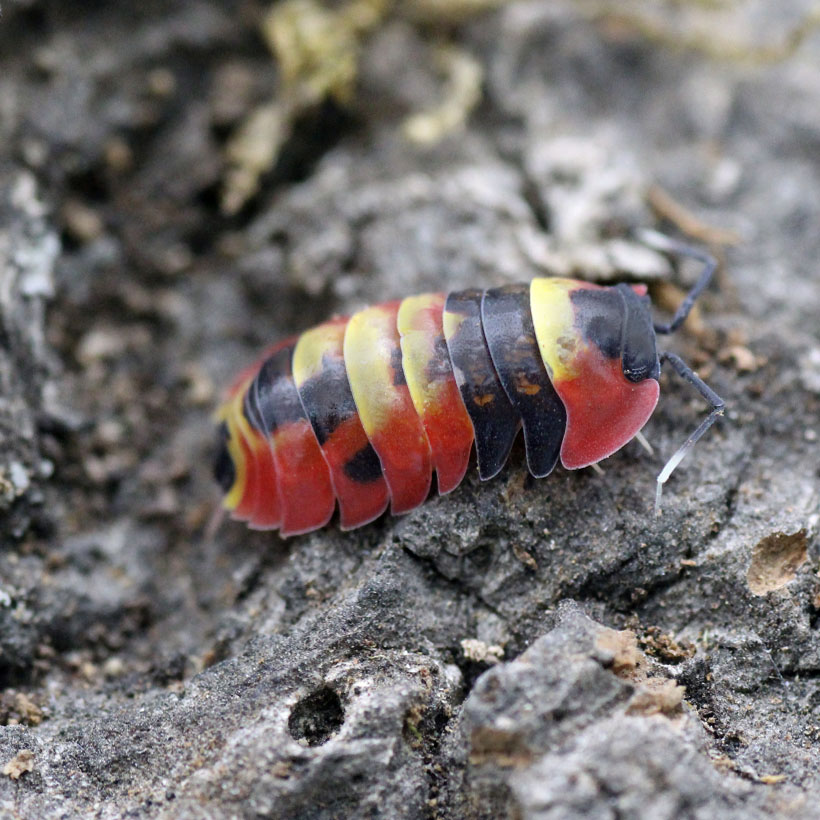
- Cubaris “Rubber Ducky”: Set up a larger, damp hiding area and a suitably warm location. The animals can stay hidden for long periods of time. A complete set is no substitute for addressing their specific needs.
YOUR READING TIP · Holding Zebra Rollers
Here’s how to adjust the humidity, food, and care for Armadillidium maculatum.
YOUR READING TIP · Keeping Panda Isopods
Porcellio laevis “Panda”: Setup and Planning for a Growing Group.
YOUR READING TIP · Holding a Rubber Ducky
What’s important to keep in mind regarding humidity, curing, and the preparation of these Cubaris.
Setting Up an Isopod Terrarium: Step by Step
1. Prepare the substrate
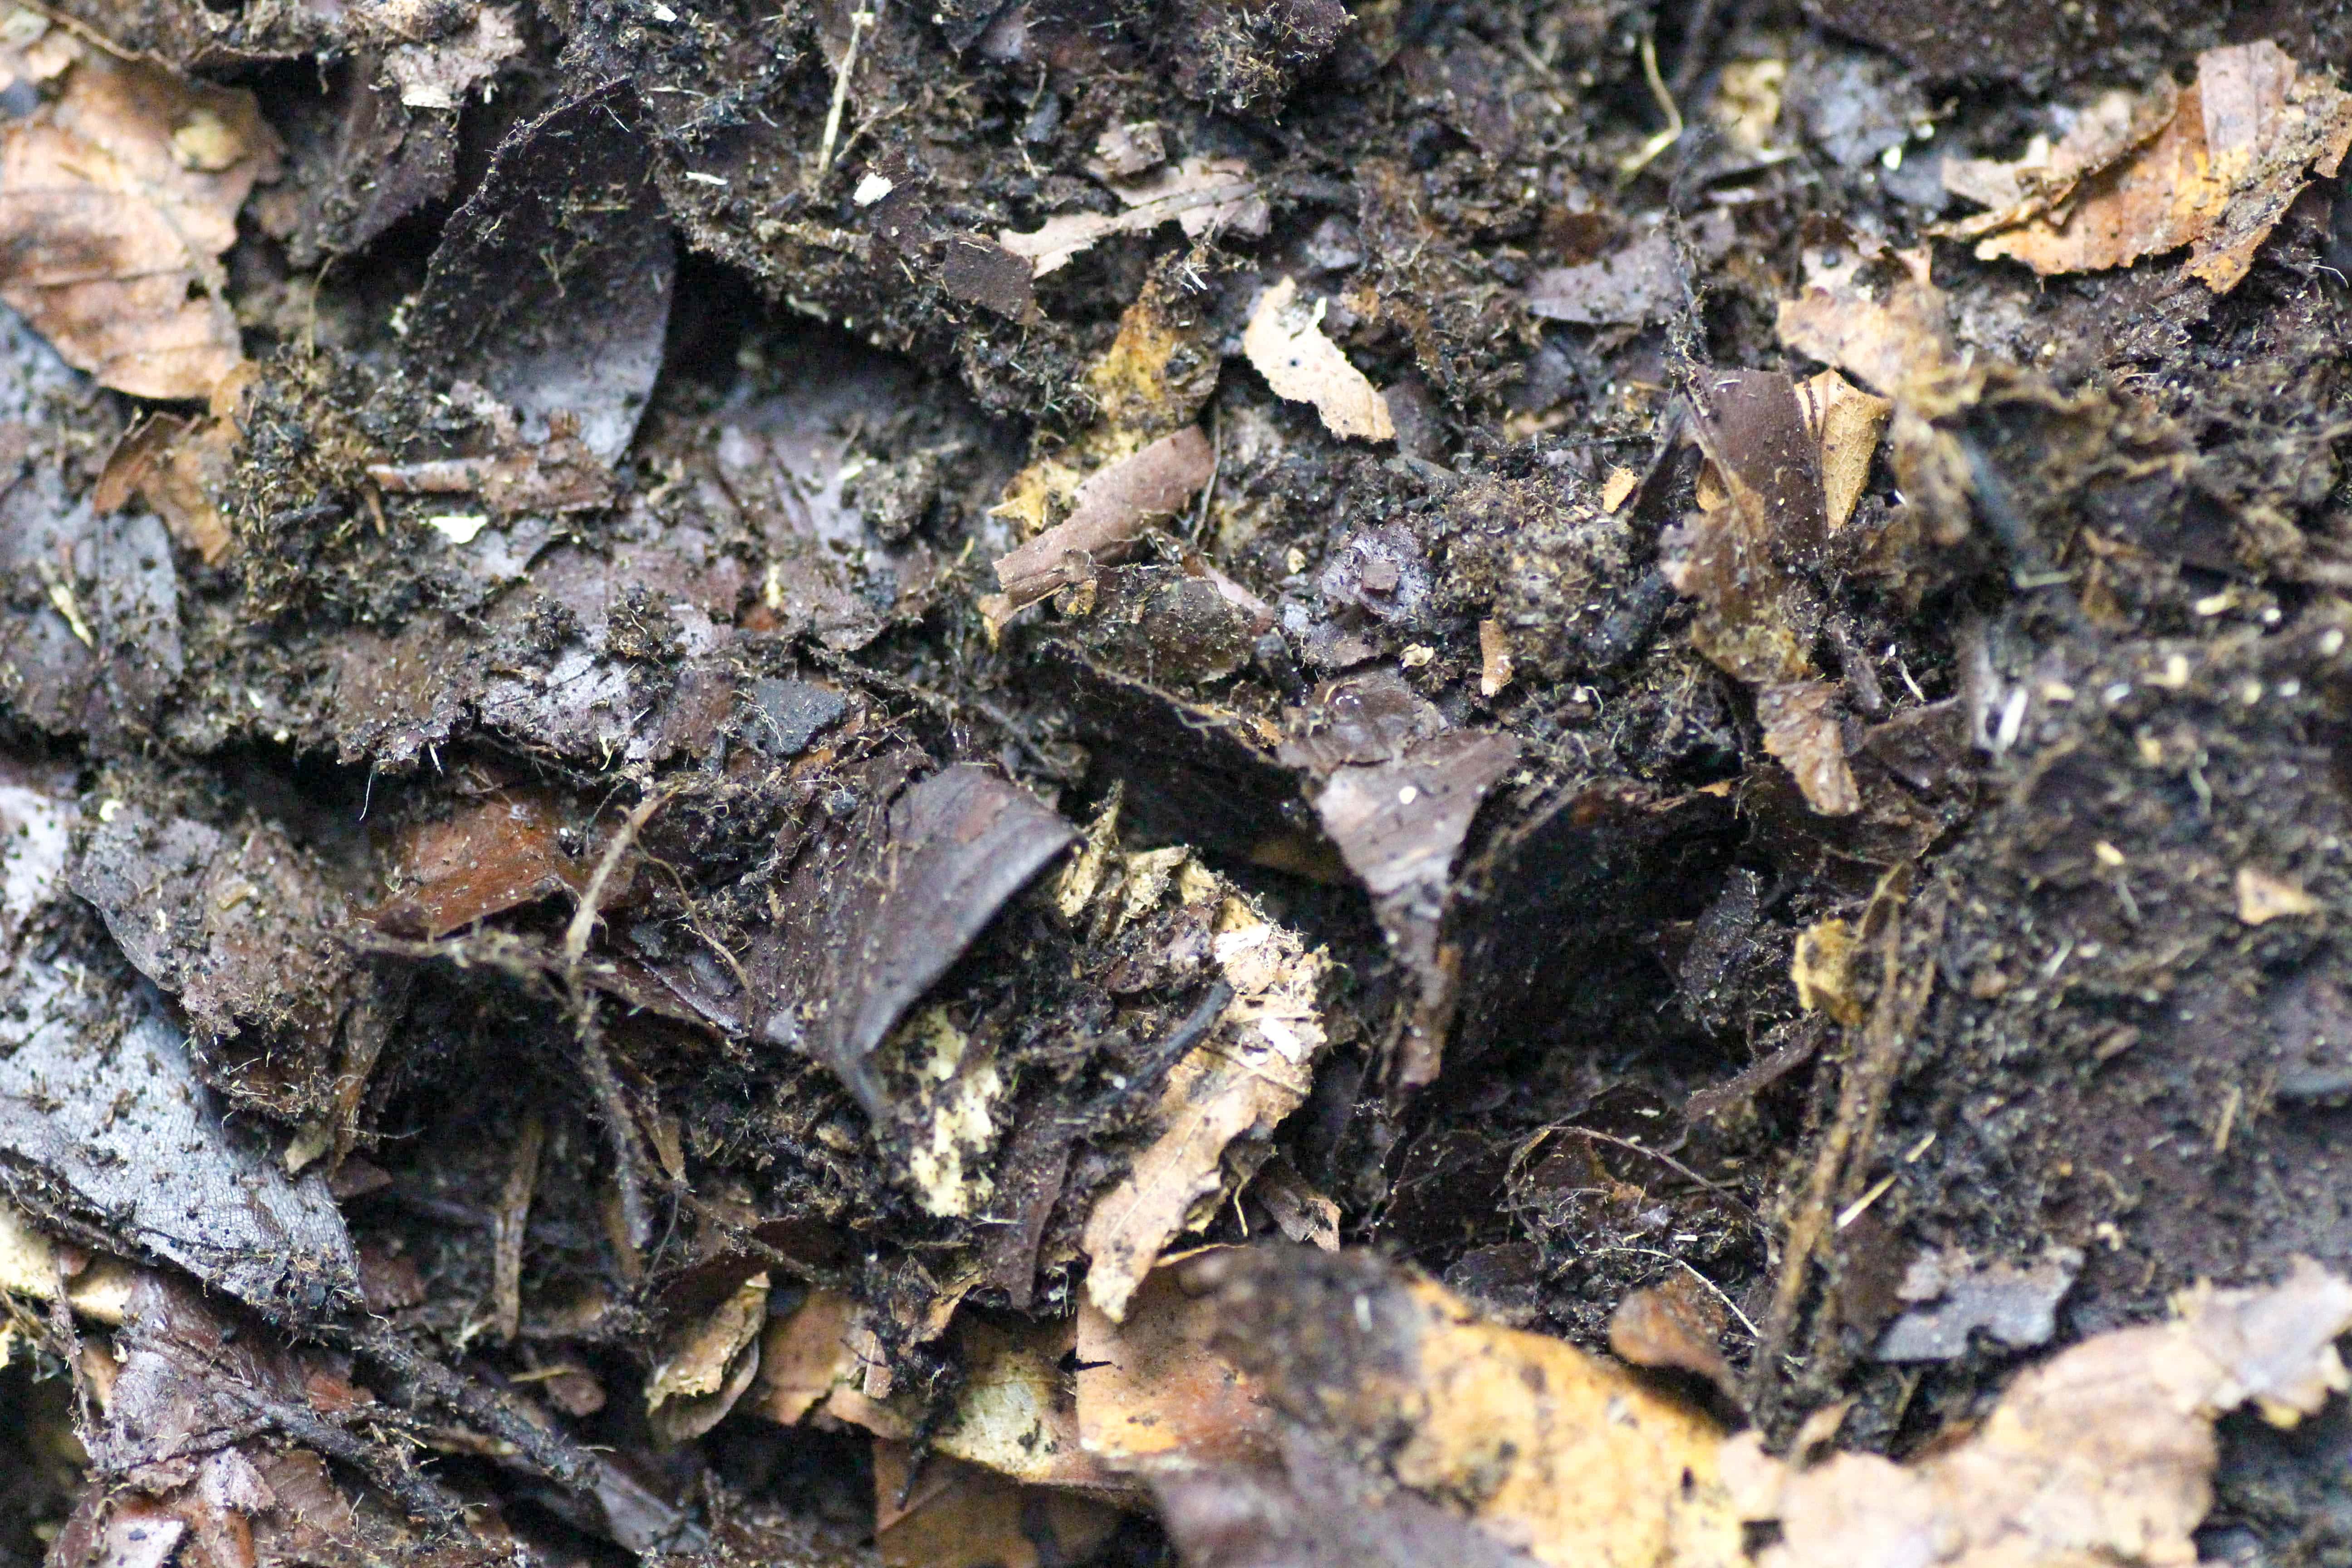
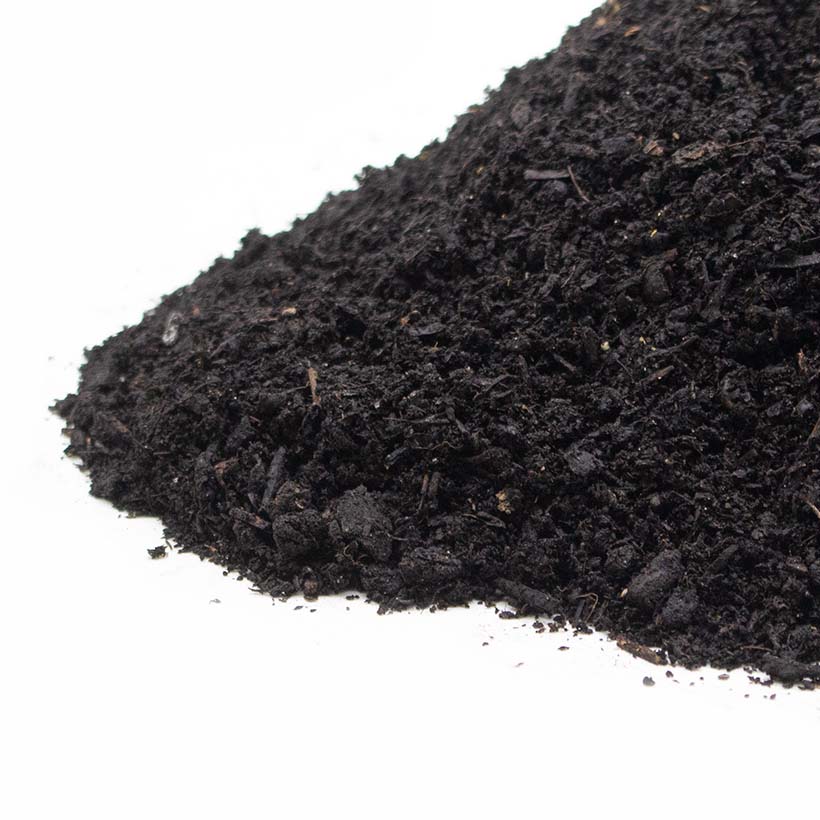
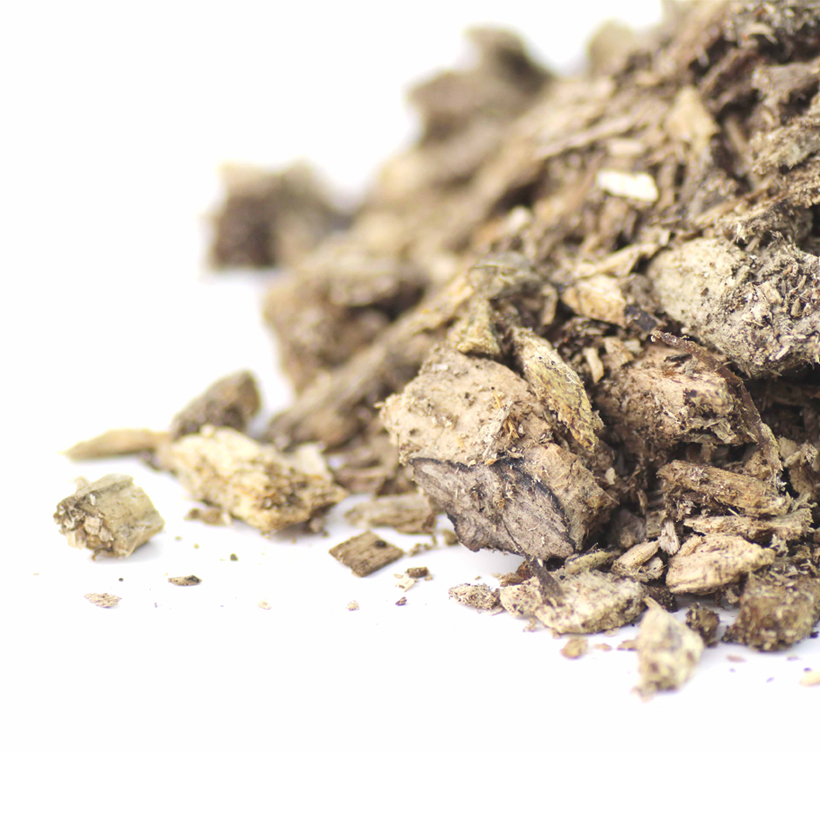
Deciduous forest humus forms the base of our sets. Loosely mix in shredded, white-rotted deciduous wood and some fallen leaves. The substrate should retain moisture and provide hiding places. Pure coconut humus alone does not provide enough nutrients for this purpose. Use suitable, uncontaminated material; garden soil that has been treated with unknown substances does not belong in the container.
My tried-and-true mixture from the original setup consists of about four parts forest humus and one part white-rotted wood. This is a practical guideline, not a strict formula for every species. Fill in several centimeters and take burrowing animals into account. Keep the ventilation grates clear and do not compact the substrate into a solid slab.
YOUR HELPER · Substrate Calculator
How much growing medium do you need? Enter the usable length, width, and desired soil height. If you’re using a kit, subtract the amounts already included from your total needs.
For an existing box or to add more later: You can also add forest humus and white-rotted wood separately. If you chose a set with accessories, use the contents of that set first.
2. Plan for a damp corner and air circulation
Moisten one side carefully and place the prepared moss there. Use your fingers to check the soil underneath as well: it should be moist, but without any standing water. The other side should remain less moist. The size of these areas will depend on the species and how quickly your setup dries out.
Ventilation and humidity go hand in hand. An open gauze cover can dry out the soil faster than a small ventilation opening. If an adjustment is necessary, reduce the size of only part of the opening and monitor the effect. Never completely seal off the ventilation. A rigid limit on the volume for one or two ventilation openings isn’t very helpful here: the container, the room, and the type of plant all play a role.
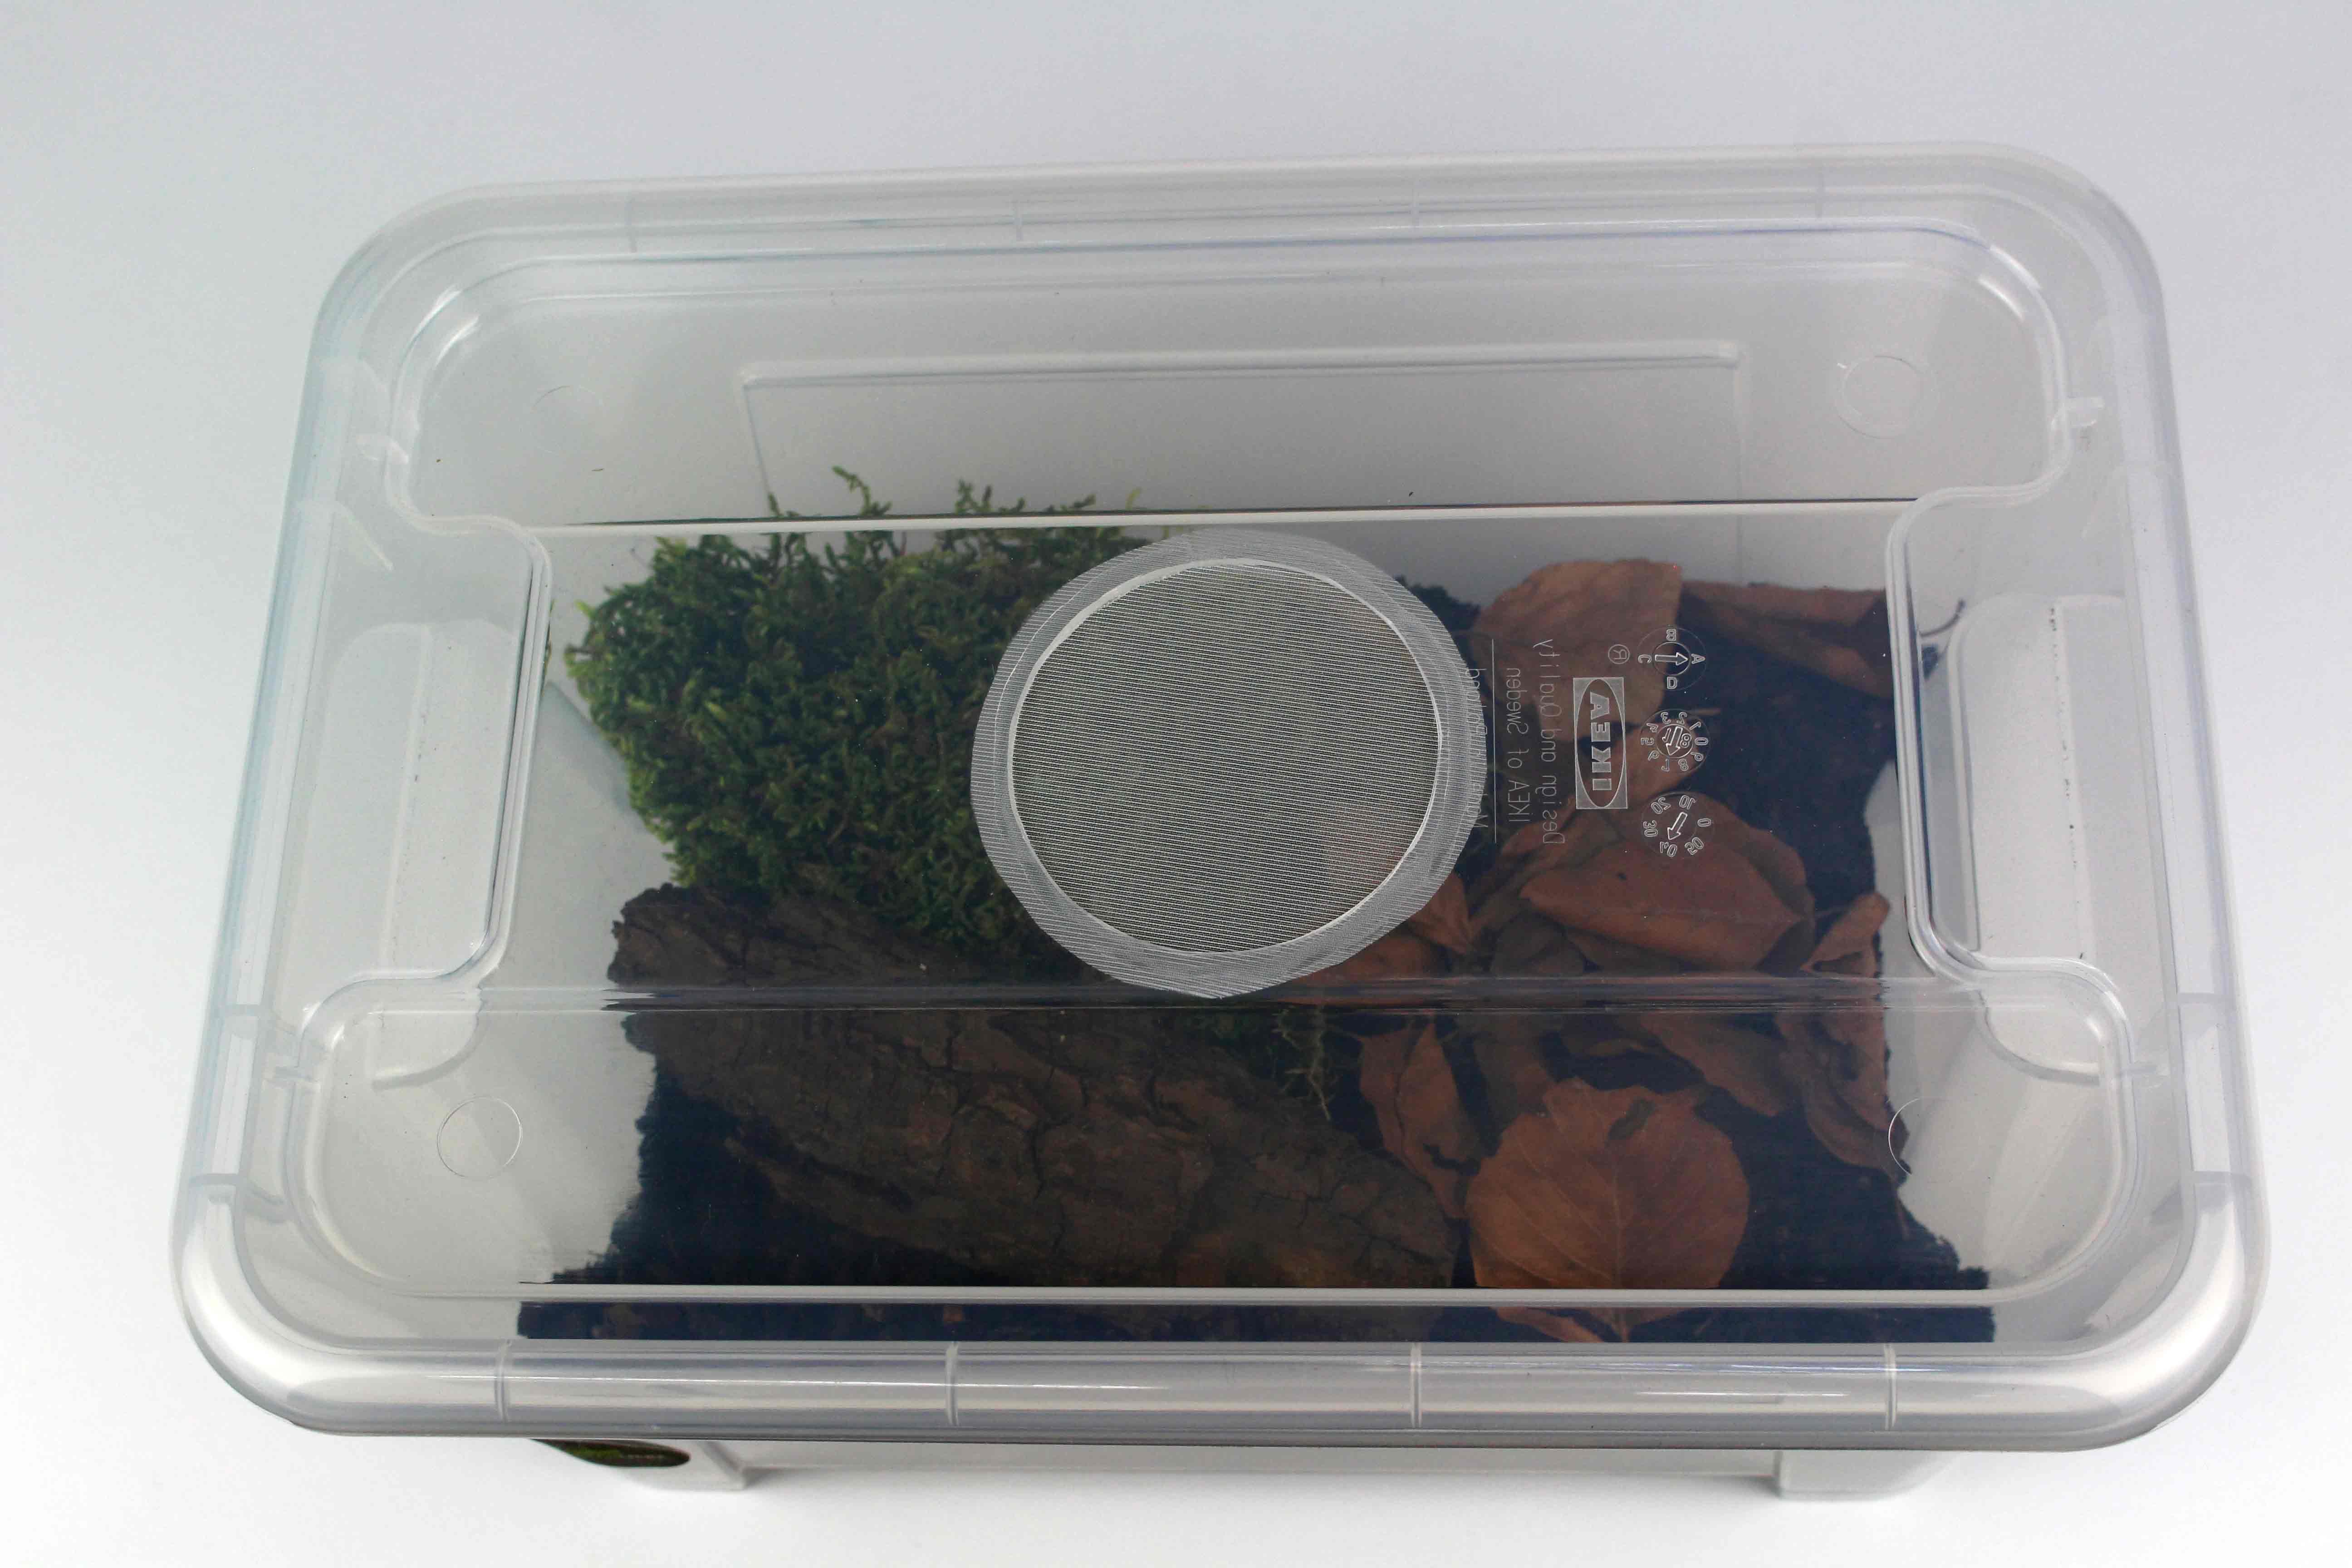
3. Set up hiding spots, spread calcium, and scatter leaves
Place cork bark or other suitable hiding spots securely on the ground. In the terrarium set, use the included Buddha nut and the rock with holes; in the plastic sets, use the cork bark. Heavy pieces must be stable. When replacing the bark, carefully check to see if any animals are hiding underneath.
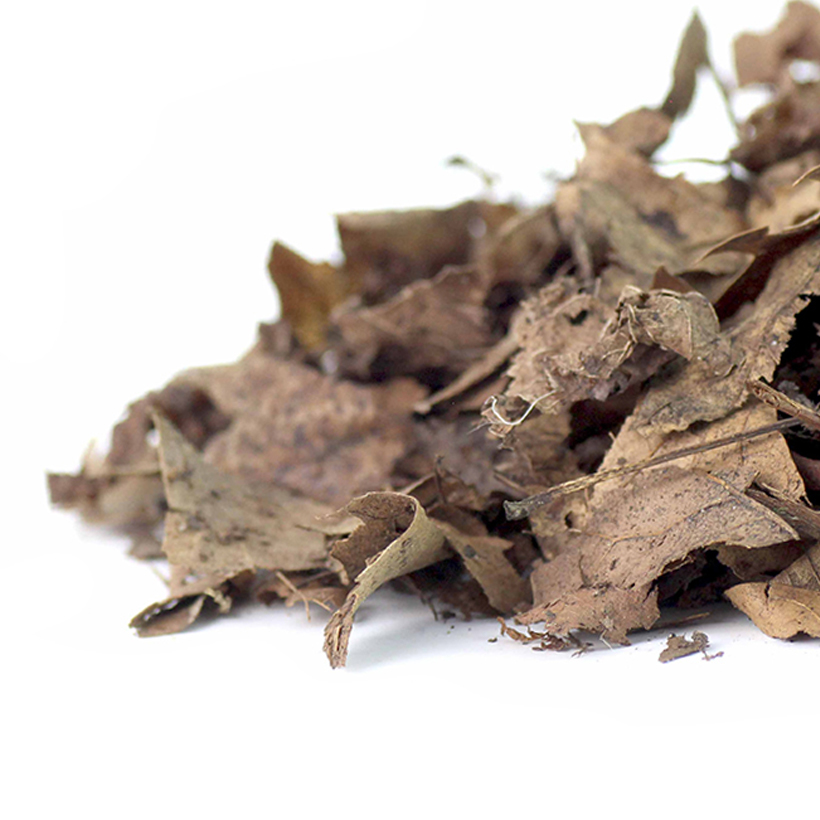
Cuttlefish bone provides an accessible source of calcium. Depending on the set, calcium granules or mussel grit may also be included. Next, spread a loose layer of leaves. This serves as both food and cover and will be eaten over time. Oak and beech leaves have worked well in my setup. Top it off before the layer disappears completely.
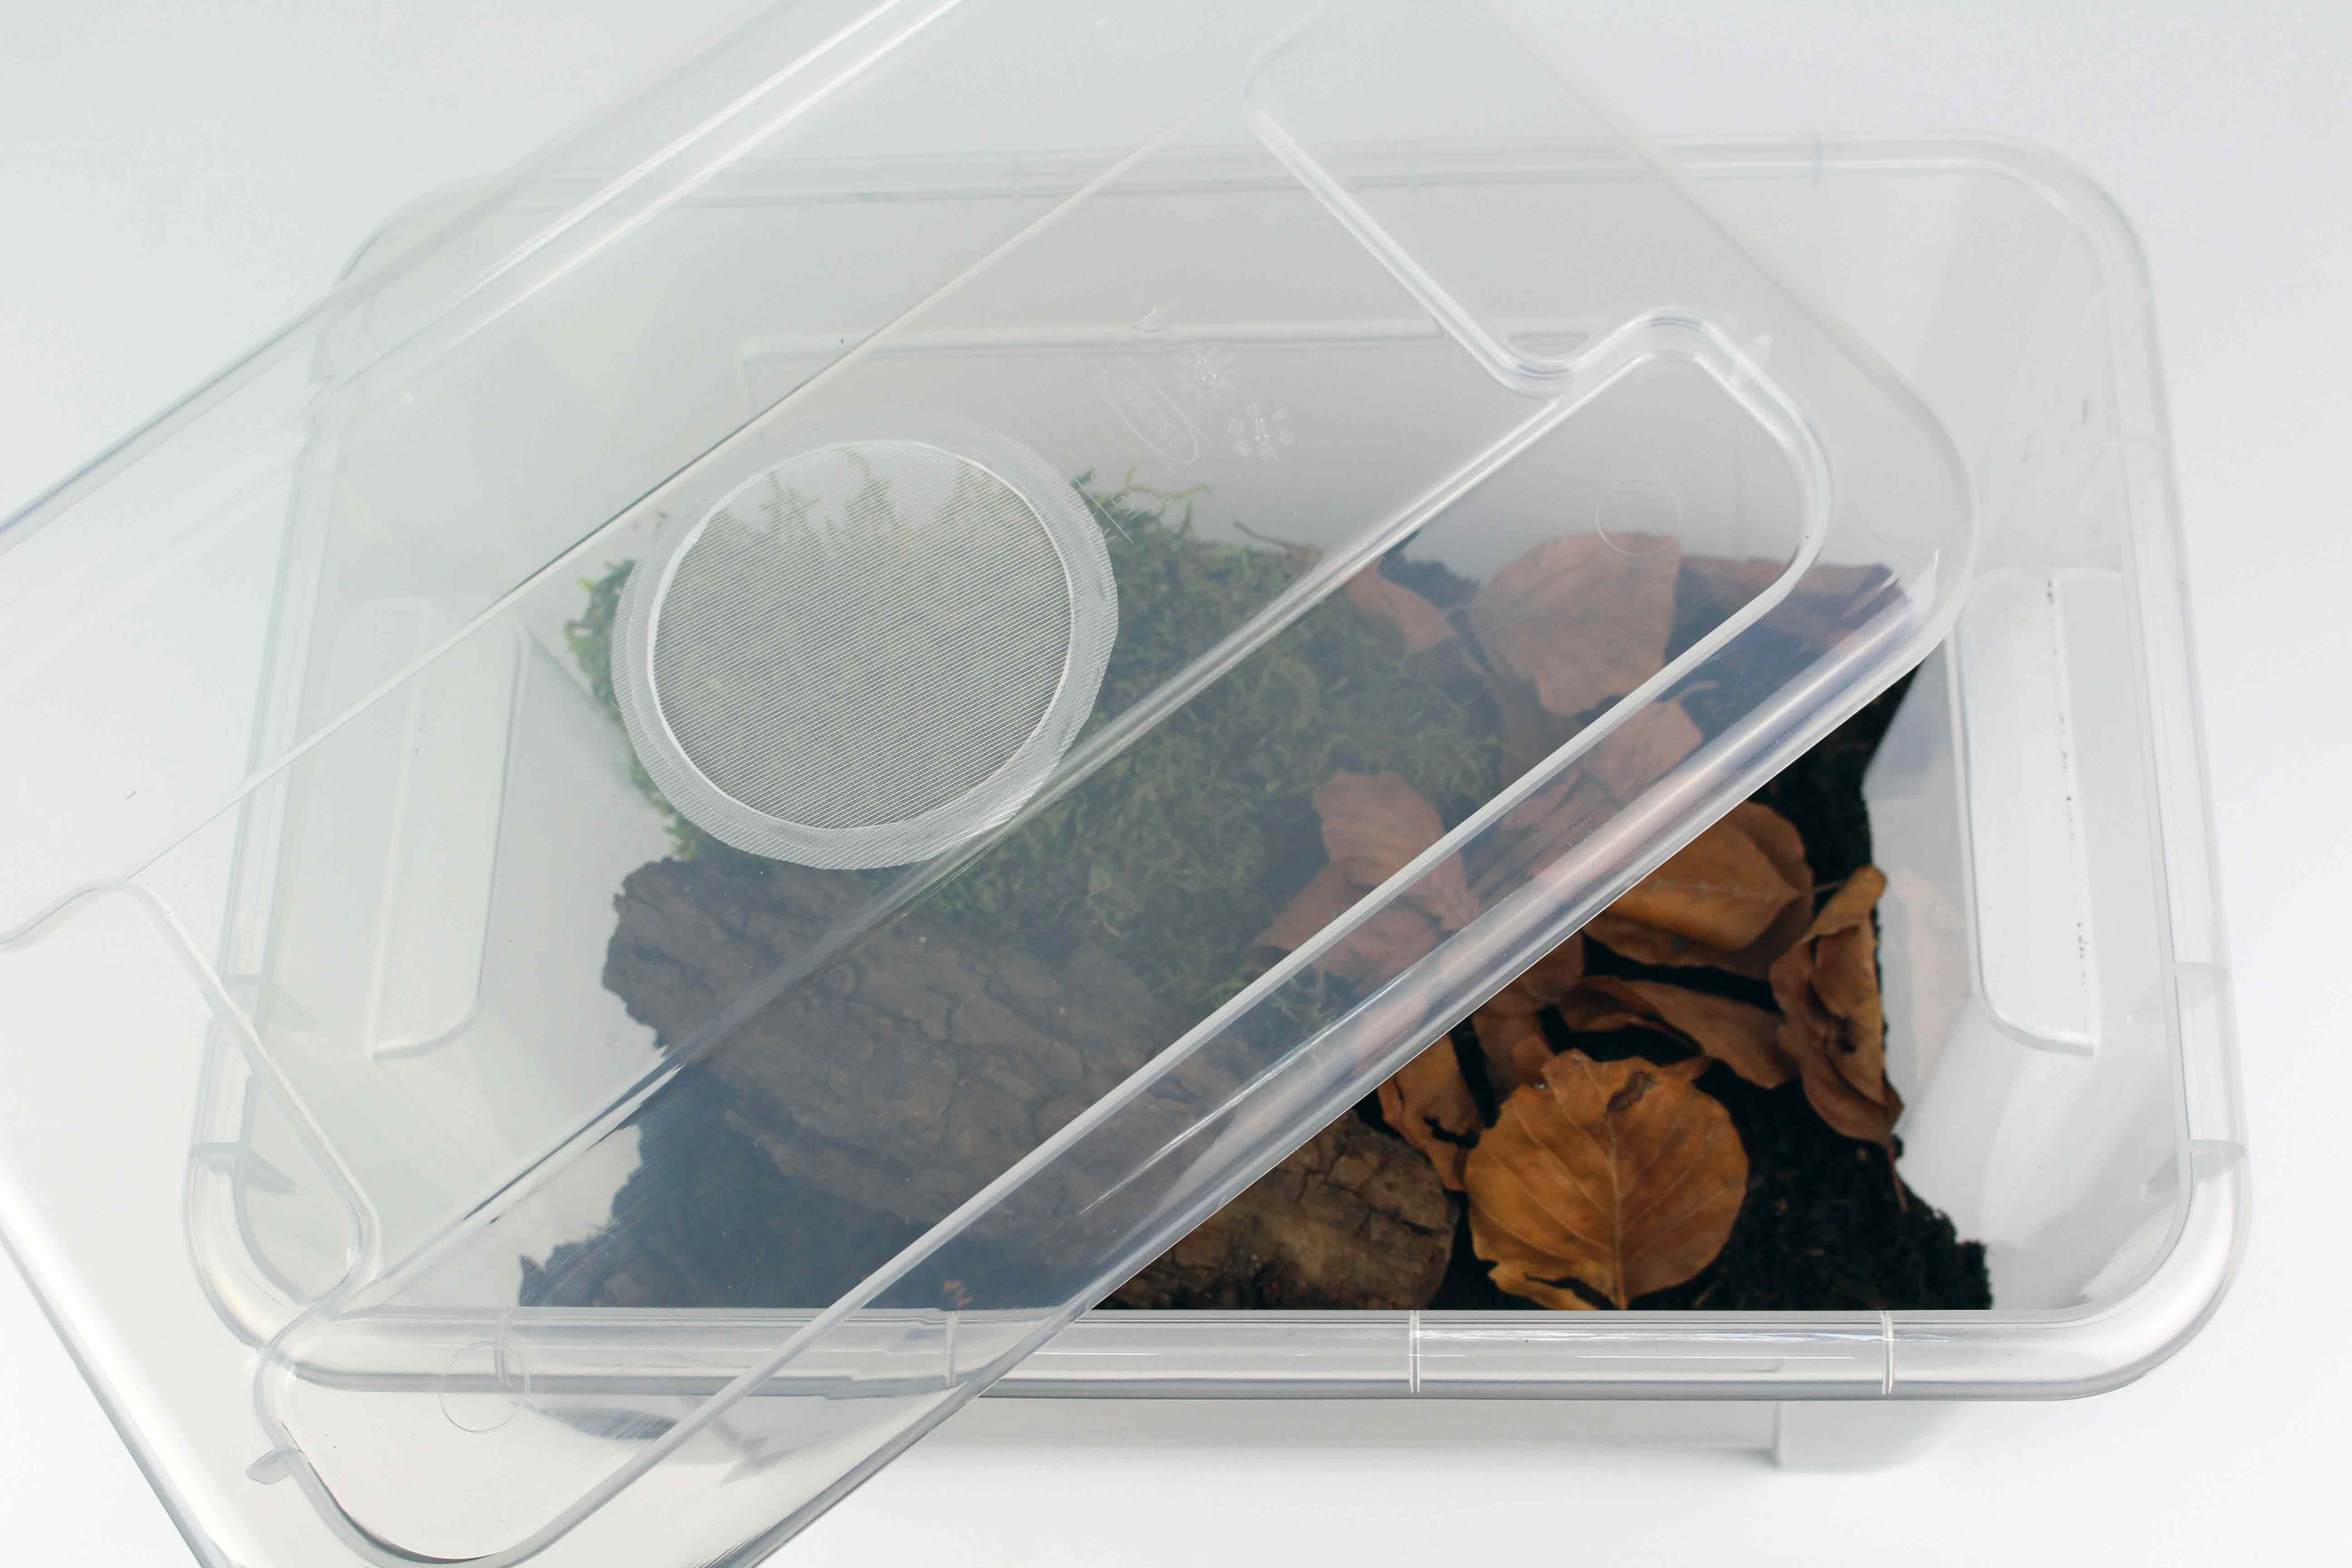
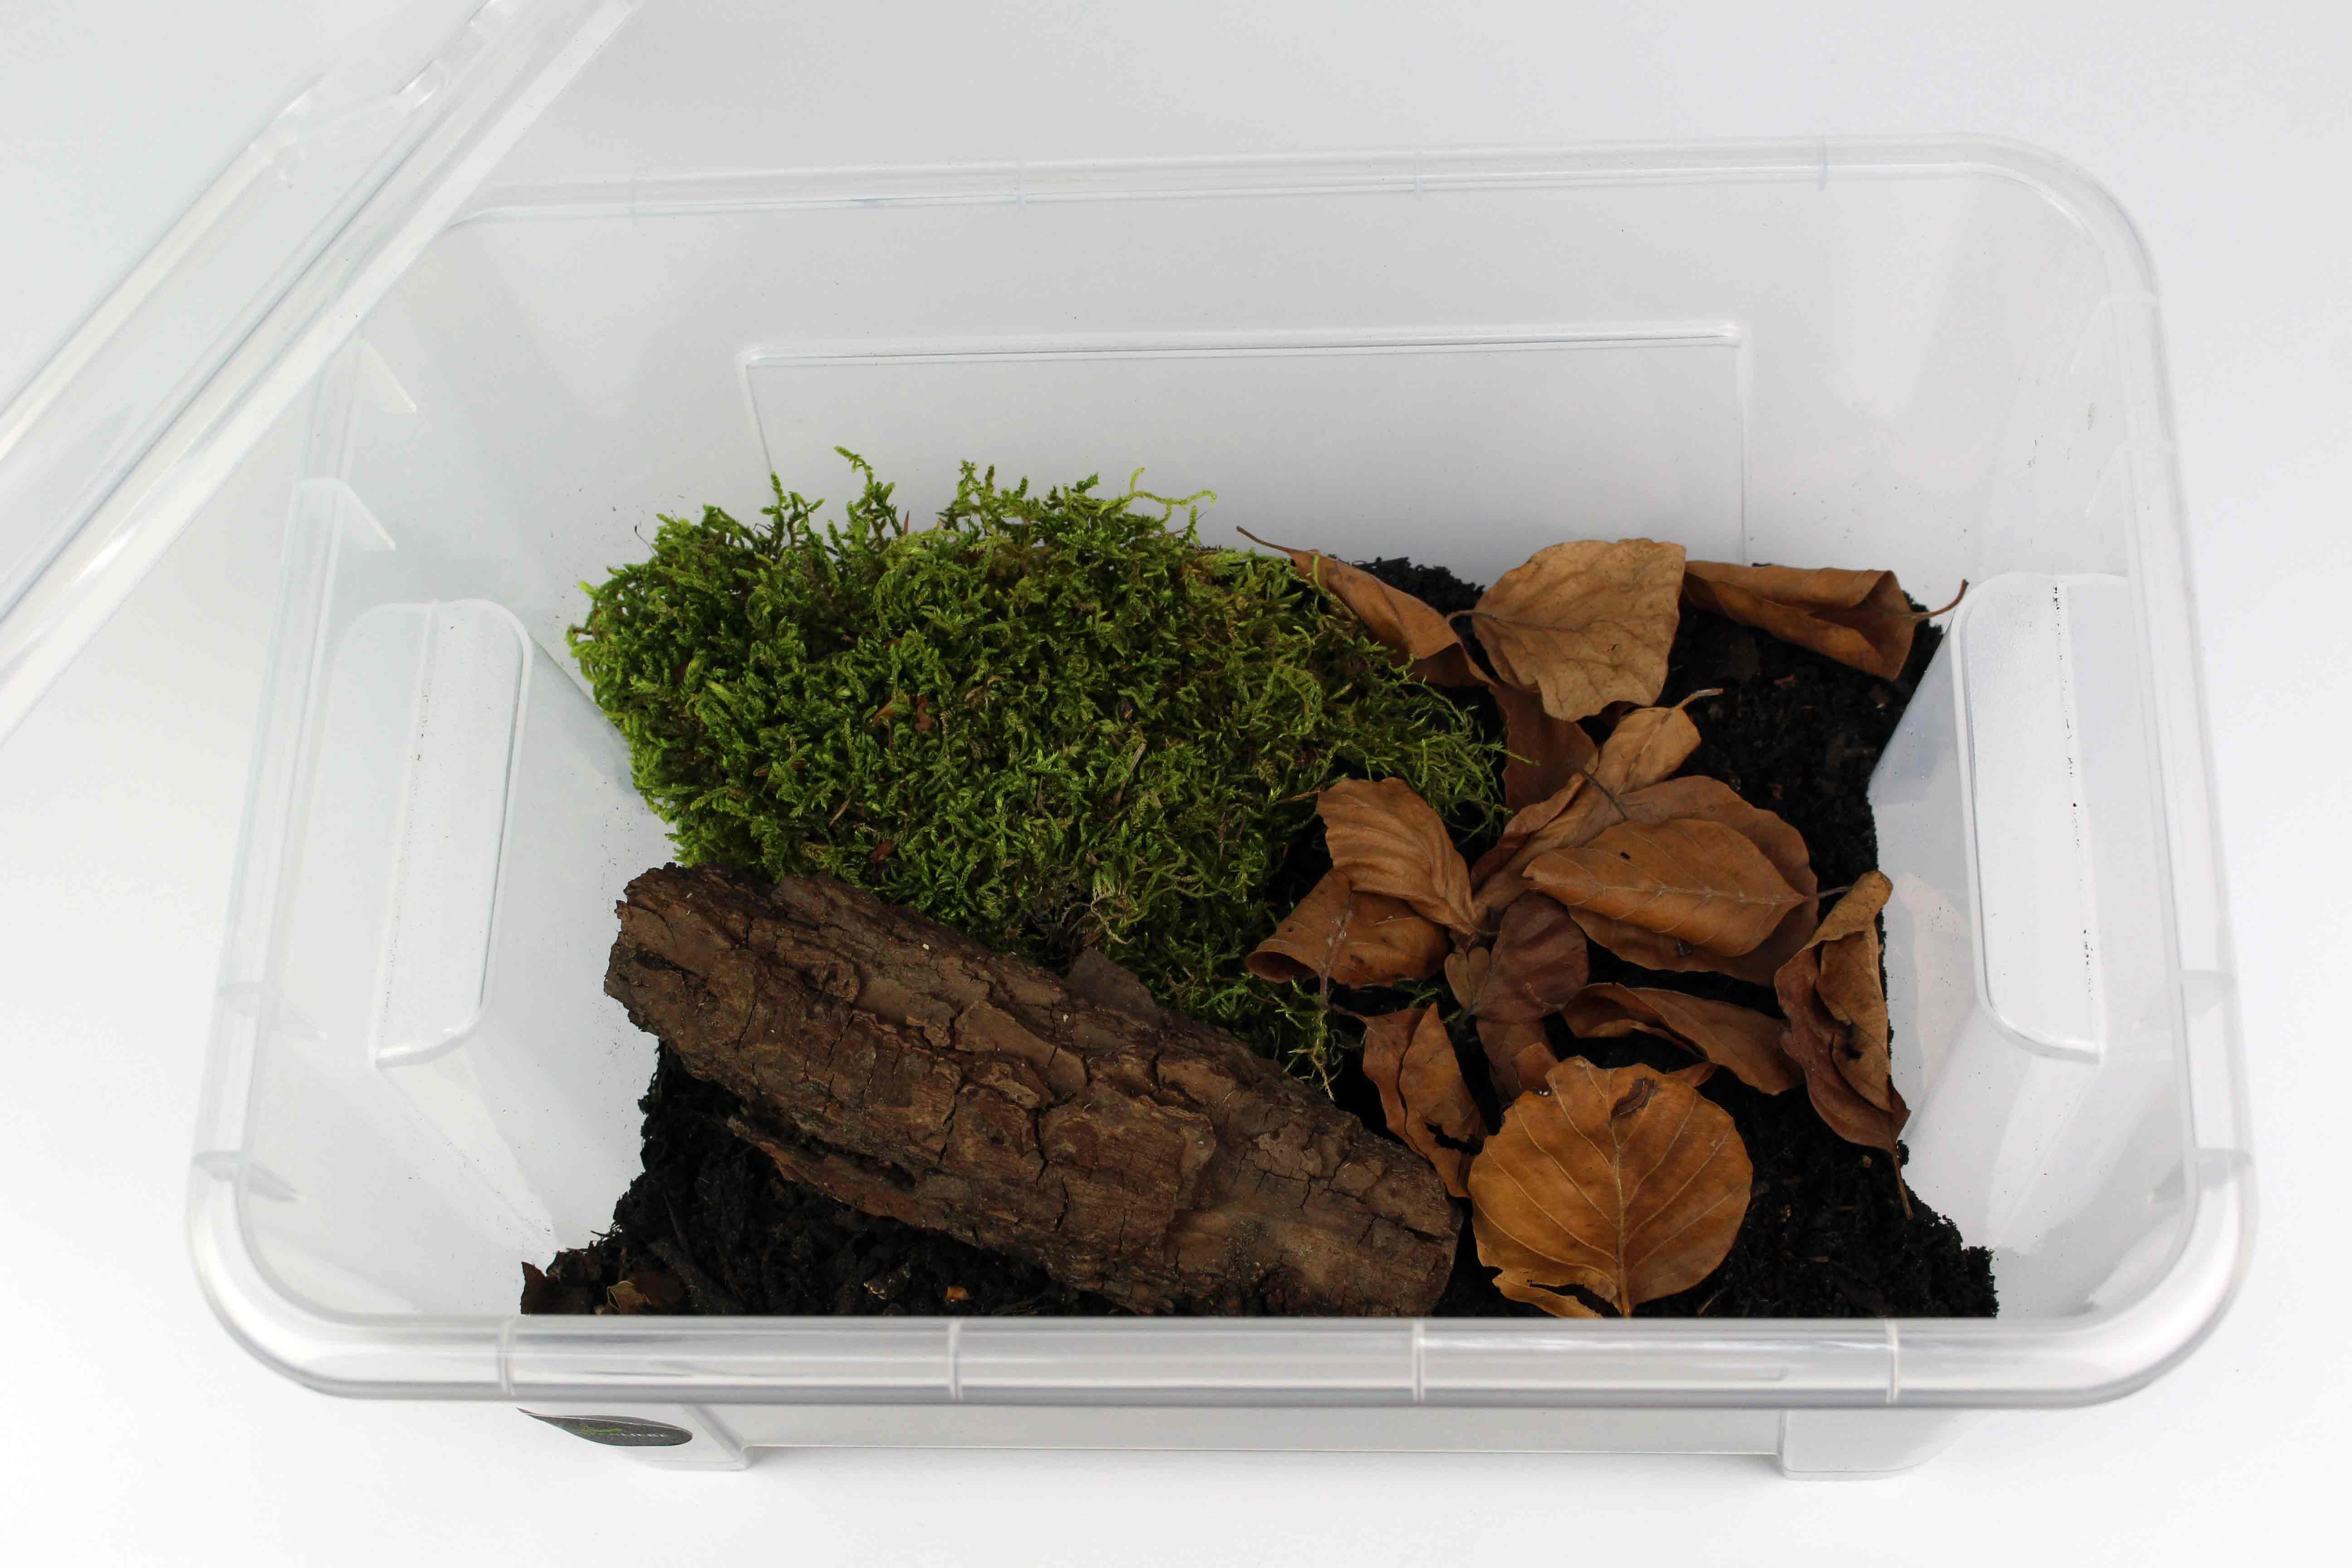
With the accessory set, you don’t need to purchase additional leaves for the initial setup. Later on, however, they are a useful consumable because the group uses up the supply on an ongoing basis.
4. Check the setup and place the Isopods inside
If time permits, observe the fully set-up isopod terrarium for a few days before introducing the isopods. This will help you determine how quickly the damp corner dries out. This is a practical trial period, not a fixed waiting period like with an aquarium. The key factors are the right temperature, moist hiding spots, food, and a secure lid.
Gently place the Isopods near a hiding spot and then leave them alone. A newly introduced group doesn’t need to be out and about right away. First, check for moisture and food scraps instead of lifting the entire setup every day.
Everyday Care: Intervene Less, Monitor Closely
- Check the damp corner: Add water as needed. A fixed spraying schedule doesn’t work for every Isopod terrarium.
- Add leaves and wood: Both remain as staple foods. A small sample of food from the set complements this base.
- Adjust the amount of food: Use perishable ingredients sparingly and remove leftovers promptly. More food does not automatically mean better nutrition.
- Monitor a growing group: If hiding spots become scarce, expand the space. A suitable second pen that’s already available can also serve this purpose.
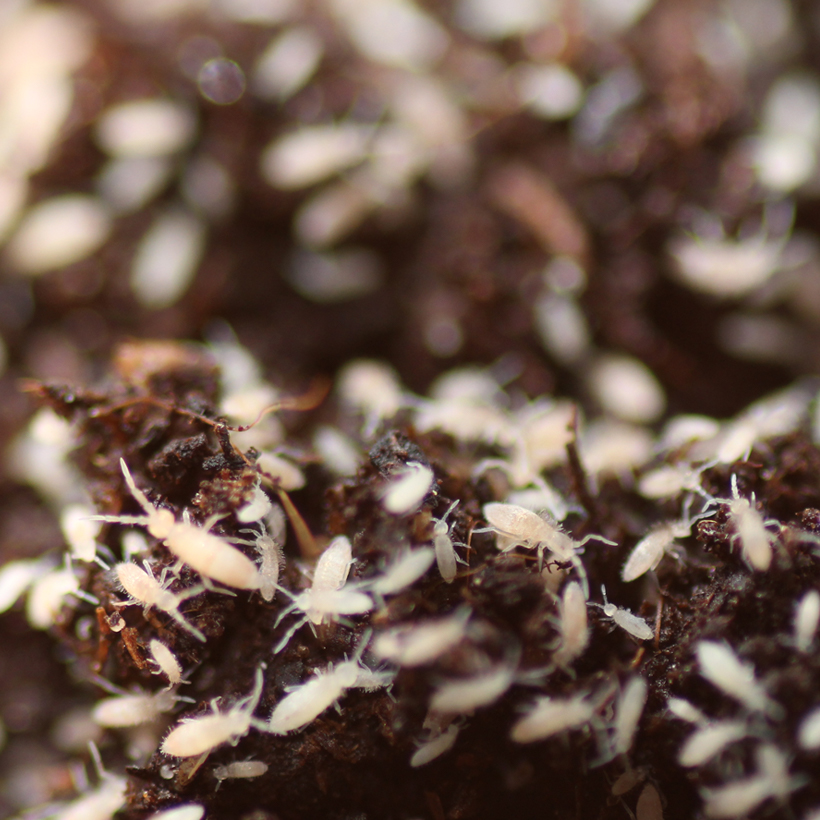
Tropical springtails can break down organic debris and help revitalize the substrate. They are a possible addition, but they are neither a requirement for every setup nor a substitute for proper moisture levels and cleaning. If you notice mold, first check for food debris, moisture, and air circulation. Don’t buy new animals just for that reason.
Frequently Asked Questions About Isopod Terrariums
Do all complete sets include Isopods?
No. The compact Isopod Complete Set includes versions that are explicitly labeled with the specific animal species. “With accessories” does not automatically mean “with animals.” The Isopod Terrarium Complete Set and the two versions of the Isopod Complete Set L do not include animals in the listed contents. Therefore, please check the selected version before ordering.
Do I need any additional accessories when I buy a set?
For the basic setup, start with the items included in the package. Add more material for a thicker substrate layer or for later refills as needed. Heating and lighting depend on the location, type of plants, and any other specific requirements. They are not mandatory purchases in all cases.
Can I use my existing plastic box?
Yes, as long as it fits the group, closes securely, and has appropriate ventilation openings. Smooth walls alone are not enough to prevent escapes. Also check the lid and all openings. The setup steps work just as well with a suitable existing container.
Why do I hardly ever see my Isopods?
Many Isopods hide under leaves, bark, or in the soil. A small group in a large terrarium, in particular, may seem inconspicuous at first. Give them time and keep an eye on individual feeding spots without constantly digging everything up. You don’t need to buy more animals just because they’re hard to spot.
Not sure which one to choose? Let us know the type of woodlice you’d like, the planned group size, and the location. Then we can work together to select a suitable set or add-ons for your existing container.
Still unsure? Feel free to ask us your question in the comments section below the article.
Leave a Reply
You must be logged in to post a comment.