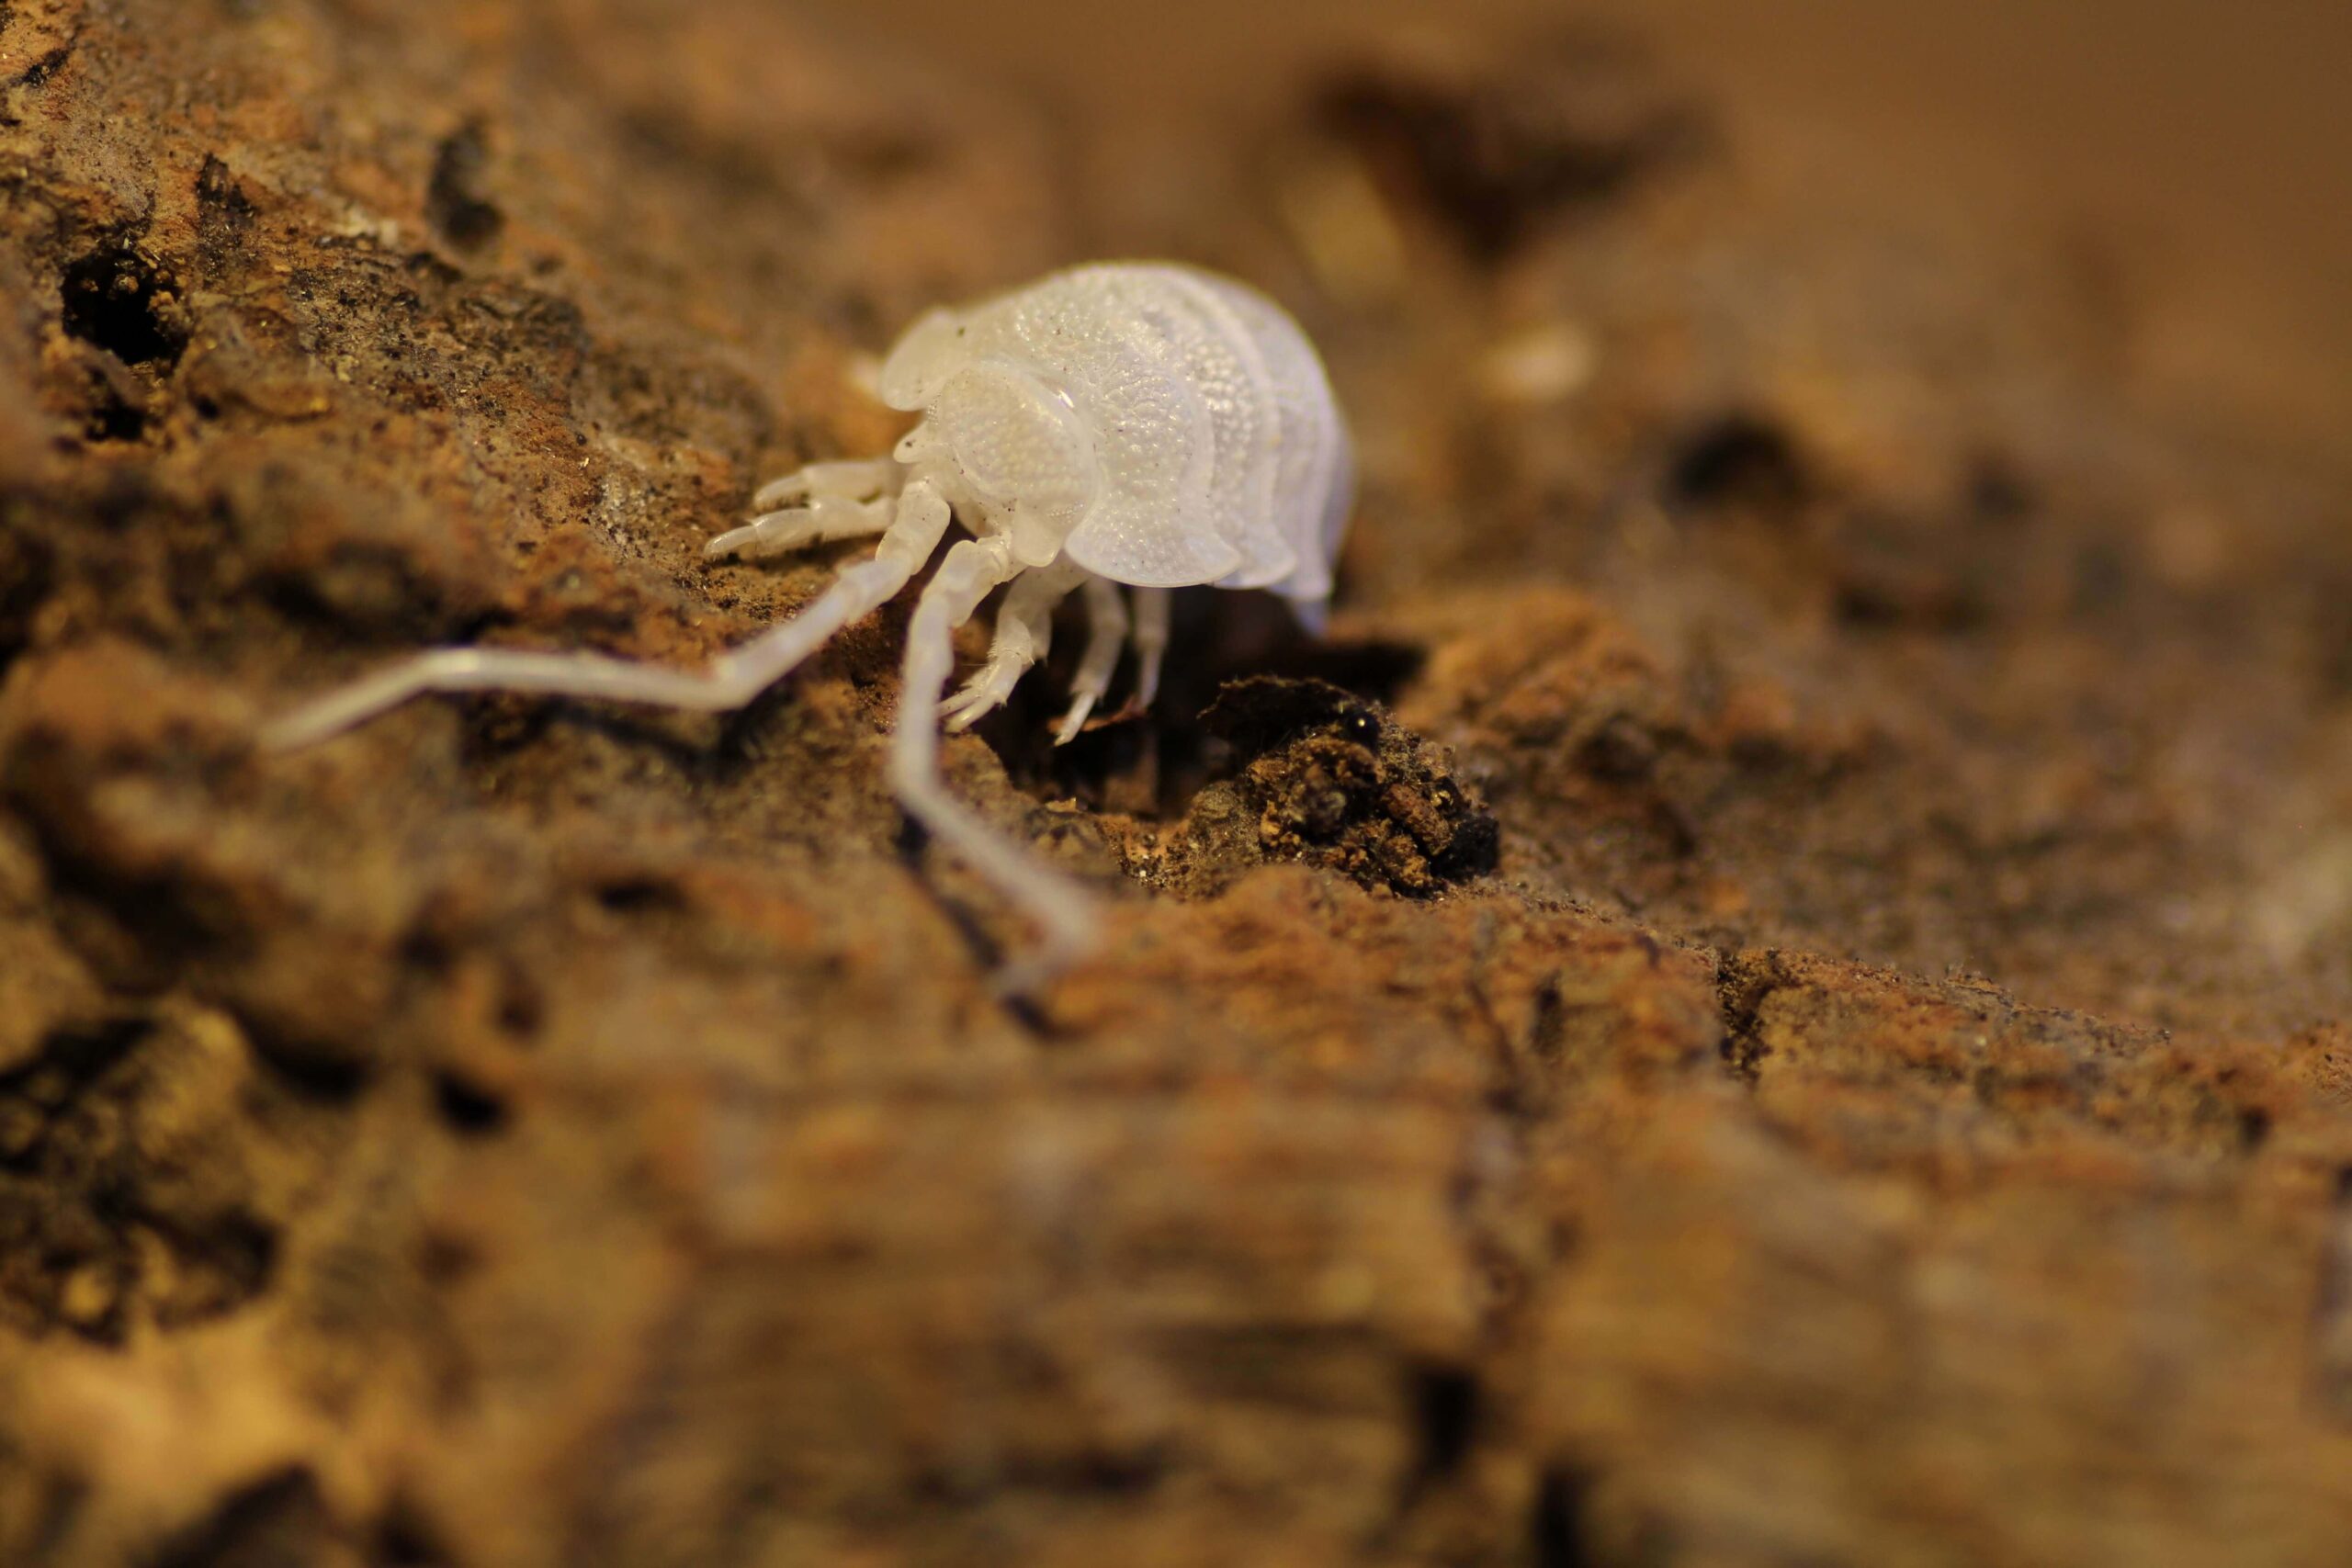


The molting process in Isopods occurs in two stages. As a result, an individual may temporarily look different from the front than from the back. Here, you’ll learn what’s considered normal during this process and how to care for your Isopods during this sensitive phase.
Why Isopods Shed Their Skins
The hard outer shell cannot simply grow along with the animal. Isopods therefore shed it repeatedly. Young isopods molt frequently as they grow; in older individuals, the frequency of molting changes. There is no set schedule for all species.
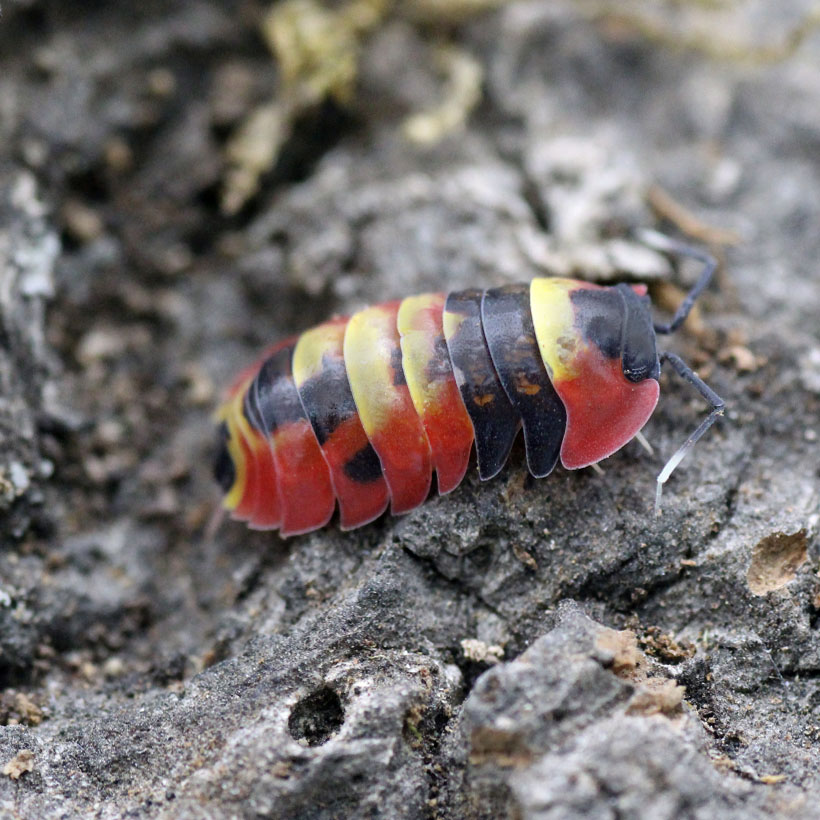
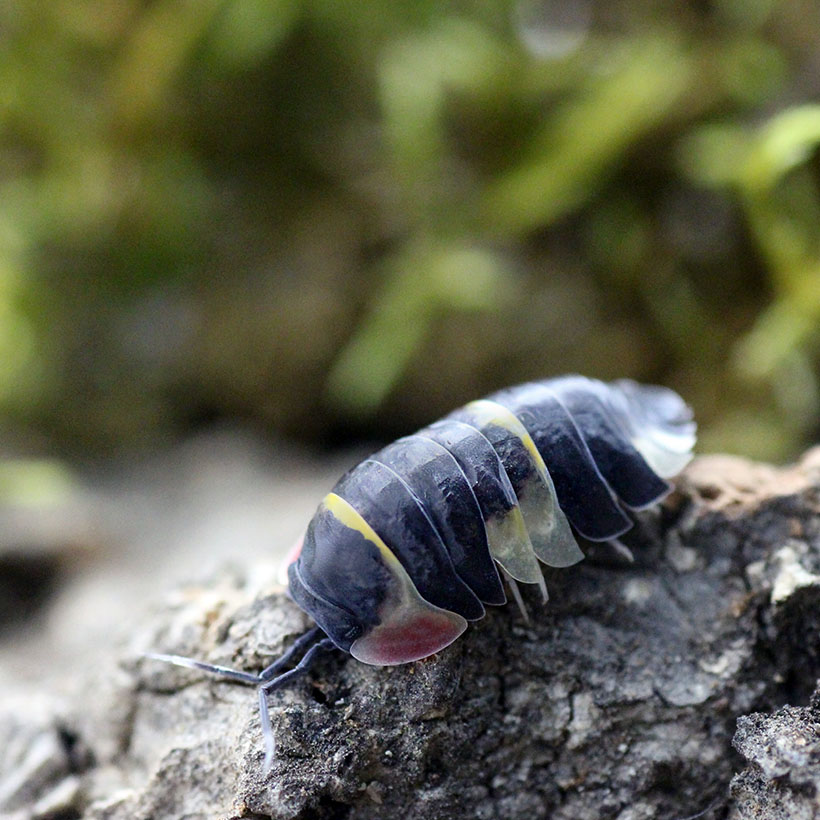
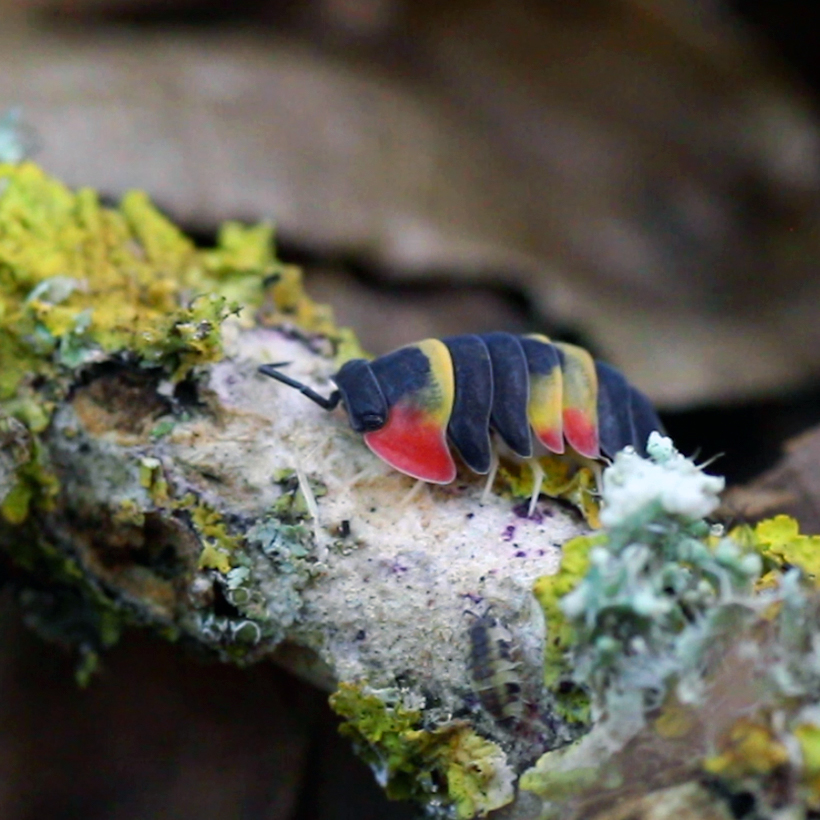
Unlike many other arthropods, the rear half of the body molts first, followed by the front half. There may be a pause in between. In the species studied, this interval lasts about one to two days; however, this does not imply a fixed timeframe for every individual.
Recognizing When Isopods Shed Their Skins
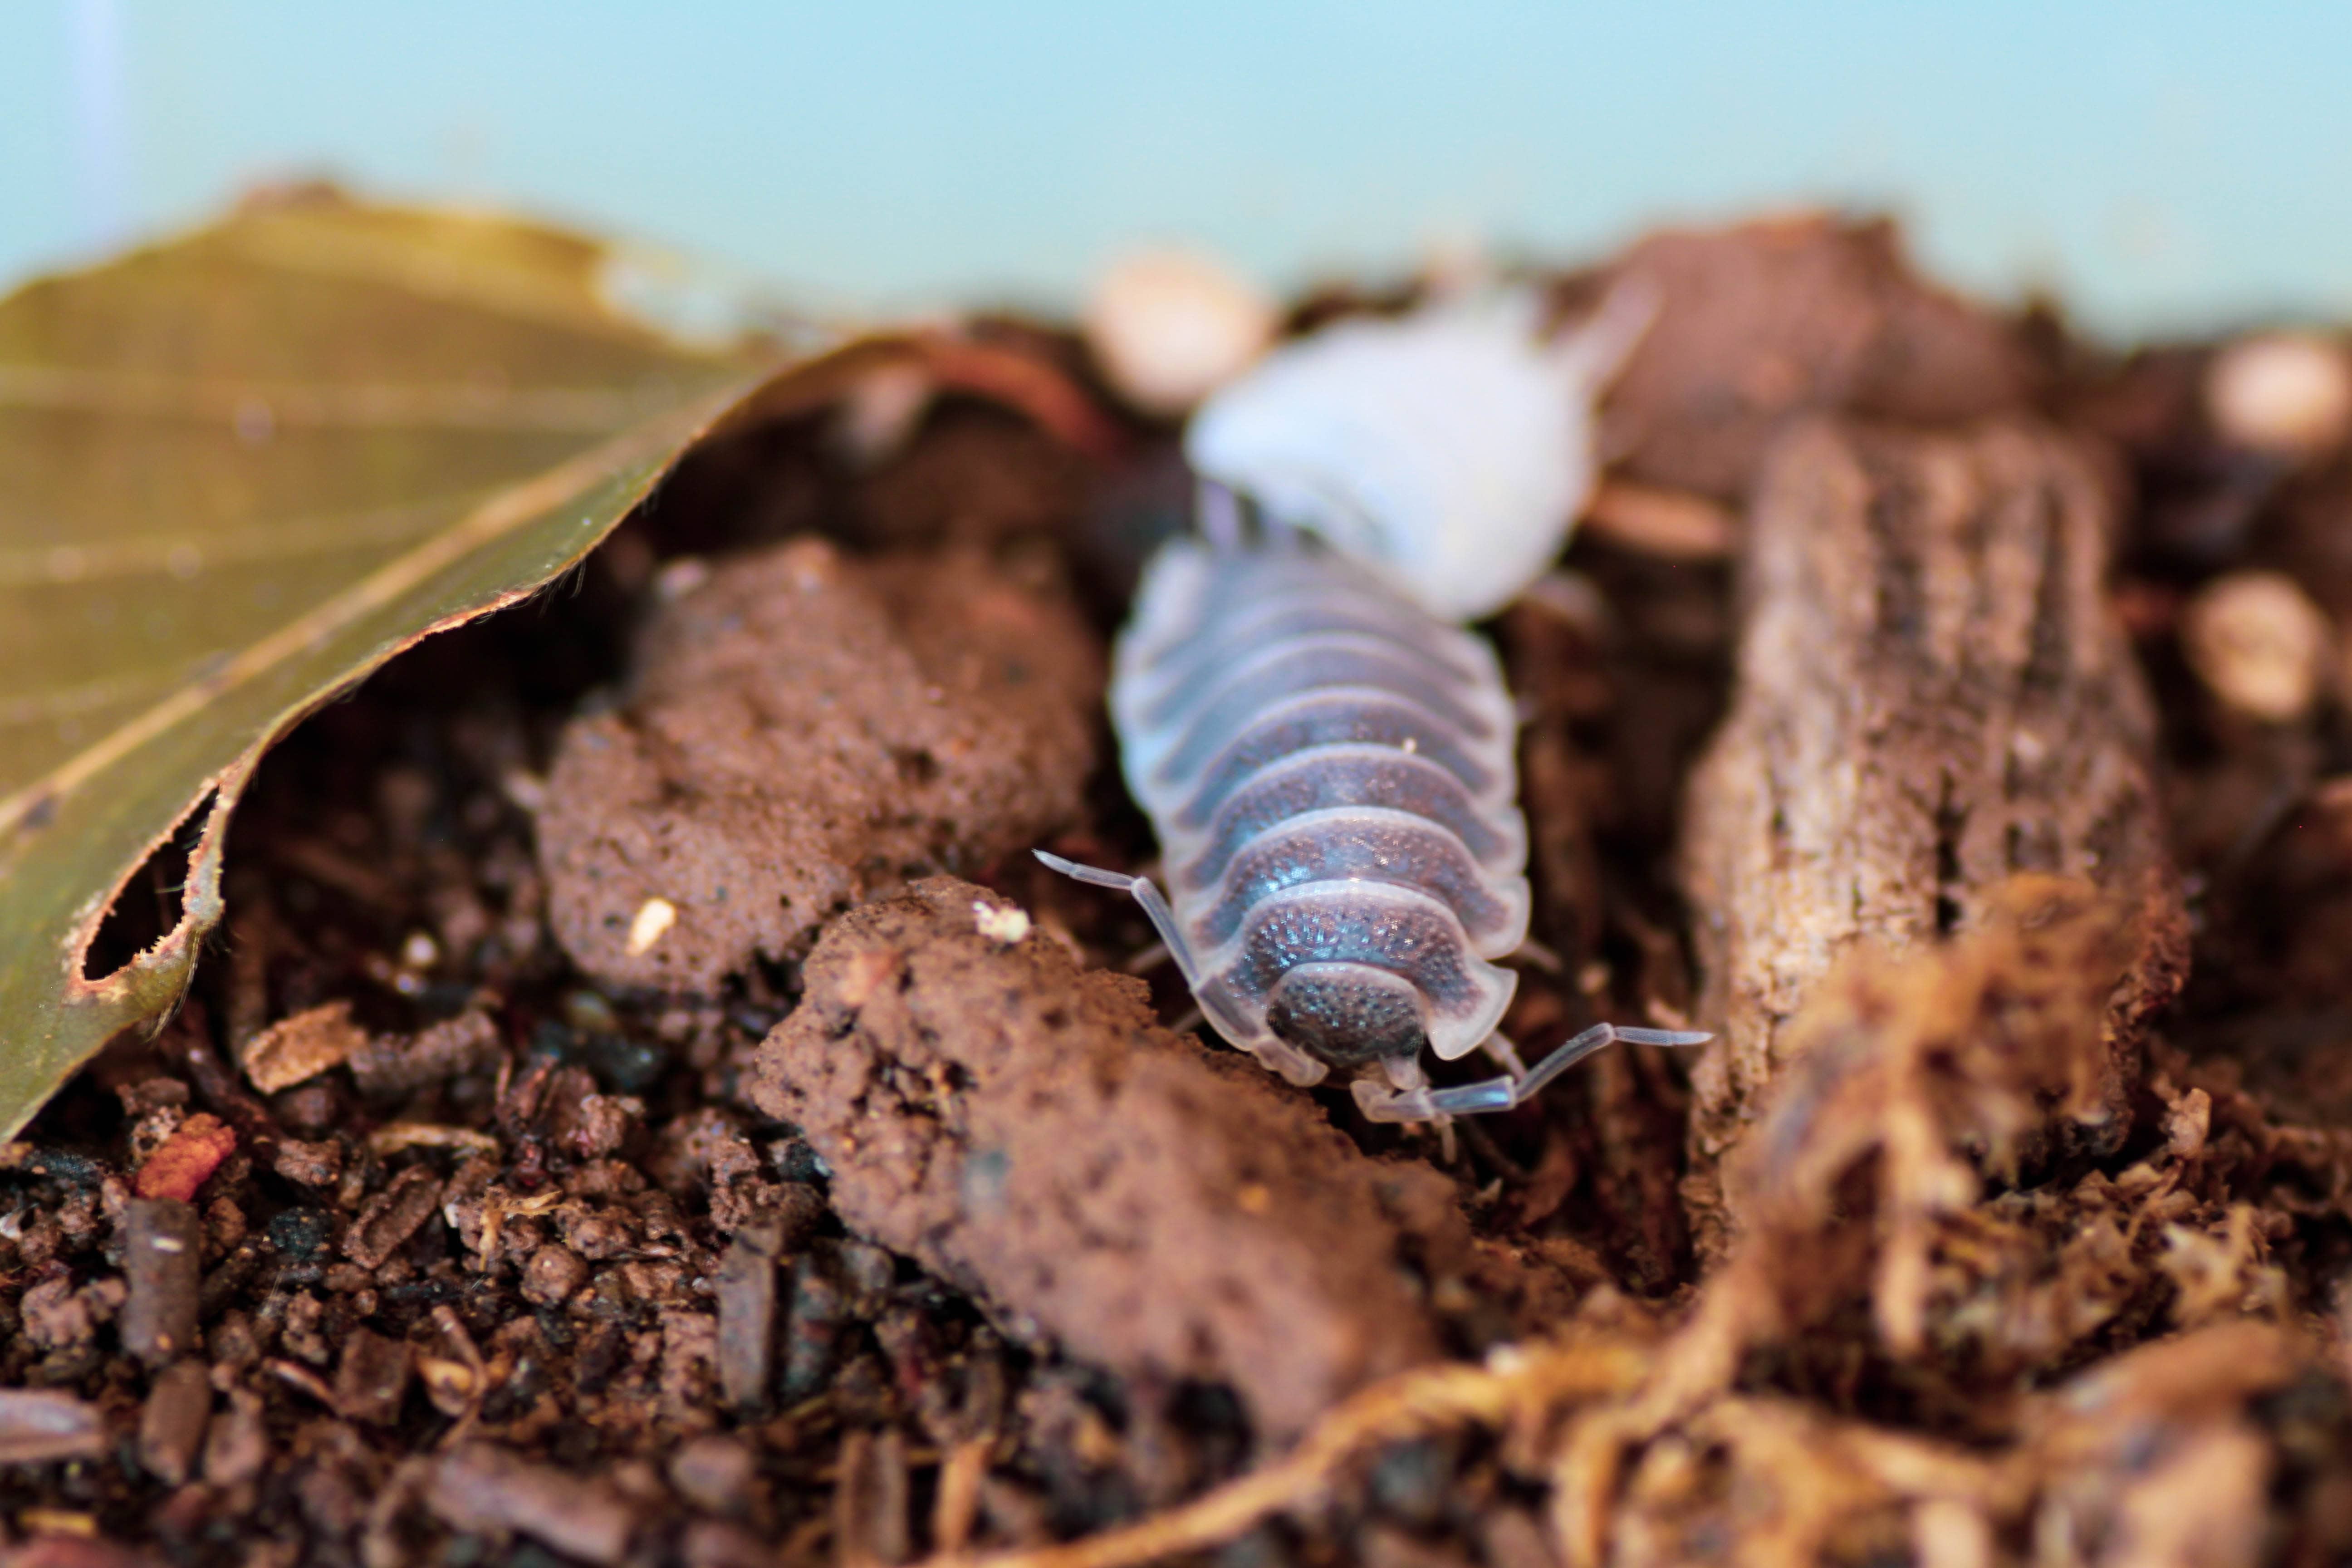
A lighter-colored half of the body, reduced activity, and withdrawal may be signs of the molting process. The new shell is still delicate at first. Therefore, leave hiding spots alone if possible and avoid touching the turtle.
Molted skin remnants may remain in the container if they are unremarkable. Isopods can eat them and recycle the substances they contain. A suitable source of calcium is also important for their care. However, a molting problem cannot be attributed solely to a lack of calcium.
What You Can Do Before and During the Molting Process of Isopods
- Check to see if the damp hiding spot is suitable for the species and remains damp even beneath the surface.
- Avoid letting the soil dry out completely or letting water pool.
- Make sure there are leaves, hiding spots, and basic food available.
- Don’t move the isopod just to get a better photo.
- Control the temperature and ventilation without suddenly changing all the conditions in the process.
Zebra crickets and rubber duckies don’t need the same distribution of moist areas. What matters most is providing a suitable hiding spot for your species, not maintaining the highest possible humidity level throughout the entire container. A well-designed setup is more helpful than frantically spraying water on the animal.
YOUR READING TIP · Setting Up an Isopod Terrarium
Combine substrate, hiding spots, and moisture zones in a practical way.
How can I help if the skin is stuck?
Do not pull off a piece of skin that is stuck using tweezers or your fingers. Doing so can injure parts of the animal’s body. Scissors, knives, and directly spraying the animal are also not appropriate standard remedies. Instead, keep the animal calm and check for an accessible, moist place for it to retreat to.
If the animal appears severely affected, if skin is caught, or if such incidents occur repeatedly, document the condition with photos. Ask an experienced owner of this species or a veterinary practice familiar with invertebrates for an assessment. It is not always possible to determine the cause from a photo alone.
Check the housing conditions after a molting problem
Go through the process: Were there any new materials, a dry spell, unusually warm weather, or a group that had grown significantly? Check these points systematically. A new feed alone will not correct improper conditions.
Our isopod food can serve as a small supplement to their existing diet. It is not a remedy for an ongoing molting process. First, use the suitable food you already have on hand; leaves and white-rotted wood should remain the mainstay of their diet.
YOUR READING TIP · Donkey Feed and Calcium
Check the group’s food supply without giving out unnecessarily large extra portions.
Still unsure? Feel free to ask us your question in the comments section below the article.
Leave a Reply
You must be logged in to post a comment.