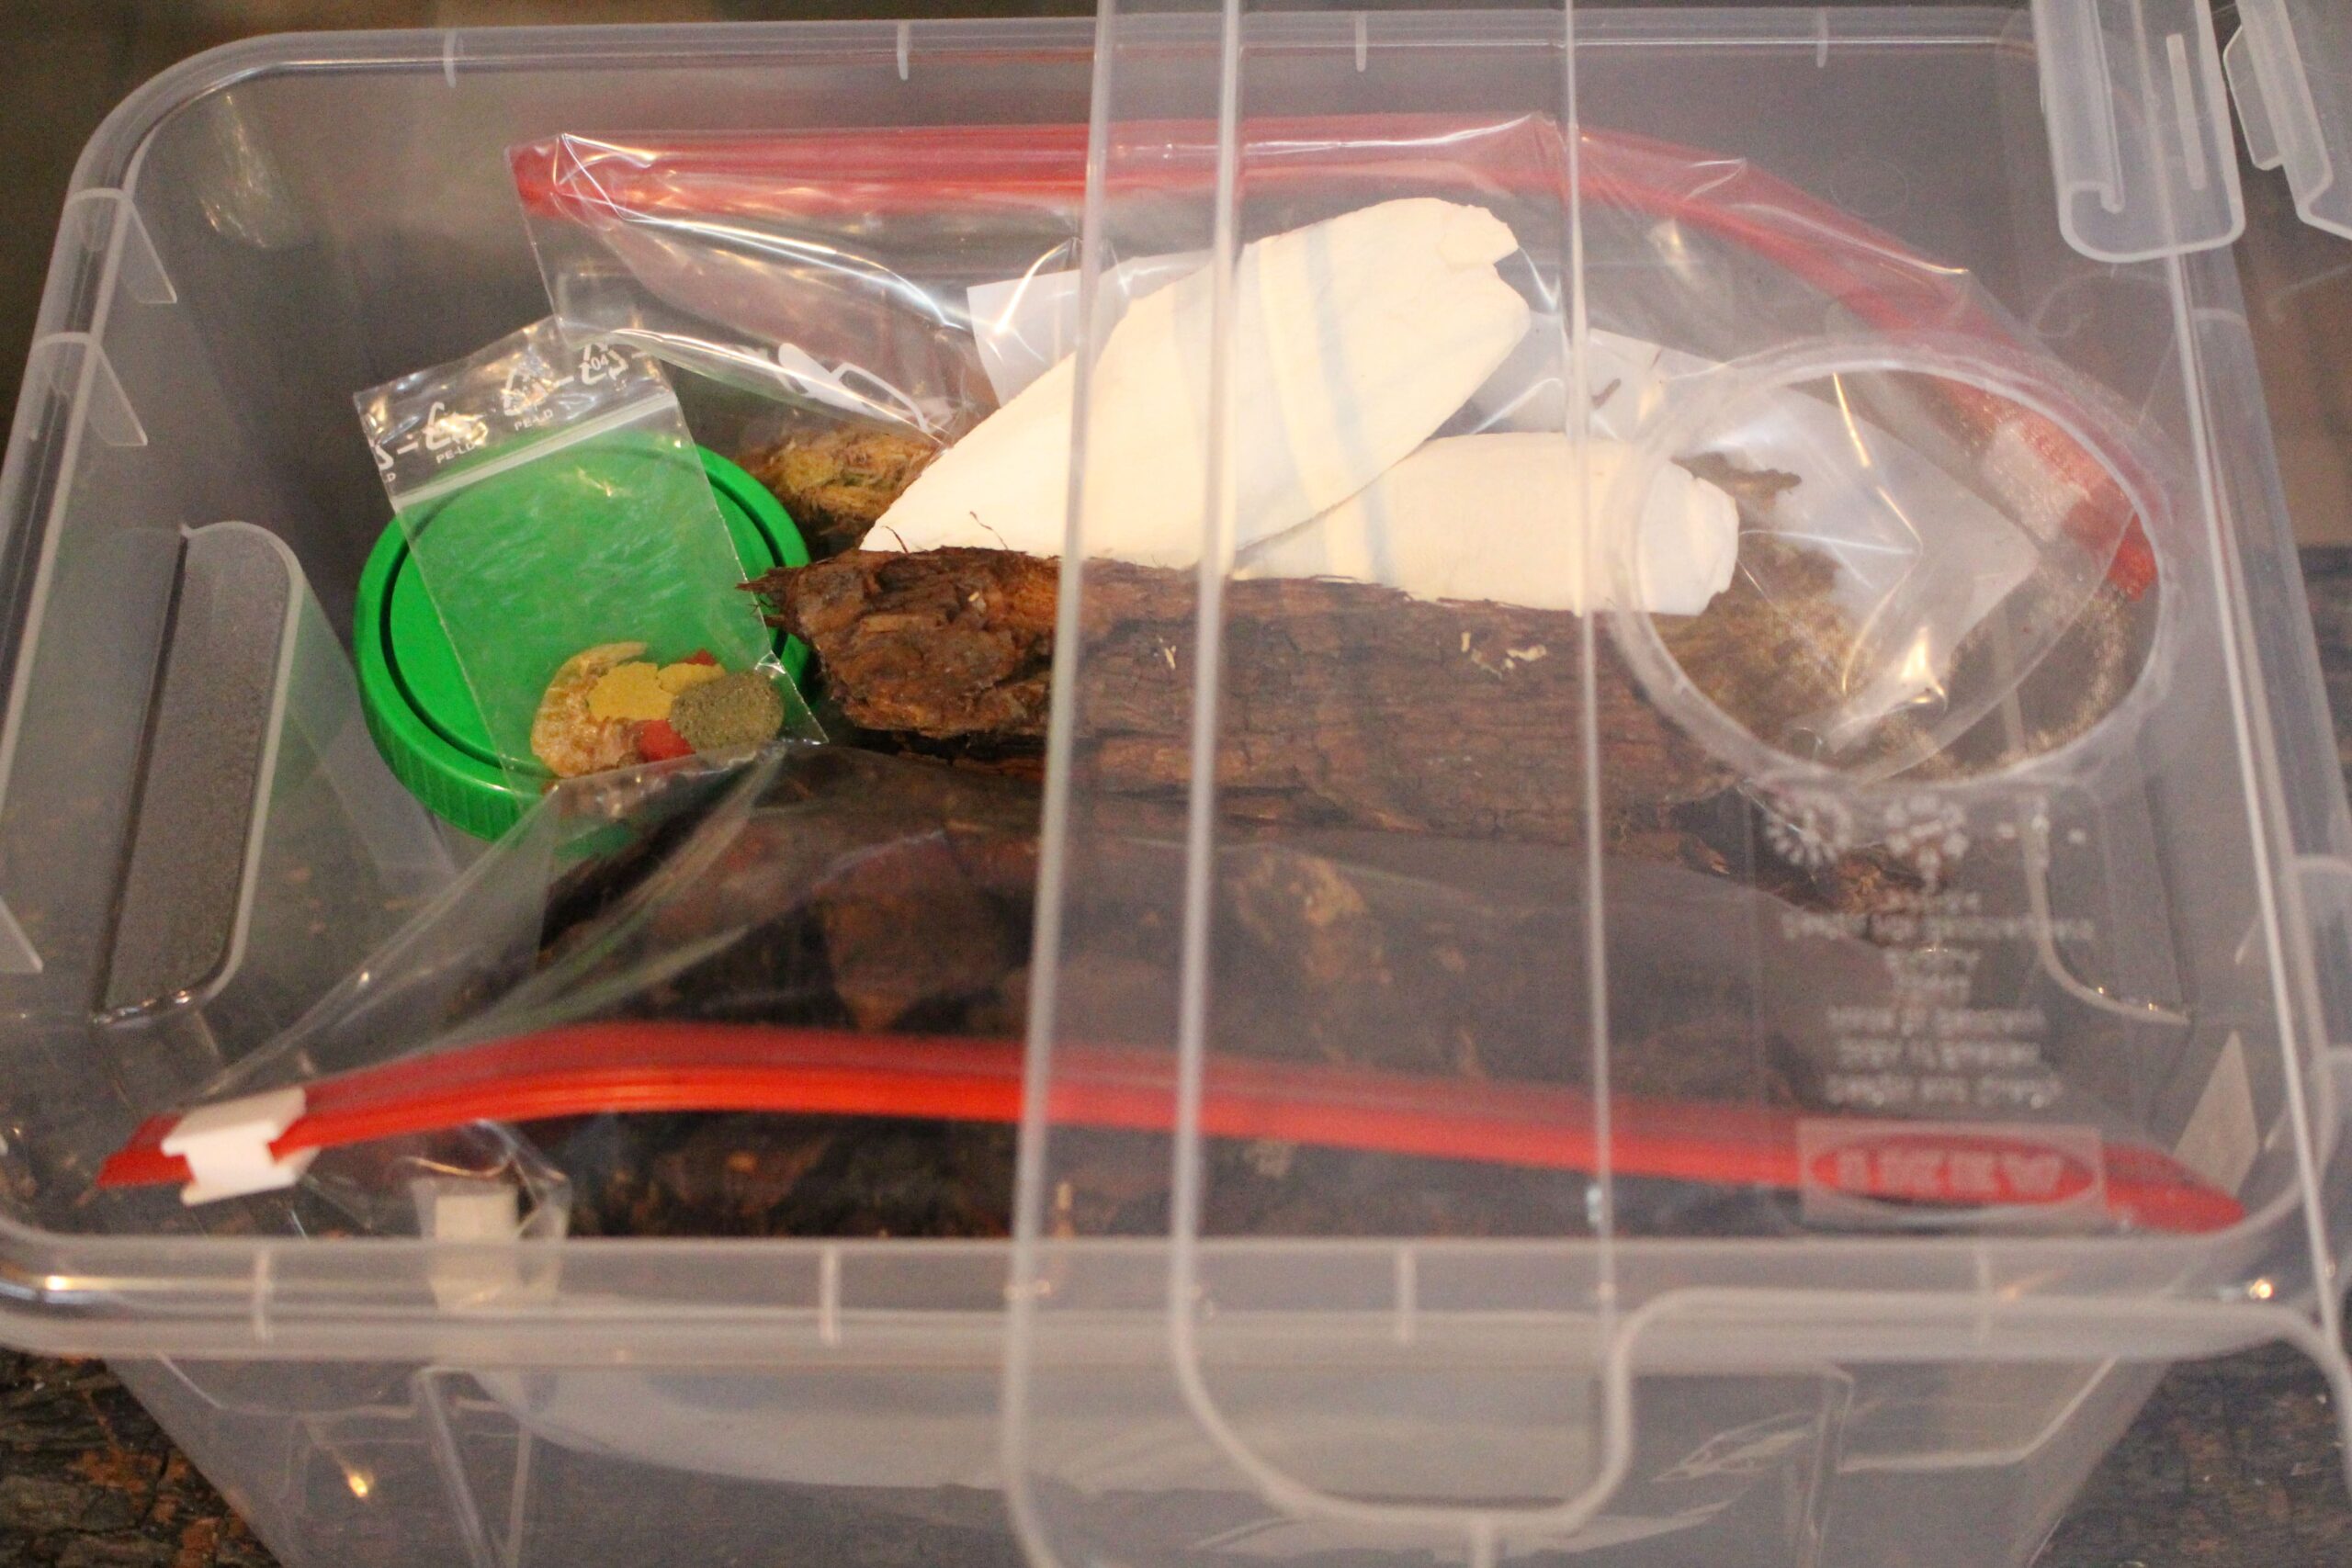


Our complete isopod kit helps you get started. The key is choosing the right one: There are versions with accessories, without accessories, and with a specifically named isopod species. Here, we’ll explain the differences and the first steps in setting up your tank.
This article describes the compact 5-liter set. For more floor space, there is the Isopod Complete Set L. If you want to observe a landscape through glass, you can choose the Isopod Terrarium Complete Set.
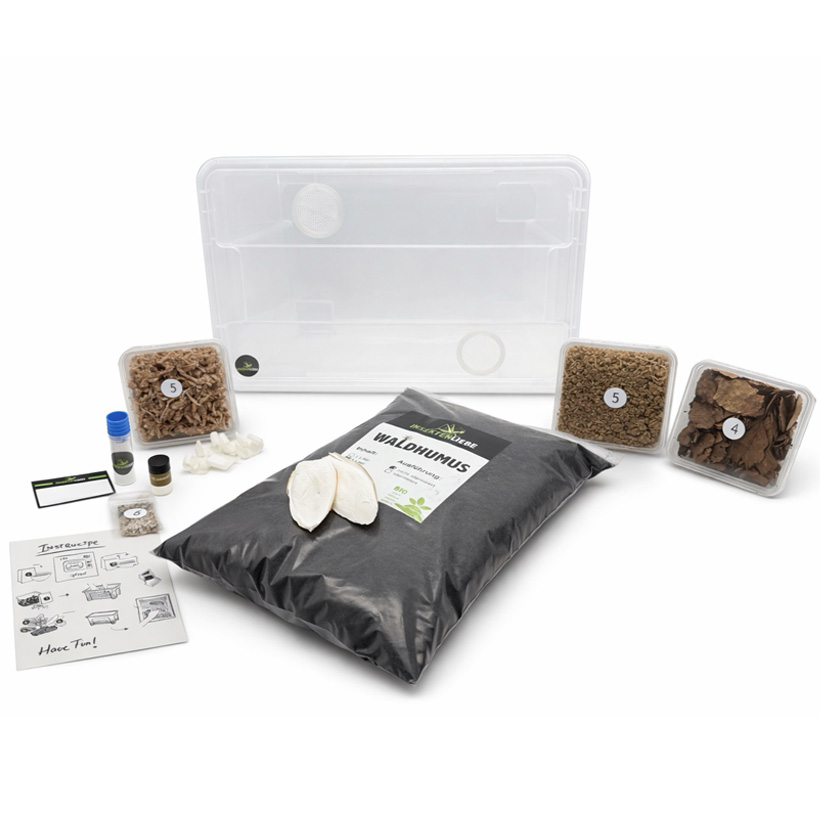
What’s included in the Isopod Complete Set?
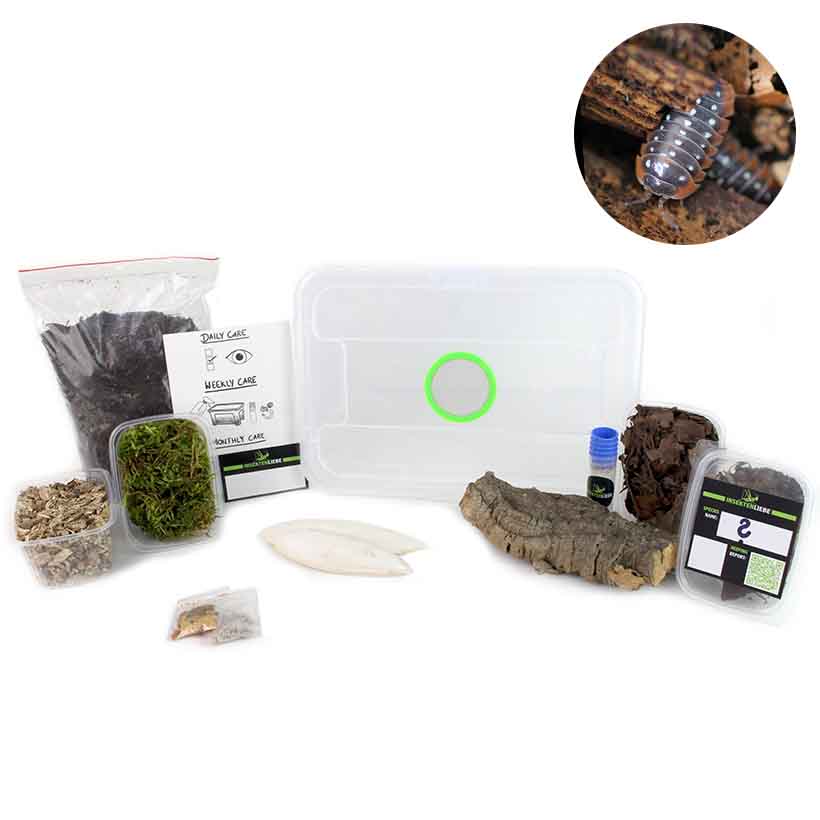
The plastic box has a ventilated lid and clips. The “with accessories” version includes, among other things, forest leaf litter, white-rotted wood, food leaves, moss, lime, cuttlebone, cork bark, and a food sample. The exact current contents are listed on the product page.
“Without accessories” is the right option if you already have the equipment. Animals are not automatically included with every option. Be sure to choose a product that is explicitly labeled for the specific species of woodlouse you want. Not every option is available at all times.
Which group is this small set suitable for?
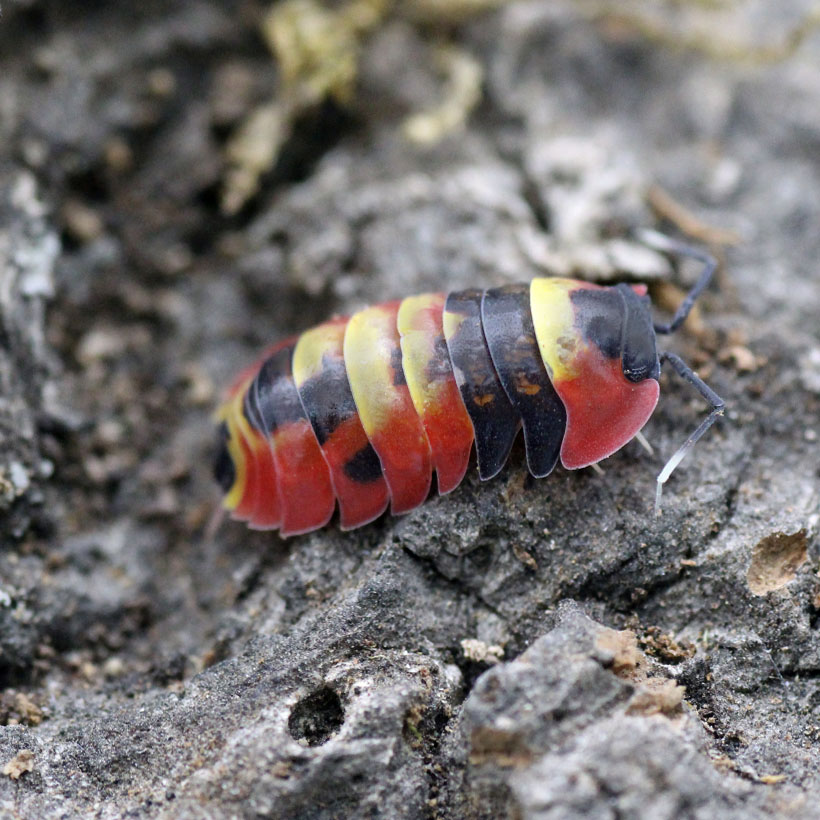
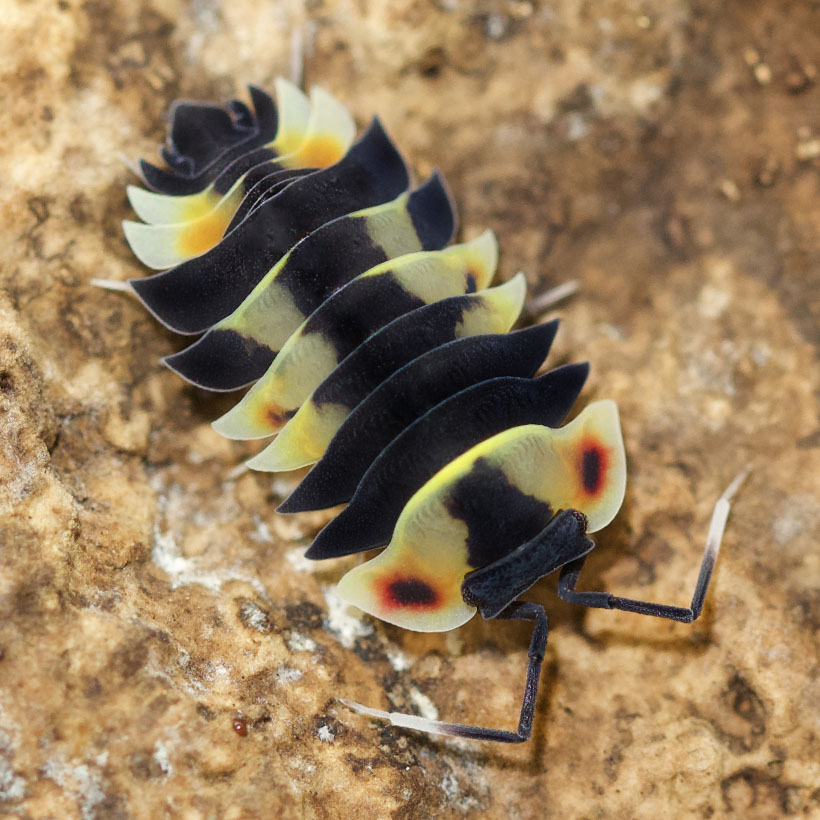
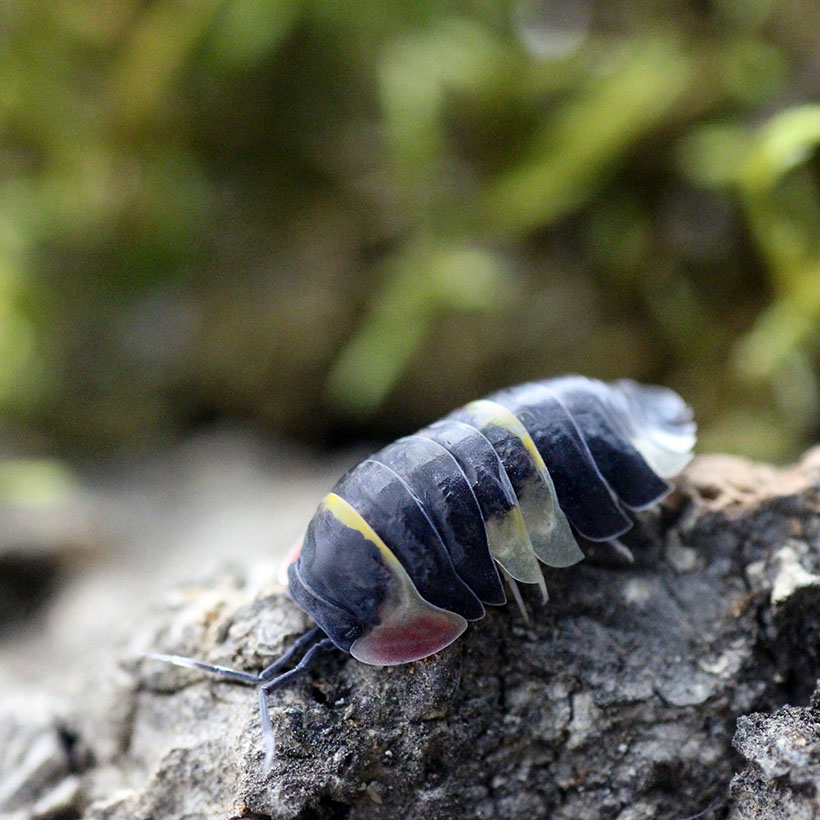
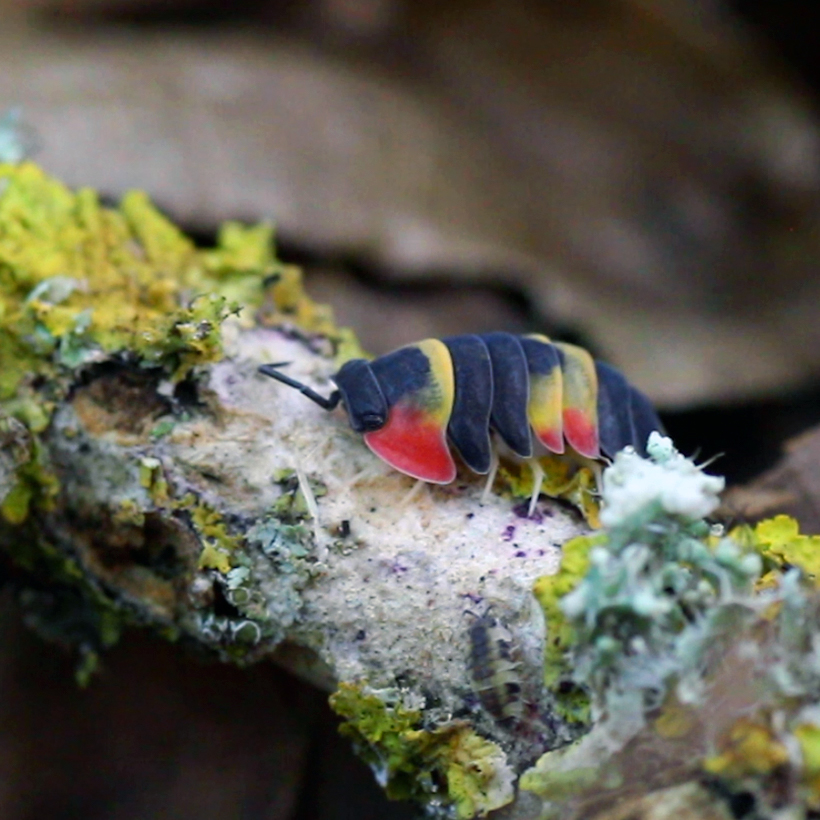
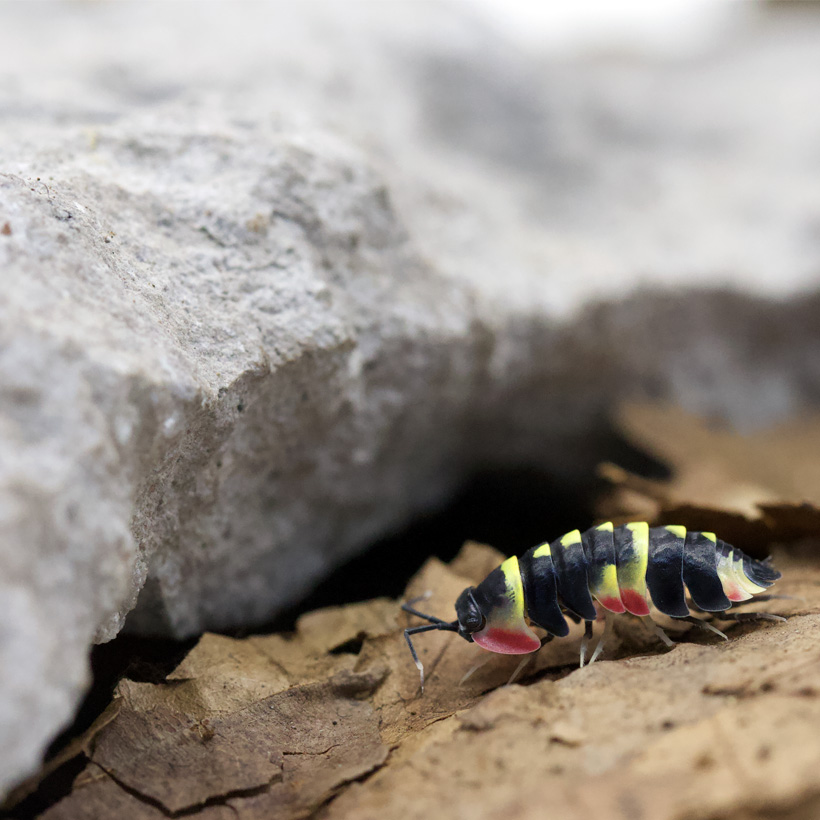
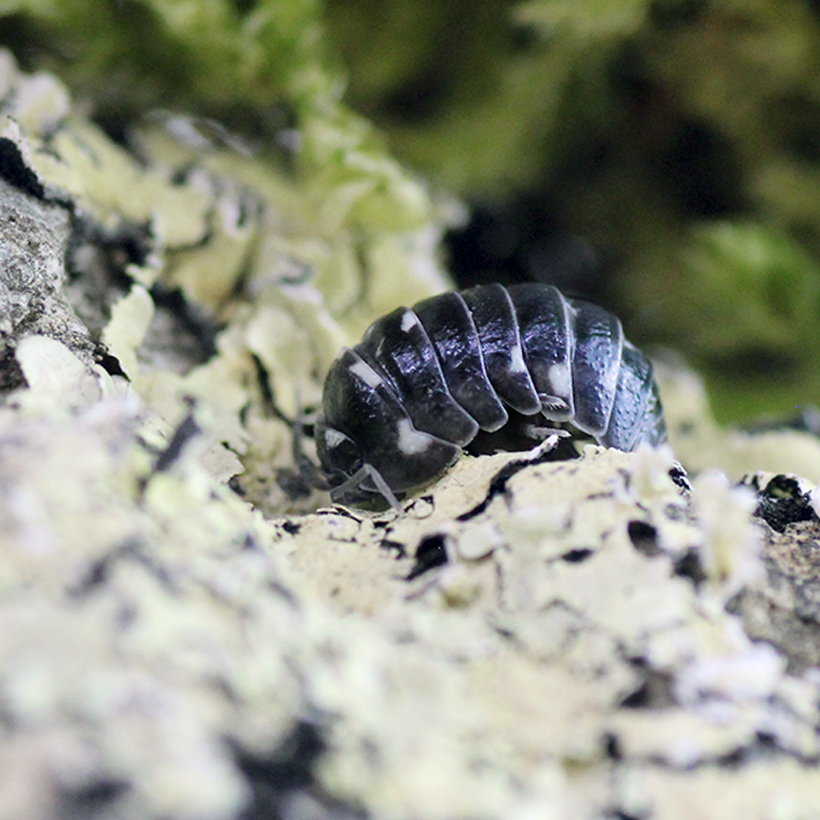
A small starter group of suitable species, such as zebra woodlice or Porcellio laevis “Panda,” can be set up in it. However, this does not guarantee that every group will have enough space for a full year. The species, the animals’ size, and their offspring will determine their future space requirements.
Before buying, check the location and the needs of your species. A larger enclosure can offer more opportunities for hiding spots and humidity zones. This is especially helpful if you already have a growing group.
Setting Up the Isopod Complete Set Step by Step
1. Prepare the soil
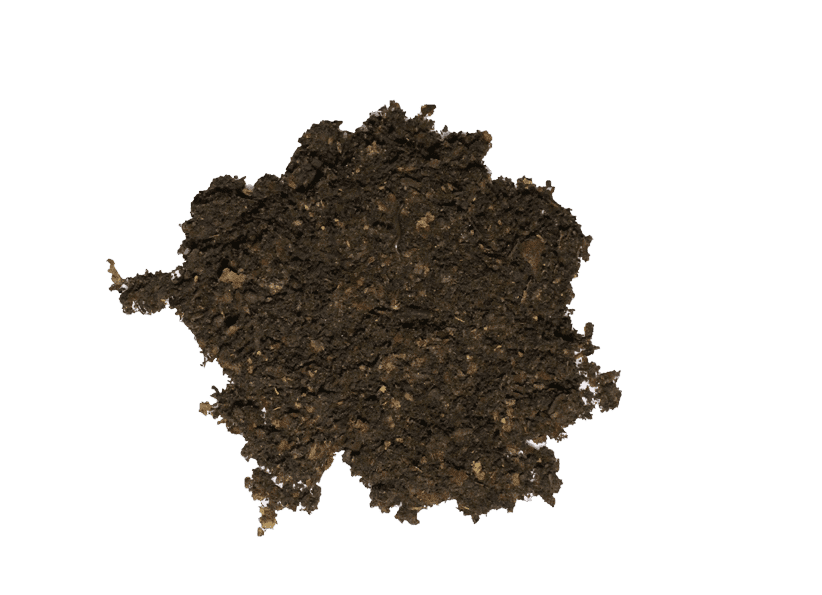
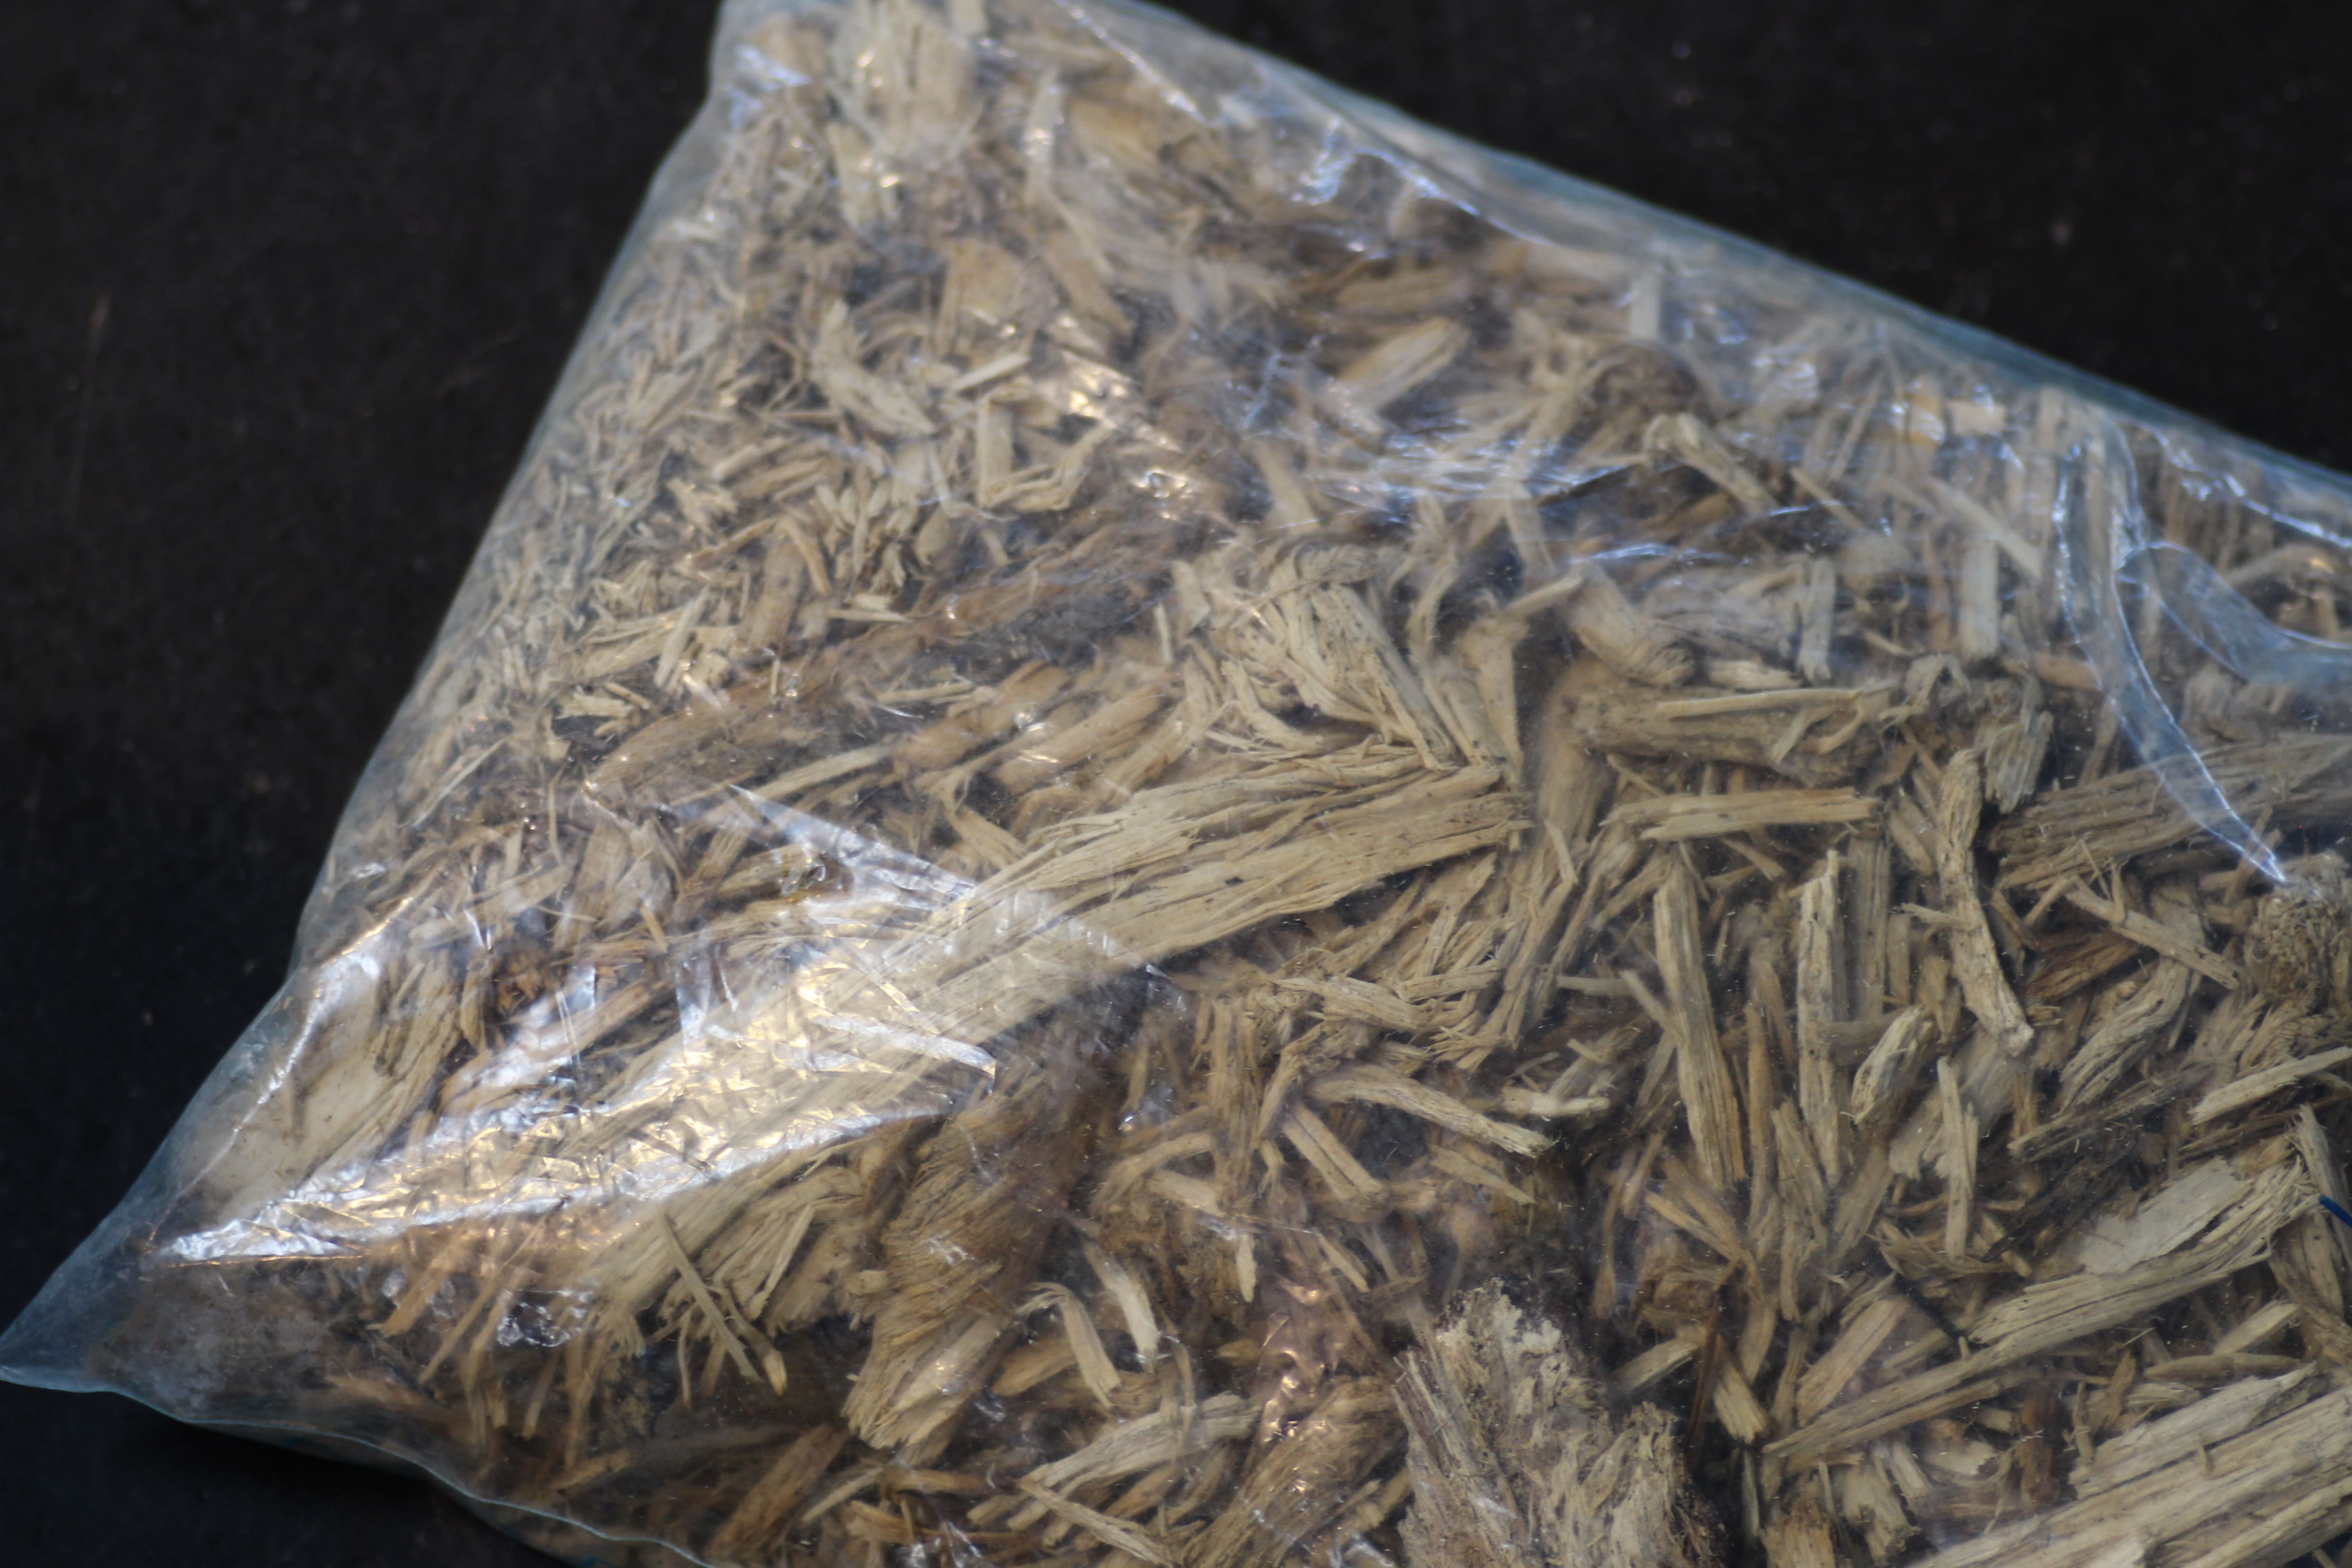
Mix a suitable substrate with shredded white-rotted wood and some leaves. Fill to a depth of several centimeters, depending on the species and the container. Keep the ventilation area clear. Higher demand may require additional material; check the amount included first.
2. Step back and apply moisture
Moisten a specific area and spread moss there. The soil should be moist, but without standing water. The rest of the area should be less moist, depending on the species. Place the cork bark securely on top and spread leaves as food and cover.
A layer of leaves is not a disinfectant and does not guarantee protection against mold. Continue to monitor supplemental feed and ventilation. Even a kit won’t take the work out of caring for your pets.
3. Check the calcium source and the cap
Lay out the included cuttlefish so it’s easily accessible. You don’t need to order any additional materials to get started. Check the lids, clips, and openings, keeping an eye out for small juveniles.

4. Check the conditions and place the animals
Check the temperature in the designated area. Just because many species can be kept without additional heating doesn’t mean this measurement is unnecessary. Avoid direct sunlight. If you have time, observe the set-up for a few days to see how it dries out.
As soon as the conditions are right, gently release the animals near a hiding spot. Then leave them alone. If they aren’t seen on the first day, it doesn’t mean something went wrong.
When does it make sense to use a different Isopod complete set?
The Isopod Complete Set L offers more space with a capacity of 11 liters and a larger base area. Choose accessories as needed here as well. The 30 × 30 × 30 cm all-in-one glass terrarium is another option for a visible setup. Neither of these options replaces the need to tailor the setup to the specific species.
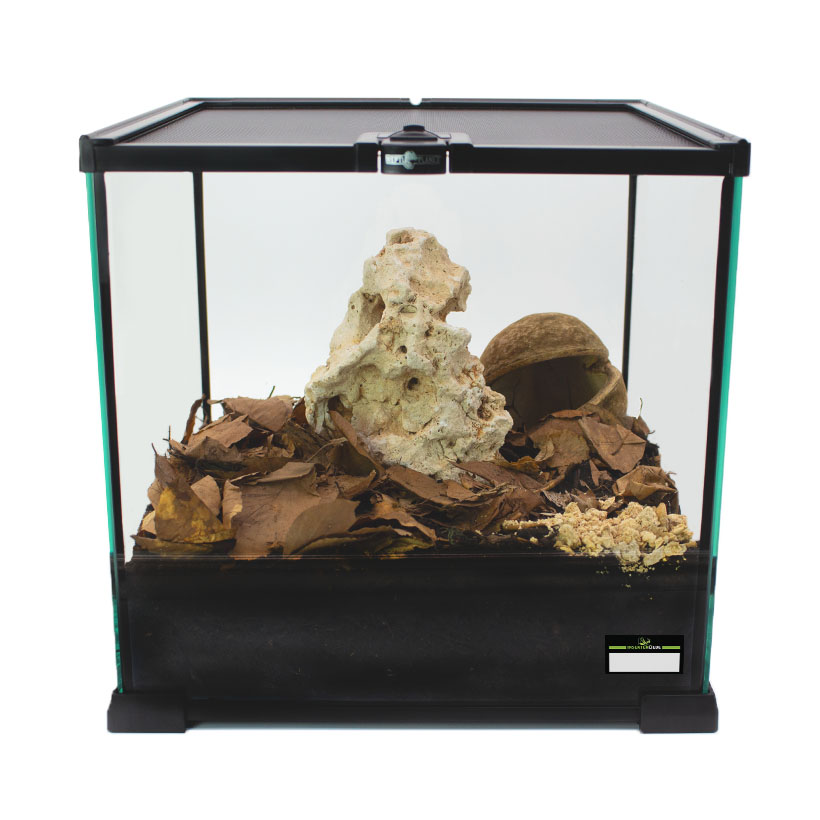
Isopod Terrarium Complete Set
YOUR READING TIP · Compare kits and set up a terrarium
Read more about what’s included, materials needed, and suitable furnishings.
What comes after the setup?
Check the damp corner, remove any leftover food, and replenish the used leaves and wood. Also, keep an eye on how the group is developing. If hiding spots are running low, plan for more space. If you have any questions, it’s best to note the species, the approximate number of animals, and the conditions at the site.
YOUR READING TIP · Answers About Keeping Isopods
Help with food, humidity, and common questions after moving in.
Still unsure? Feel free to ask us your question in the comments section below the article.
Leave a Reply
You must be logged in to post a comment.