Jumping spiders-Magazine
Jumping spider breeding from egg laying to rearing
Breeding jumping spiders is an exciting process that begins with egg laying and ends with the successful rearing of the spiderlings. If your jumping spider has laid eggs and you are now faced with the challenge of looking after the hatched spiderlings properly, you’ve come to the right place. In this article, you will learn how to safely remove the little spiders from the terrarium and raise them in the best possible way so that they develop splendidly.
How to remove the spiderlings from the terrarium
After successful breeding, the first question is how to safely remove the spiderlings from the mother’s terrarium. There are various methods for this step, each of which has advantages and disadvantages.
Cocoon removal in jumping spider breeding
This method is relatively time-saving, but involves certain risks. If you notice that the mother’s cocoon already contains dark-coloured spiderlings with long legs that are moving, you can remove the cocoon. It is important that you carefully push the mother out of her cocoon. A soft brush helps here so as not to injure the animal. You can then carefully remove the cocoon from the terrarium wall with a sharp scalpel or knife.
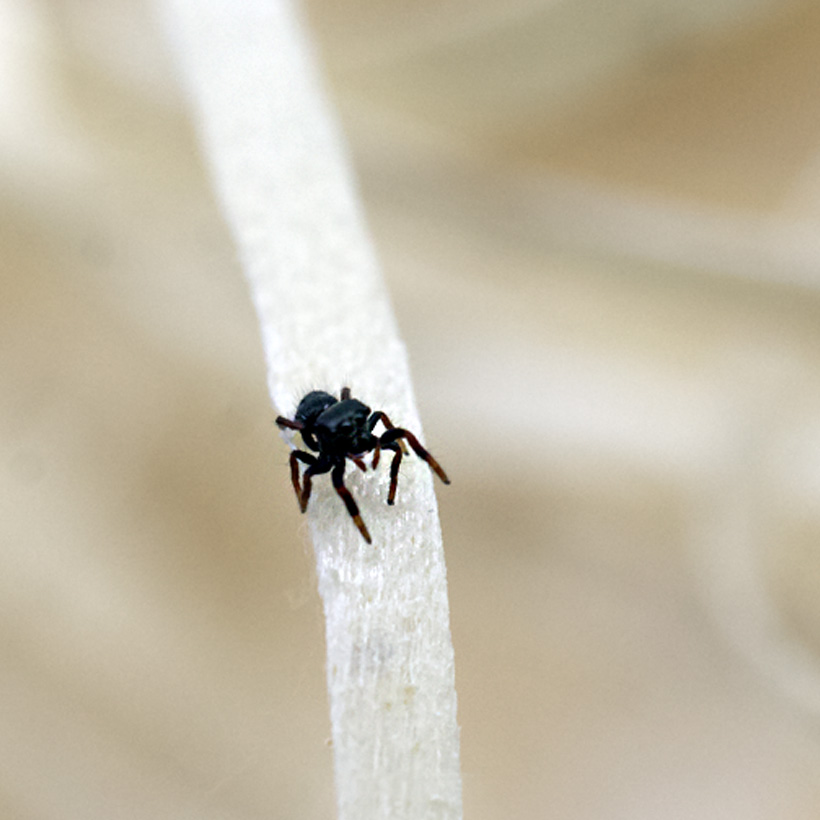
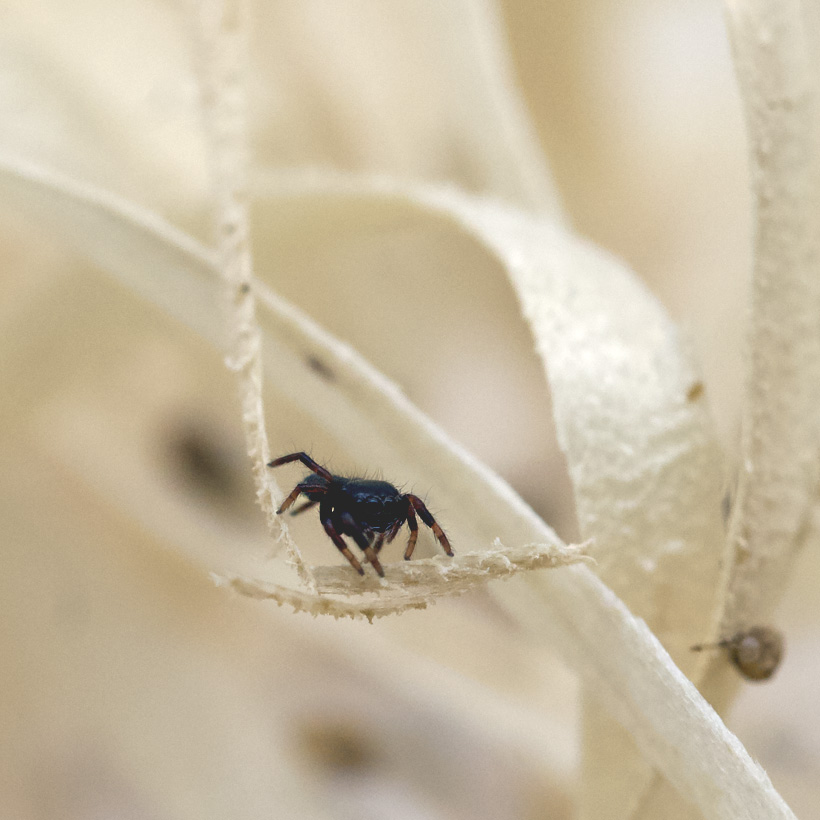
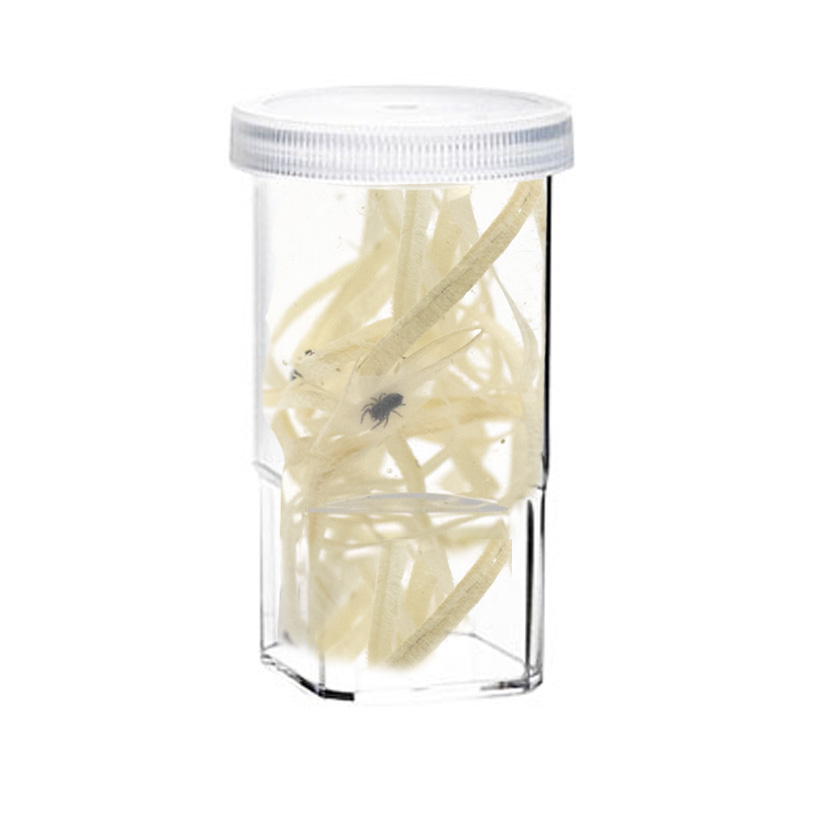
The removed cocoon is placed in a 500 ml tin with wood wool. After a few days, the spiderlings hatch from their web and are in development stage L1. As soon as they are actively moving around in the box, they should be provided with food and water every 2-3 days. For very large cocoons, it is advisable to divide the spiderlings into groups of 10-15 animals each. This promotes growth and reduces losses, as weaker animals are eaten by their more robust siblings. Group rearing is recommended up to development stage L3.
Risks of this method: There is a possibility that spiderlings may be injured during removal or that the mother may not build another cocoon. However, this strongly depends on the character of the mother.
Collecting spiderlings individually for successful jumping spider breeding
This method is more time-consuming, but gentler on the mother. As soon as the spiderlings leave the cocoon, you can collect them individually from the terrarium using a soft brush and a film canister. This method can take several days, as the spiderlings do not all leave the cocoon at the same time. The advantage is that the mother may lay more eggs in the same web, which can lead to further offspring.
After collection, the spiderlings should also be kept in 500 ml tins with wood wool, as the advantages of group rearing are also important here.
Group rearing and care for spiderlings in jumping spider breeding
After hatching and the successful removal of the spiderlings, the group rearing phase begins – a crucial time for the growth and development of the little spiders. In the group, the spiderlings not only grow faster, but also benefit from natural selection. This selection ensures that the strongest and healthiest animals survive, which later ensures robust offspring.
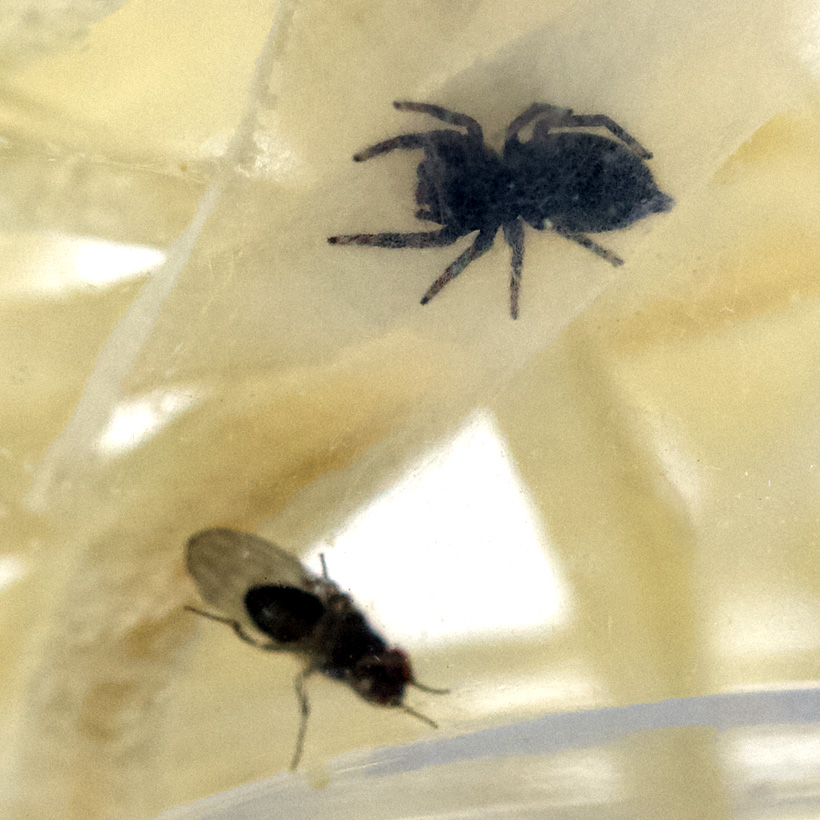
During group rearing, the spiderlings should be kept in a BraPlast box with wood wool, which serves as a climbing and hiding place. Regular feeding is essential so that the young spiders have enough energy for growth and moulting. Ideally, you should feed the spiderlings tiny prey such as Drosophila melanogaster every 2-3 days. Make sure that the prey is not too large, as this can stress the young spiderlings.
The correct humidity in the terrarium is also crucial. Spray the box lightly with water to ensure sufficient humidity. It is important to maintain a balance: Too much humidity can promote mould growth, while too little humidity can inhibit the development of the spiderlings. Regular checks and good ventilation help to create the right climate.
Group rearing should be continued up to development stage L3. In this phase, the spiderlings develop stably and prepare for the next moult. After the second moult in group rearing at the latest, it is time to separate the animals in order to avoid rivalry and cannibalism.
When and how you should separate the spiderlings
After about two moults in the group box, it is time to separate the spiderlings. Perforated rearing boxes are ideal for this phase as they are easy to handle and offer sufficient space. Wood wool is recommended for the interior. The spiderlings remain in these tins for a further one or two moults before moving to a 500 ml tin. As soon as the animals have reached a body length of around 1 cm, they can move to their final terrarium.
The next steps after breeding jumping spiders
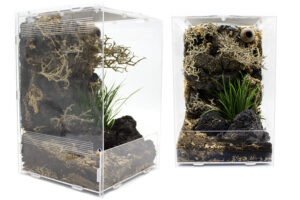
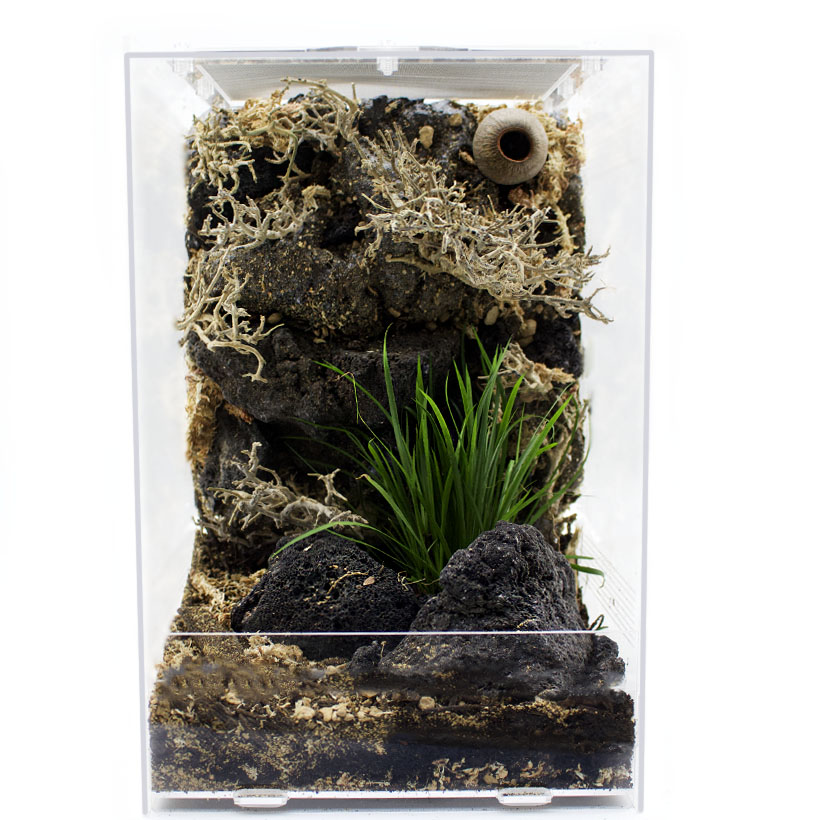
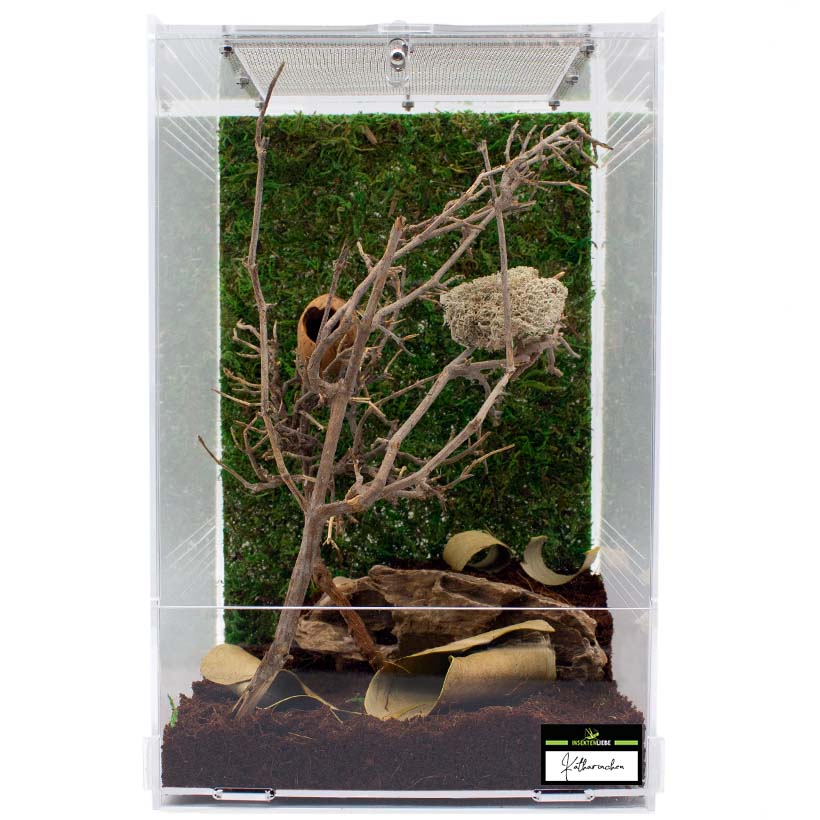
From development stage L3, the spiders can be placed in larger terrariums. There should be various hiding places, climbing opportunities and the right plants to create a natural environment. You can find tips on setting up the terrarium in our other articles.
If you have any further questions, please leave them in the comments below the article.


