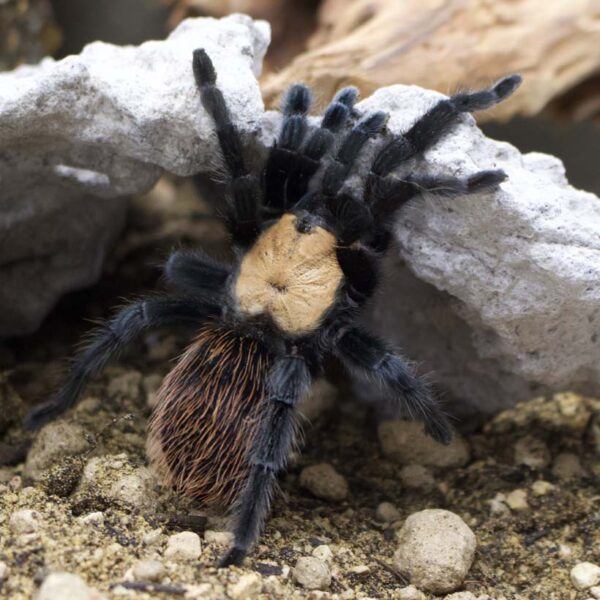
Would you like to create a beautiful home for your favorite member of the Brachypelma group? Then you’ve come to the right place! Using one of our own setups, we’ll show you step by step how you can build a stable, natural and safe terrarium with simple means. Whether Brachypelma hamorii, vagans, auratum or albiceps – these instructions are suitable for all species of this genus. All the materials used can of course be found in our store – tested, tried and tested and selected with a lot of Insektenliebe.
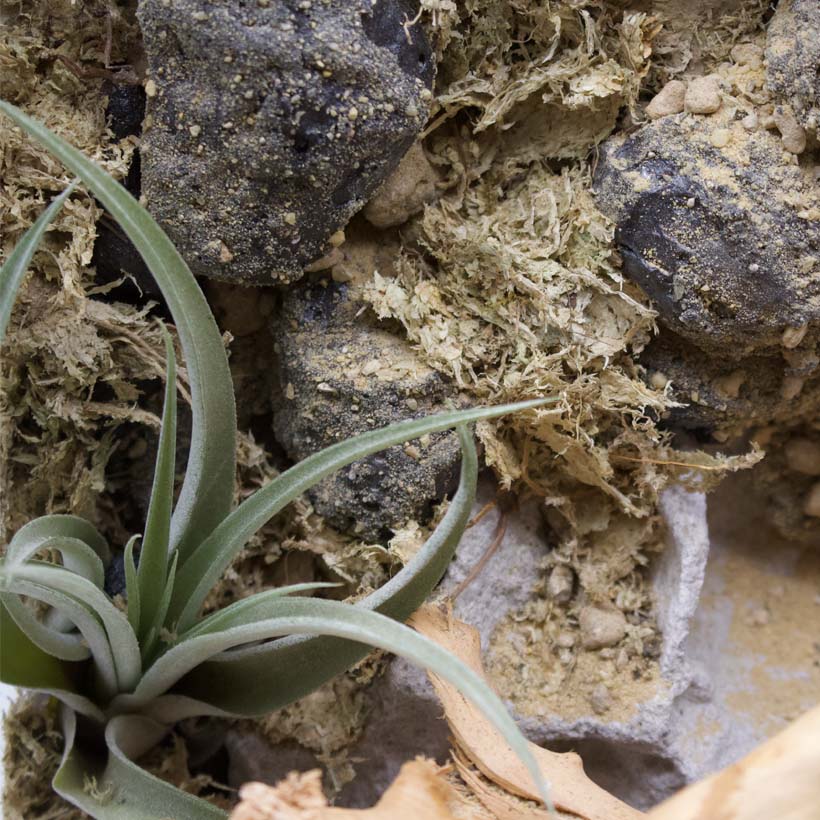
Step 1: Designing the back wall with modeling foam and lava stone in the Insektenliebe terrarium
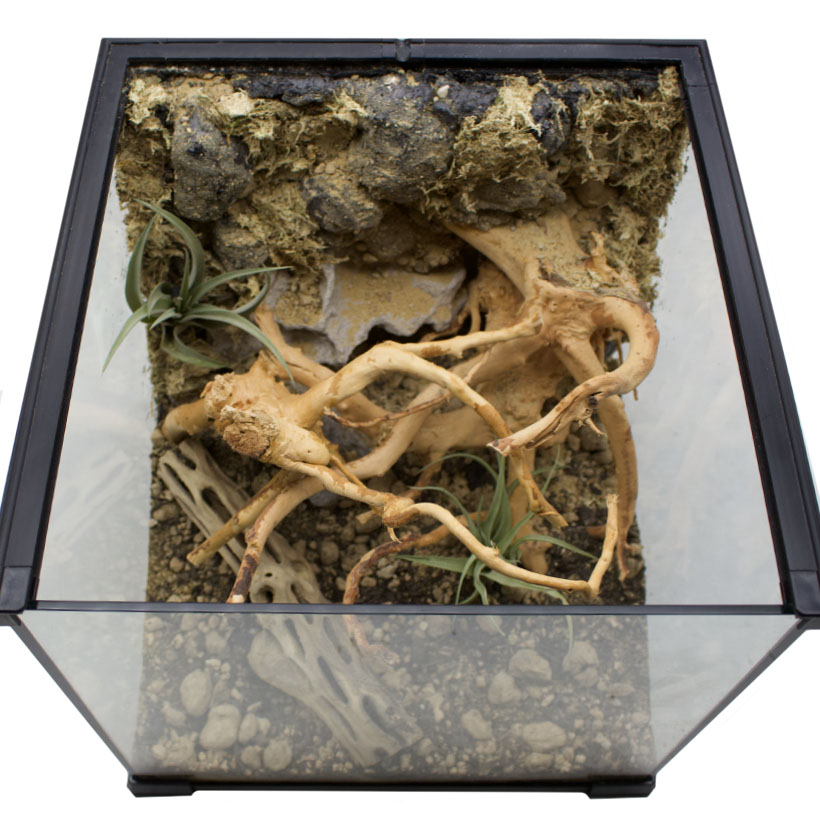
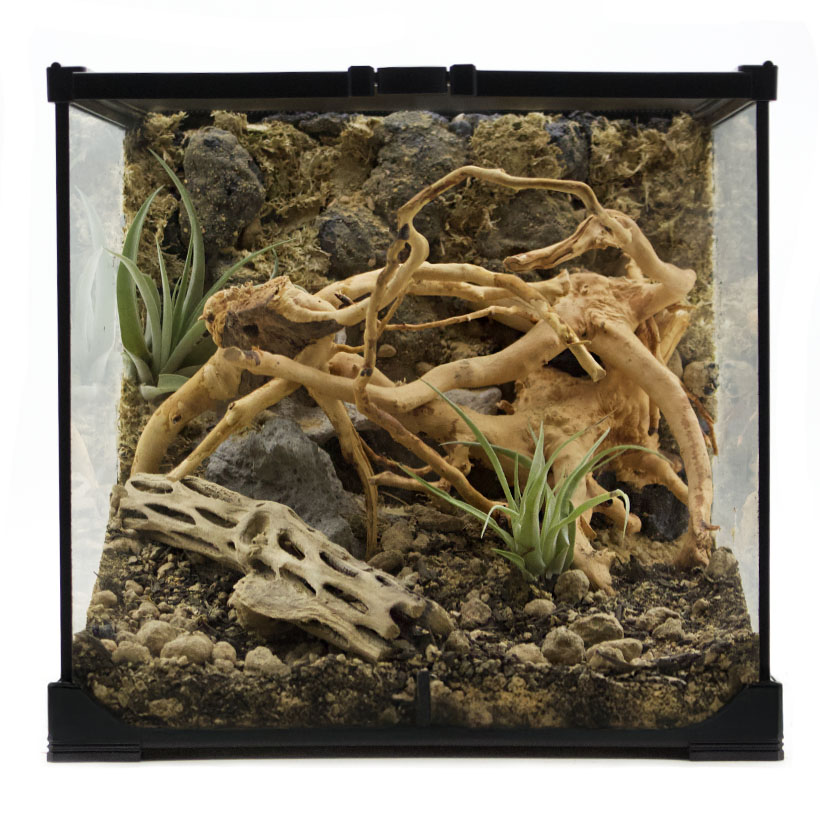
Before you start with the substrate, the construction of your Brachypelma terrarium begins with the back wall – because if you fill in the substrate first, you will quickly get in your own way when modeling. For our example, we are using an Insektenliebe terrarium measuring 30 × 30 × 30 cm. This size is ideal for many species of the genus Brachypelma, such as B. hamorii, B. vagans, B. albiceps or B. auratum.
We create the back wall with modeling foam, which is sprayed on directly from the can. It is worth pressing the nozzle into the foam surface from time to time and then pressing it down again – this creates natural-looking ridges that later look like small rock structures or earth outcrops. These irregular shapes not only create visual depth, but also provide orientation for the animal in the terrarium.
A special highlight: a gray lava stone is integrated into the wet foam and later used for a natural cave. The stone is incorporated in such a way that it is half exposed, covered with modeling foam and blends harmoniously into the back wall. This combination creates a stable, visually appealing hiding place that is very likely to be accepted by your tarantula.
While the foam is still moist, we press sphagnum moss to the edge of the rock or stone imitations. Then sprinkle desert sand over the entire surface. This softens the transitions and makes the back wall look natural right from the start.
After curing – it is best to wait 24 hours – the back panel is stable and ready for the next step.
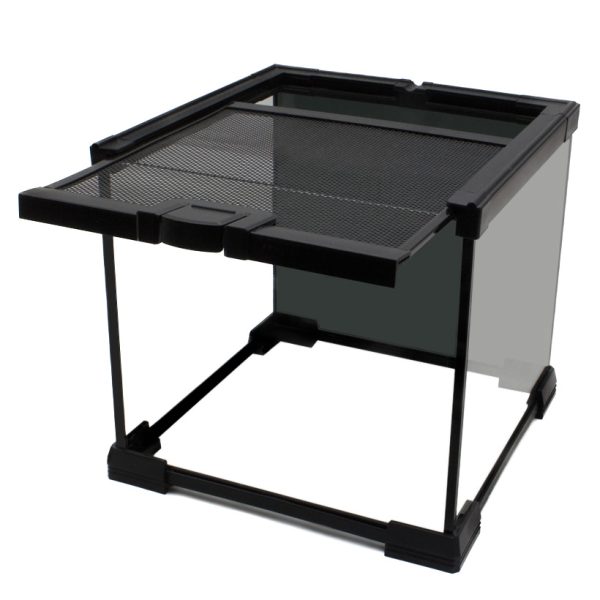
Insektenliebe Terrarium – 30 x 30 x 30 cm
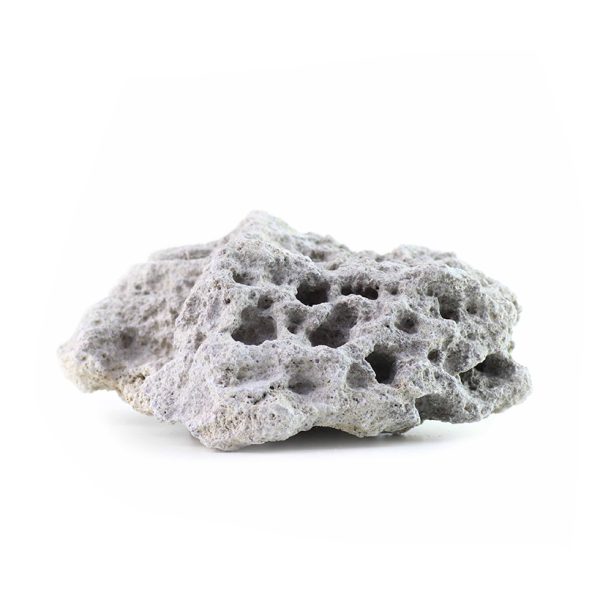
Gray lava stone
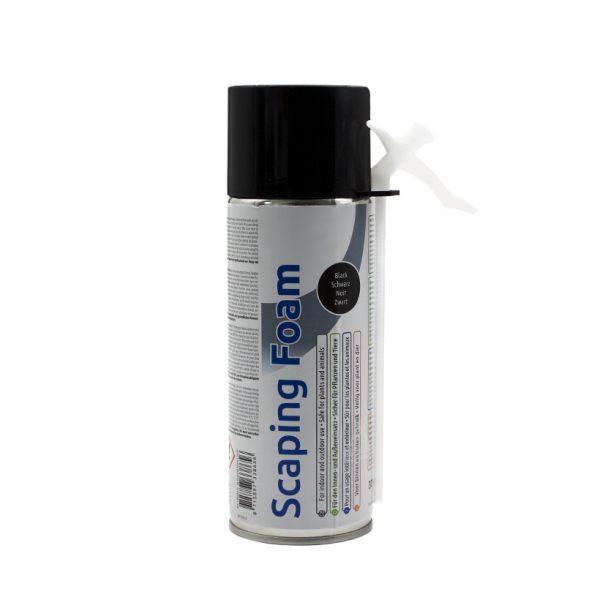
Modeling foam
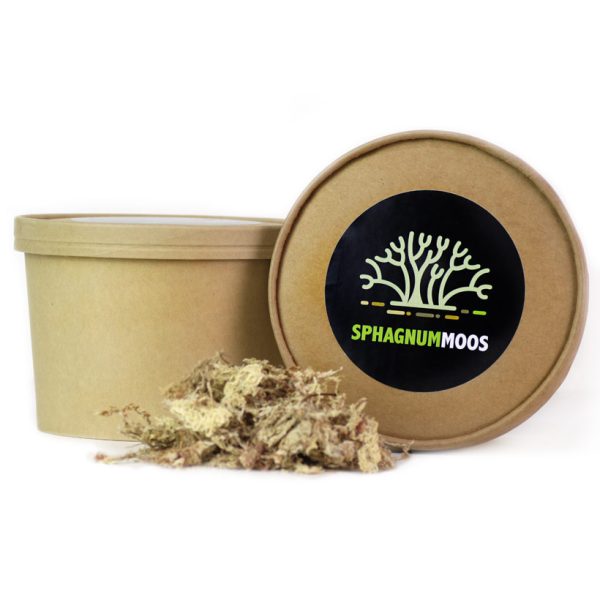
Sphagnum moss
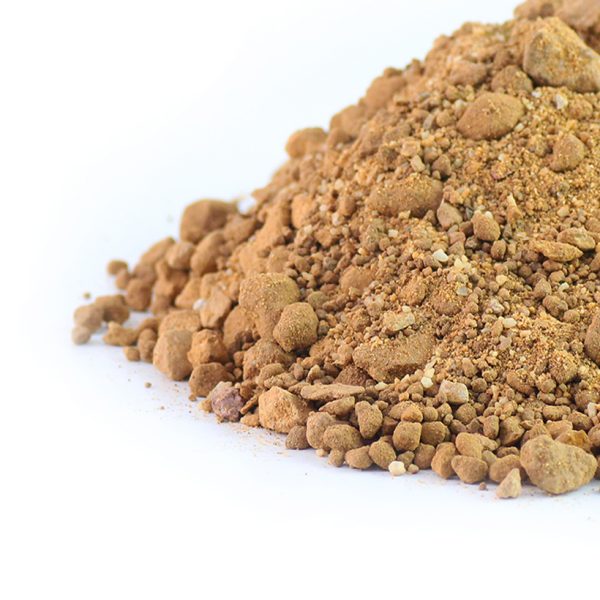
desert sand
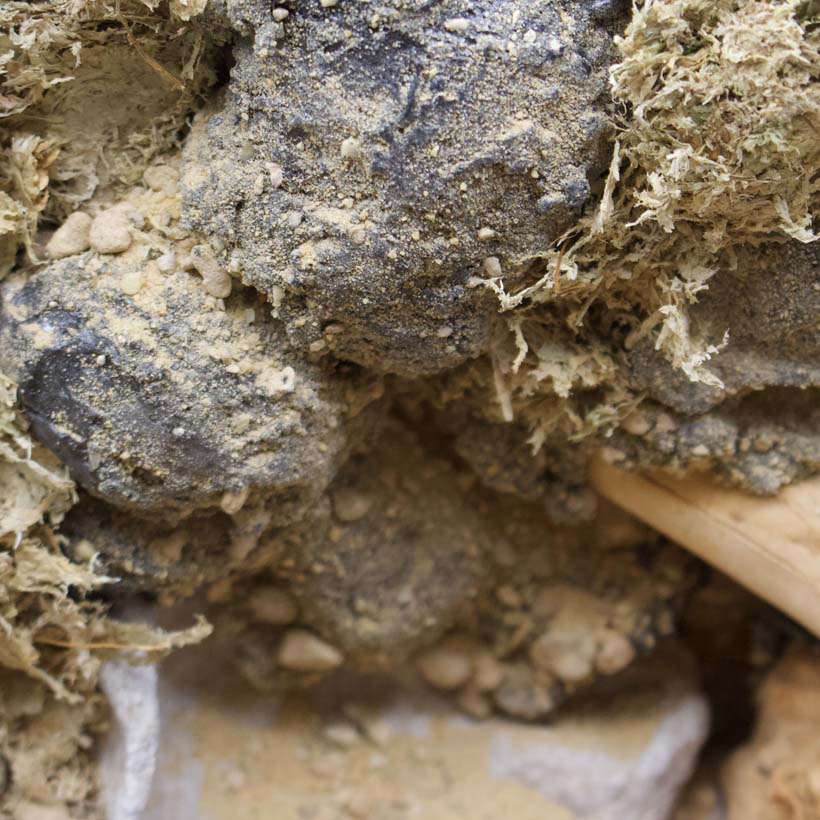
Step 2: Mix the substrate and place the cave
As soon as the back wall has completely hardened, it is time to add the substrate – a key element for every Brachypelma species. When setting up the terrarium, some desert sand often trickles down from the back wall. You can use this sand straight away as it will later become part of the substrate.
We use a tried and tested mixture: 3 liters of desert sand to 1 liter of forest humus. This combination produces a substrate that is easy to structure, retains moisture but remains stable – ideal for ground-dwelling tarantulas. The mixture is evenly distributed and lightly pressed down without compacting it completely so that it remains burrowable.
Now for the cave: In step 1, we have already integrated a gray lava stone into the back wall. Now we take a second lava rock and place it in front of it to create a natural, protected cave. This provides the spider with a stable retreat that cannot collapse – an important point for the animal’s sense of security.
The finished cave should be easily accessible at ground level, ideally slightly offset to the rear so that it is somewhat in the dark. Now that the foundation has been laid, it’s time to move on to the decoration and structure.
desert sand
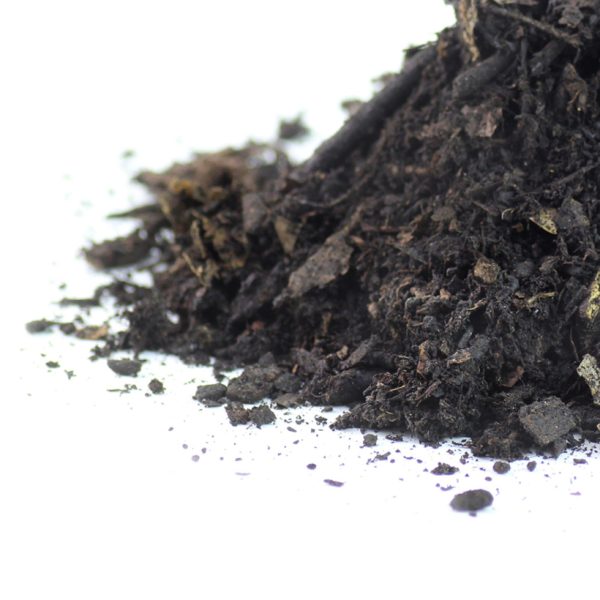
Forest humus – sterilized, 1 liter
Gray lava stone
Step 3: Create structure with wood and natural materials
Once the back wall, substrate and cave are in place, we turn our attention to the most exciting part – the structure and decoration. Because not only should the animal feel comfortable, but the terrarium should of course also be pleasing to the eye. In our Insektenliebe set-up, we focus on a natural, harmonious design that is based on the habitats of Central American tarantulas.
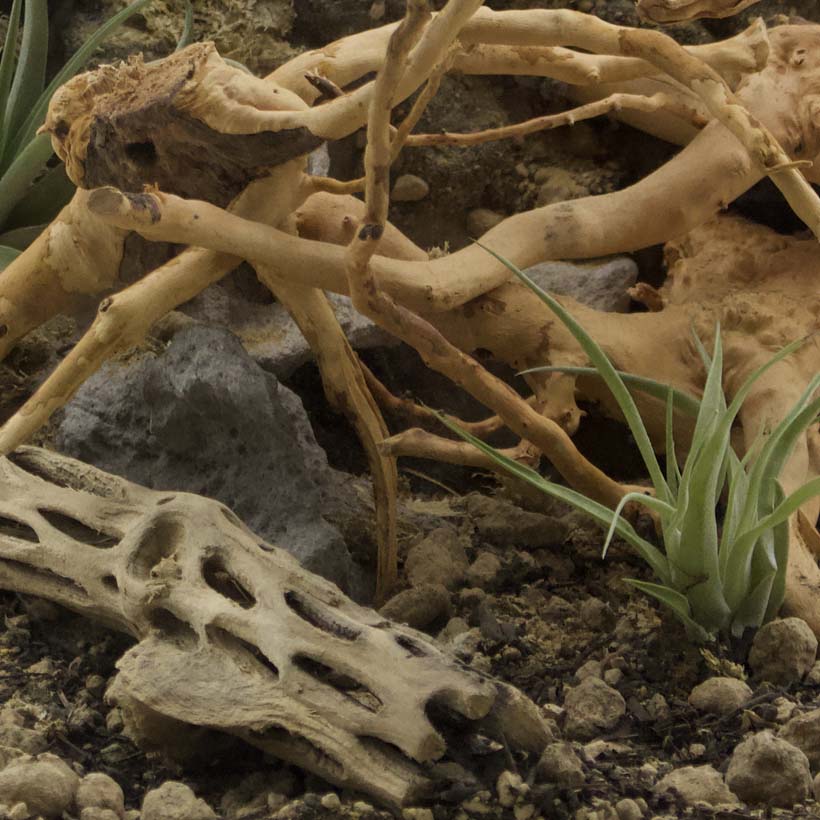
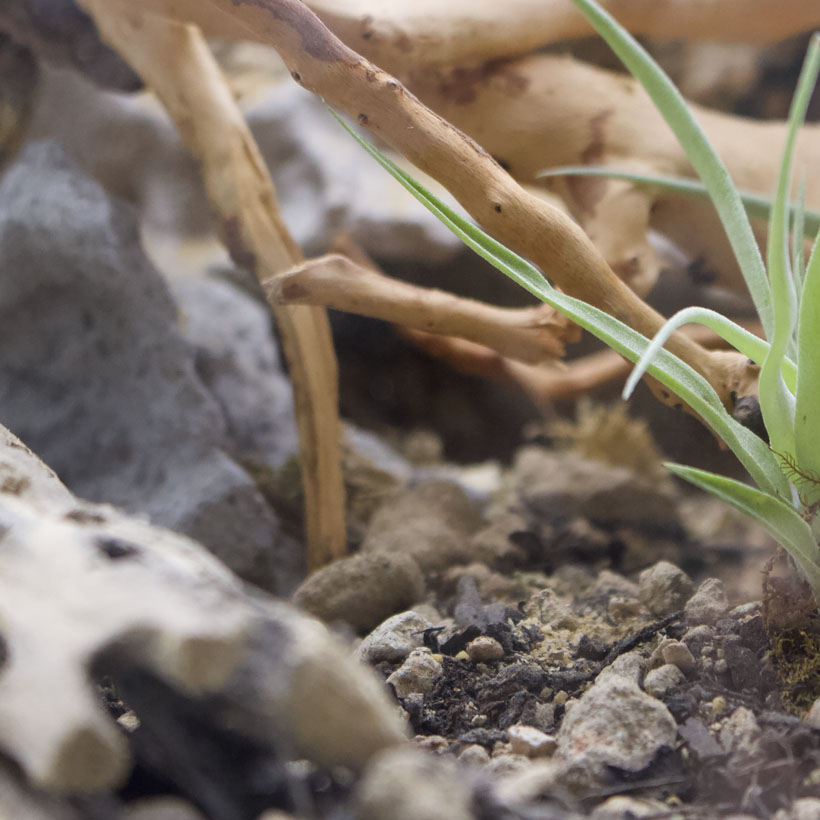
We use spiderwood in this terrarium – a decorative, finely branched wood that can be perfectly staged. A branch has been placed in such a way that it lies lightly over the cave and provides additional privacy. At the same time, the wood creates climbing and retreat options, even though brachypelms are not considered to be fond of climbing. Another piece of spiderwood runs diagonally across the right-hand side of the terrarium, creating visual depth.
We also place a piece of Chollawood, which not only has a decorative effect thanks to its textured surface, but also optimizes the microclimate – it can retain moisture well, which benefits the terrarium. The dead columnar cactus also creates a dry, desert-like atmosphere.
The trick with the placement of all decorative elements is: natural, but well thought out. A few well-placed pieces create an exciting structure without overloading the terrarium. In this way, even reserved species such as Brachypelma hamorii feel safe without the view being completely obstructed.
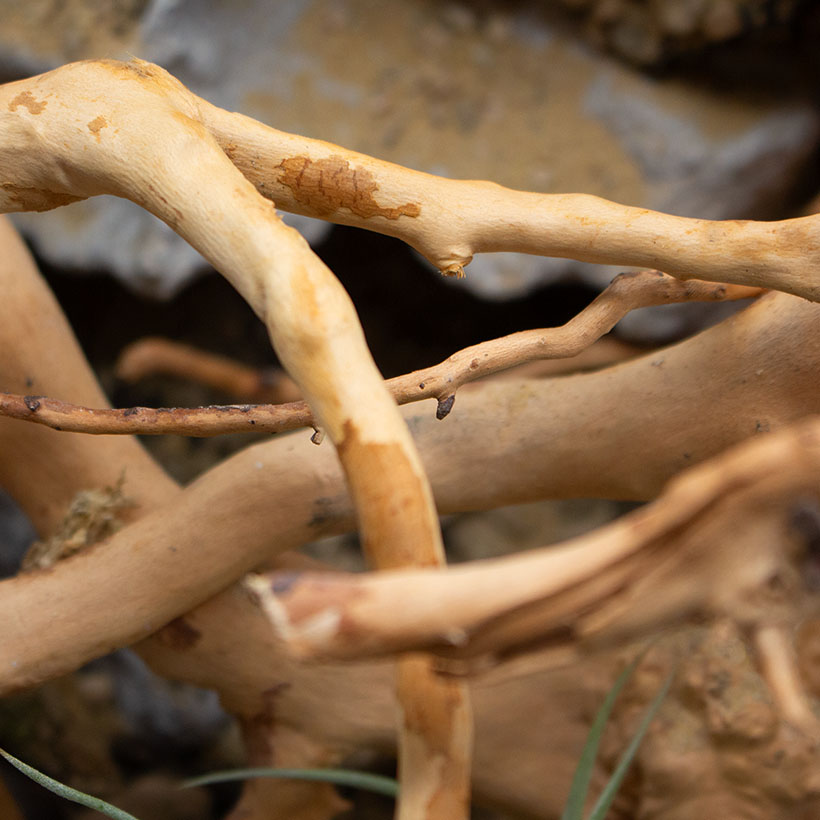
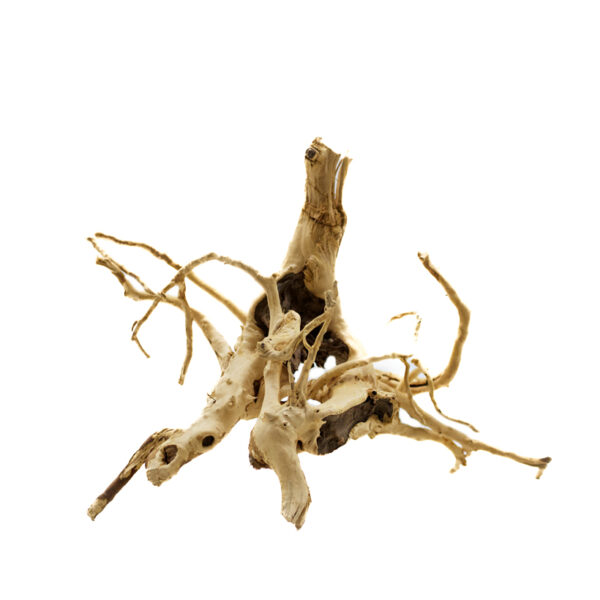
Spiderwood – 23 x 18 x 25 cm
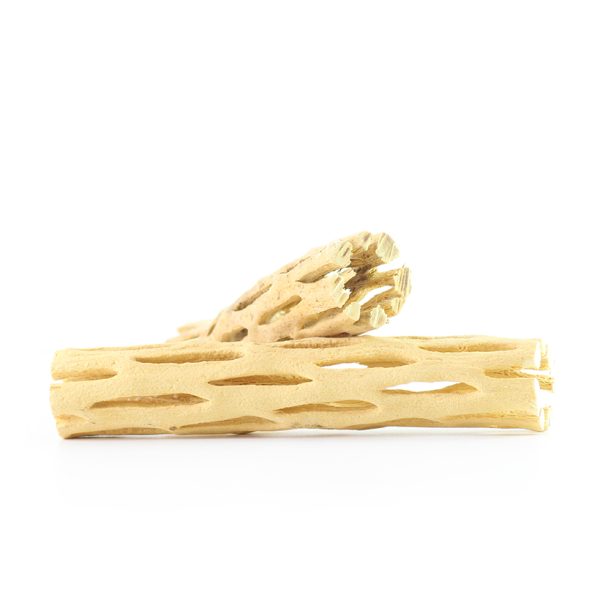
Cholla Wood – dried skeleton of the columnar cactus
Step 4: Tillandsias and water bowl – finishing touches for a natural habitat
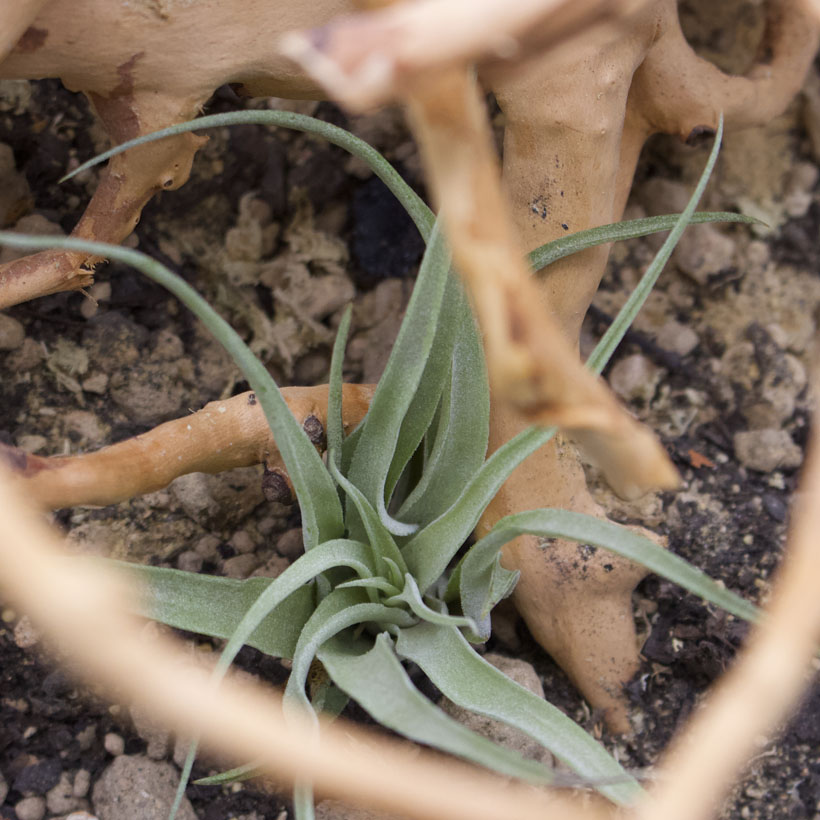
Finally, we give the terrarium a bit of life – in the truest sense of the word. We use tillandsias, which are easy-care epiphytes that do not require soil. These air-loving plants fit perfectly in a Brachypelma terrarium, as they manage with low humidity and at the same time ensure a harmonious, natural overall look.
To fix the plants securely, we used Dupla PlantFix liquid – a plant-compatible liquid adhesive that makes it easy to attach tillandsias to spiderwood or the back wall. Two tillandsias have thus found their place in small crevices in the modeled back wall, while another is clearly visible on a piece of spiderwood.
Of course, a water bowl is also a must. We have placed it discreetly in a corner – stable, flat and easy to reach. If you like, you can fill it with small stones to allow food animals to crawl out safely.
With these final details, the terrarium not only looks complete, but also harmonious all round. It offers your Brachypelma a functional, safe and natural environment – and looks simply beautiful.

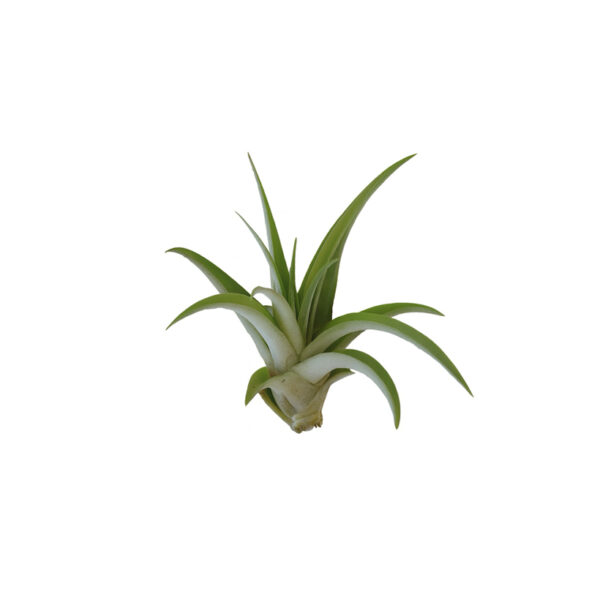
Tillandsia capitata “Peach”
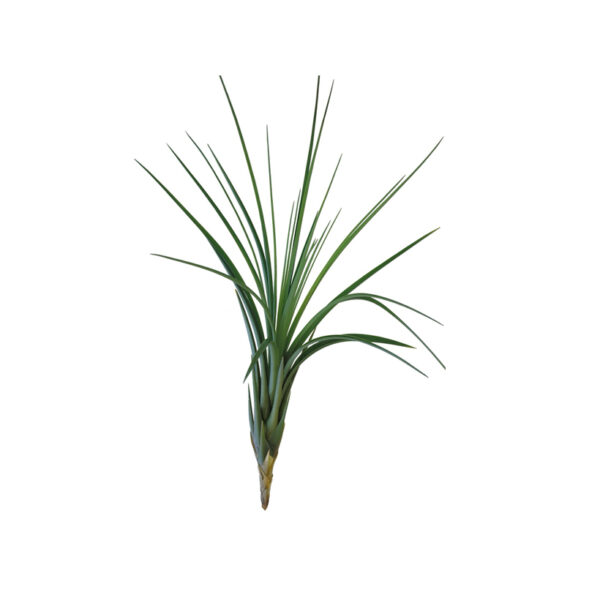
Tillandsia melanocrater tricolor
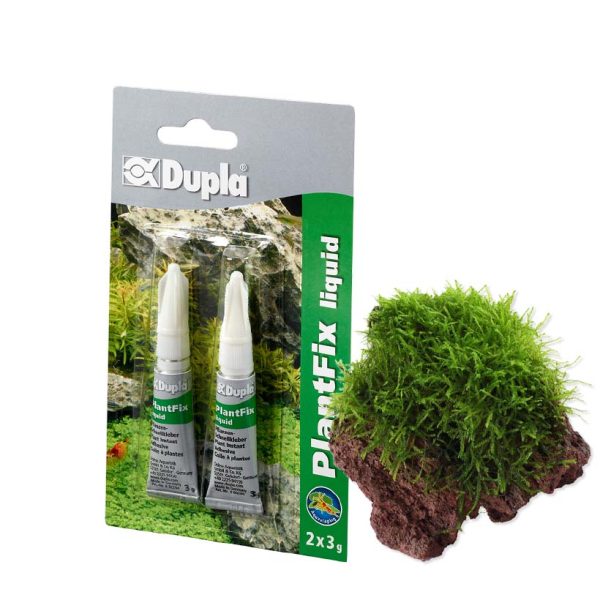
Dupla PlantFix liquid – 2×3 g
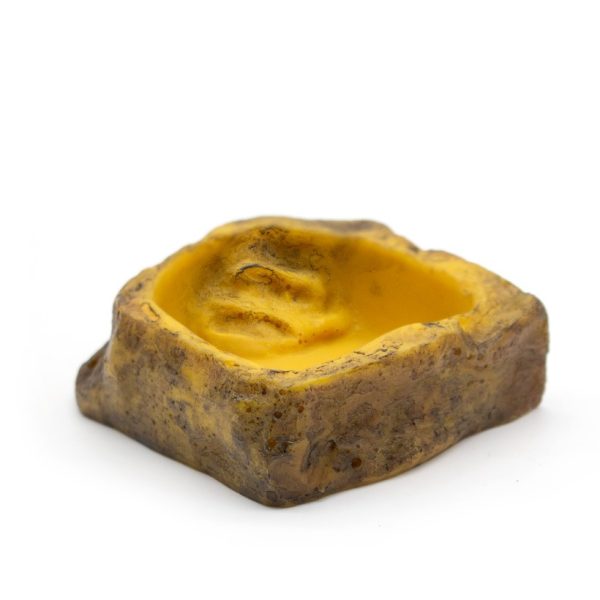
Food bowl
Conclusion – your Brachypelma terrarium to recreate
With just a few well-thought-out steps, you can create a home for your Brachypelma that is not only species-appropriate, but also a real eye-catcher. The combination of a sculpted back wall, textured substrate, natural materials such as spiderwood, lava rock and tillandsias creates a terrarium in which your animal feels safe and comfortable – and which is fun to watch at the same time.
At Insektenliebe, we consciously use materials that are both functional and decorative. You can find everything you need for your own terrarium project directly in our store – from modeling foam, desert sand, forest humus, spiderwood and lava rock to the matching 30x30x30 cm terrarium, Dupla PlantFix liquid or decorative tillandsias.
If you set up your terrarium using this template or implement your own creative ideas, we look forward to receiving your photos or feedback! Feel free to share your project with us – and if you have any questions, we’re here for you. From hobby to hobby.
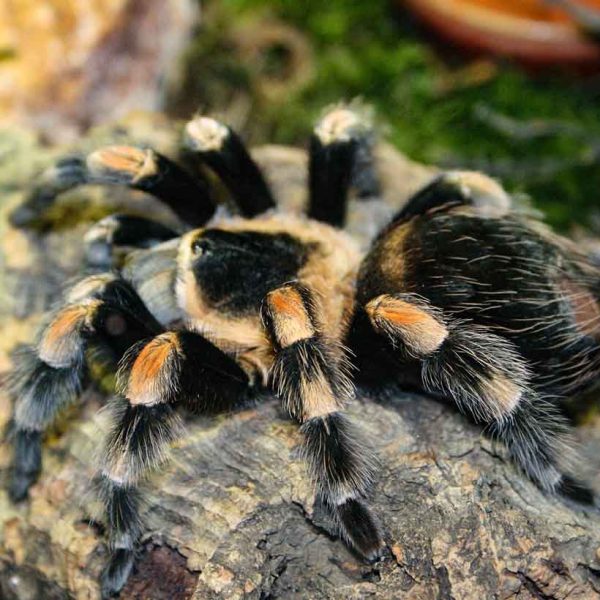
Brachypelma hamorii “Red-kneed tarantula”
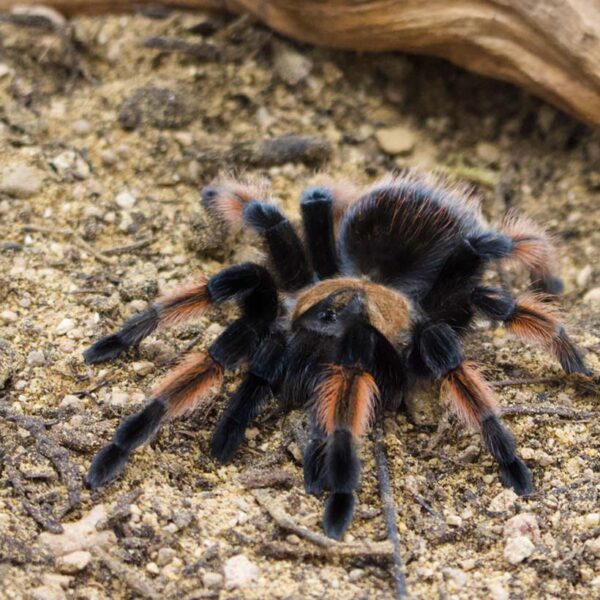
Brachypelma emilia
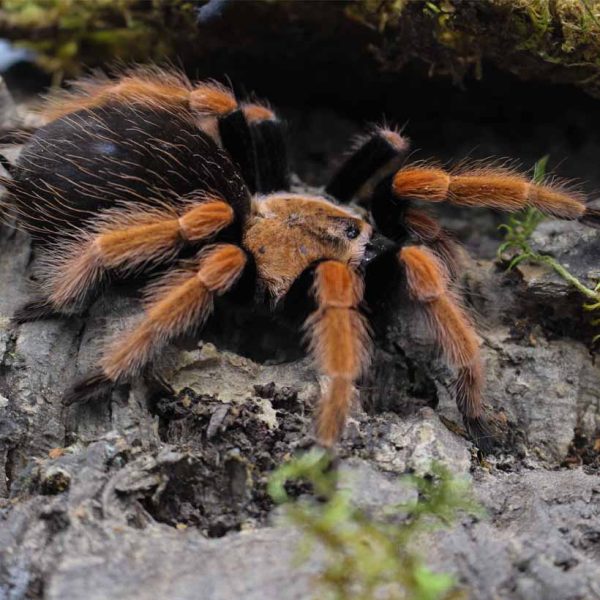
Brachypelma boehmei
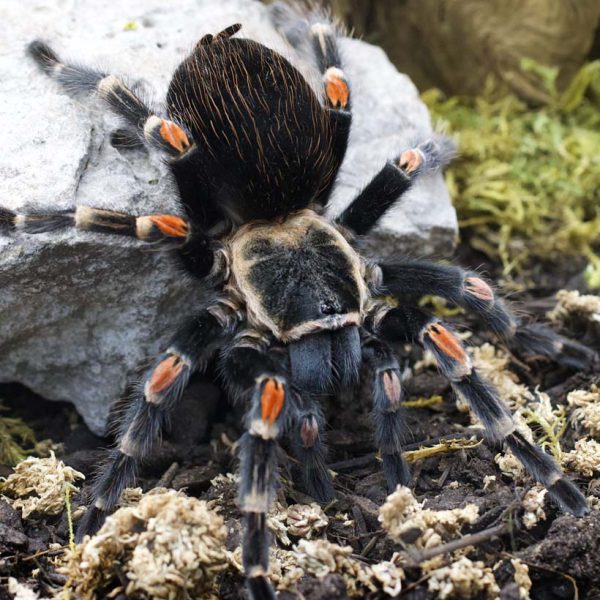
Brachypelma auratum
Brachypelma albiceps
If you have any further questions, please leave them in the comments below the article.
Leave a Reply
You must be logged in to post a comment.